Site Map
1 Start: A Lobby - #1 A Lobby to A Hell (A Lobby to A Hell) 1 2 End: A Hell - #1 A Lobby to A Hell (A Lobby to A Hell) 2 1 Start: A Lobby - #2 A Lobby to A Ramp #1 (A Lobby to A Ramp) 1 2 End: A Ramp - #2 A Lobby to A Ramp #1 (A Lobby to A Ramp) 2 1 Start: A Lobby - #3 A Lobby to A Ramp #2 (A Lobby to A Ramp) 1 2 End: A Ramp - #3 A Lobby to A Ramp #2 (A Lobby to A Ramp) 2 1 Start: A Lobby - #4 A Lobby to A Screens (A Lobby to Screens) 1 2 End: Screens - #4 A Lobby to A Screens (A Lobby to Screens) 2 1 Start: A Lobby - #5 A Lobby to A Screens #1 (A Lobby to Screens) 1 2 End: Screens - #5 A Lobby to A Screens #1 (A Lobby to Screens) 2 1 Start: A Lobby - #6 A Lobby to A Screens #2 (A Lobby to Screens) 1 2 End: Screens - #6 A Lobby to A Screens #2 (A Lobby to Screens) 2 1 Start: A Main - #7 A Main to A Elbow (A Main to A Elbow) 1 2 End: A Elbow - #7 A Main to A Elbow (A Main to A Elbow) 2 1 Start: A Main - #8 A Main to A Heaven (A Main to A Heaven) 1 2 End: A Heaven - #8 A Main to A Heaven (A Main to A Heaven) 2 1 Start: A Main - #9 A Main to A Site #1 (A Main to A Site) 1 2 End: A Site - #9 A Main to A Site #1 (A Main to A Site) 2 1 Start: A Main - #10 A Main to A Site #2 (A Main to A Site) 1 2 End: A Site - #10 A Main to A Site #2 (A Main to A Site) 2 1 Start: A Main - #11 A Main to Defender Spawn #1 (A Main to Defenders) 1 2 End: Defenders - #11 A Main to Defender Spawn #1 (A Main to Defenders) 2 1 Start: A Main - #12 A Main to Defender Spawn #2 (A Main to Defenders) 1 2 End: Defenders - #12 A Main to Defender Spawn #2 (A Main to Defenders) 2 1 Start: A Ramp - #13 A Ramp to A Elbow (A Ramp to A Elbow) 1 2 End: A Elbow - #13 A Ramp to A Elbow (A Ramp to A Elbow) 2 1 Start: A Ramp - #14 A Ramp to A Lobby (A Ramp to A Lobby) 1 2 End: A Lobby - #14 A Ramp to A Lobby (A Ramp to A Lobby) 2 1 Start: A Ramp - #15 A Ramp to A Screens (A Ramp to Screens) 1 2 End: Screens - #15 A Ramp to A Screens (A Ramp to Screens) 2 1 Start: A Ramp - #16 A Ramp to A Site (A Ramp to A Site) 1 2 End: A Site - #16 A Ramp to A Site (A Ramp to A Site) 2 1 Start: Screens - #17 A Screens to B Alley (Screens to B Alley) 1 2 End: B Alley - #17 A Screens to B Alley (Screens to B Alley) 2 1 Start: Screens - #18 A Screens to B Heaven (Screens to B Heaven) 1 2 End: B Heaven - #18 A Screens to B Heaven (Screens to B Heaven) 2 1 Start: Screens - #19 A Screens to B Hell (Screens to B Hell) 1 2 End: B Hell - #19 A Screens to B Hell (Screens to B Hell) 2 1 Start: Screens - #20 A Screens to B Site (Screens to B Site) 1 2 End: B Site - #20 A Screens to B Site (Screens to B Site) 2 1 Start: A Site - #21 A Site to A Ramps (A Site to A Ramp) 1 2 End: A Ramp - #21 A Site to A Ramps (A Site to A Ramp) 2 1 Start: A Heaven - #22 A Tower to A Lobby Cubby (A Heaven to A Lobby) 1 2 End: A Lobby - #22 A Tower to A Lobby Cubby (A Heaven to A Lobby) 2 1 Start: A Heaven - #23 A Tower to A Main (A Heaven to A Main) 1 2 End: A Main - #23 A Tower to A Main (A Heaven to A Main) 2 1 Start: B Alley - #24 B Alley to A Screens (B Alley to Screens) 1 2 End: Screens - #24 B Alley to A Screens (B Alley to Screens) 2 1 Start: B Heaven - #25 B Heaven to A Screens (B Heaven to Screens) 1 2 End: Screens - #25 B Heaven to A Screens (B Heaven to Screens) 2 1 Start: B Heaven - #26 B Heaven to A Screens #1 (B Heaven to Screens) 1 2 End: Screens - #26 B Heaven to A Screens #1 (B Heaven to Screens) 2 1 Start: B Heaven - #27 B Heaven to A Screens #2 (B Heaven to Screens) 1 2 End: Screens - #27 B Heaven to A Screens #2 (B Heaven to Screens) 2 1 Start: B Lobby - #28 B Lobby to A Lobby (B Lobby to A Lobby) 1 2 End: A Lobby - #28 B Lobby to A Lobby (B Lobby to A Lobby) 2 1 Start: Defenders - #29 Defender Spawn to A Main (Defenders to A Main) 1 2 End: A Main - #29 Defender Spawn to A Main (Defenders to A Main) 2 1 Start: Defenders - #30 Defender Spawn to A Site (Defenders to A Site) 1 2 End: A Site - #30 Defender Spawn to A Site (Defenders to A Site) 2 1 Start: Screens - #31 Retake A Screens to A Site (Screens to A Site) 1 2 End: A Site - #31 Retake A Screens to A Site (Screens to A Site) 2 1 Start: Attackers - #32 Attacker Spawn to B Lobby (Attackers to B Lobby) 1 2 End: B Lobby - #32 Attacker Spawn to B Lobby (Attackers to B Lobby) 2 1 Start: B Alley - #33 B Alley to Backsite B (B Alley to Backsite B) 1 2 End: Backsite B - #33 B Alley to Backsite B (B Alley to Backsite B) 2 1 Start: B Main - #34 B Garage to B Site #1 (B Main to B Site) 1 2 End: B Site - #34 B Garage to B Site #1 (B Main to B Site) 2 1 Start: B Main - #35 B Garage to B Site #2 (B Main to B Site) 1 2 End: B Site - #35 B Garage to B Site #2 (B Main to B Site) 2 1 Start: B Heaven - #36 B Heaven to Bottom Mid (B Heaven to Bottom Mid) 1 2 End: Bottom Mid - #36 B Heaven to Bottom Mid (B Heaven to Bottom Mid) 2 1 Start: B Heaven - #37 B Heaven to Mid Vents (B Heaven to Mid Vents) 1 2 End: Mid Vents - #37 B Heaven to Mid Vents (B Heaven to Mid Vents) 2 1 Start: B Lobby - #38 B Lobby to B Backsite (B Lobby to Backsite B) 1 2 End: Backsite B - #38 B Lobby to B Backsite (B Lobby to Backsite B) 2 1 Start: B Lobby - #39 B Lobby to B Site (B Lobby to B Site) 1 2 End: B Site - #39 B Lobby to B Site (B Lobby to B Site) 2 1 Start: B Lobby - #40 B Lobby to Sewers (B Lobby to Sewers) 1 2 End: Sewers - #40 B Lobby to Sewers (B Lobby to Sewers) 2 1 Start: B Site - #41 B Site to Attackers/b Lobby (B Site to B Lobby) 1 2 End: B Lobby - #41 B Site to Attackers/b Lobby (B Site to B Lobby) 2 1 Start: B Site - #42 B Site to B Lobby (B Site to B Lobby) 1 2 End: B Lobby - #42 B Site to B Lobby (B Site to B Lobby) 2 1 Start: B Stairs - #43 B Stairs to B Site (B Stairs to B Site) 1 2 End: B Site - #43 B Stairs to B Site (B Stairs to B Site) 2 1 Start: Bottom Mid - #44 Bottom Mid to B Backsite #1 (Bottom Mid to Backsite B) 1 2 End: Backsite B - #44 Bottom Mid to B Backsite #1 (Bottom Mid to Backsite B) 2 1 Start: Bottom Mid - #45 Bottom Mid to B Backsite #2 (Bottom Mid to Backsite B) 1 2 End: Backsite B - #45 Bottom Mid to B Backsite #2 (Bottom Mid to Backsite B) 2 1 Start: B Heaven - #46 Catch Defenders Rotating to B (B Heaven to Defenders) 1 2 End: Defenders - #46 Catch Defenders Rotating to B (B Heaven to Defenders) 2 1 Start: Defenders - #47 Defender Spawn to B Main (Defenders to B Main) 1 2 End: B Main - #47 Defender Spawn to B Main (Defenders to B Main) 2 1 Start: B Lobby - #48 Gatecrash onto Backsite B (B Lobby to Backsite B) 1 2 End: Backsite B - #48 Gatecrash onto Backsite B (B Lobby to Backsite B) 2 1 Start: B Main - #49 Gatecrash under rafters (B Main to B Site) 1 2 End: B Site - #49 Gatecrash under rafters (B Main to B Site) 2 1 Start: Bottom Mid - #50 Mid to Backsite B (Bottom Mid to Backsite B) 1 2 End: Backsite B - #50 Mid to Backsite B (Bottom Mid to Backsite B) 2 1 Start: Mid Vents - #51 Mid Vent to B Lobby. (Mid Vents to B Lobby) 1 2 End: B Lobby - #51 Mid Vent to B Lobby. (Mid Vents to B Lobby) 2 1 Start: Sewers - #52 Sewers to B Link (Sewers to Market) 1 2 End: Market - #52 Sewers to B Link (Sewers to Market) 2 1 Start: Ramen - #53 Mid Bottom to Mid Vents (Ramen to Mid Vents) 1 2 End: Mid Vents - #53 Mid Bottom to Mid Vents (Ramen to Mid Vents) 2 1 Start: A Lobby - #54 Combo to Push A Ramp (A Lobby to A Ramp) 1 2 End: A Ramp - #54 Combo to Push A Ramp (A Lobby to A Ramp) 2 A Heaven (2) teleports A Heaven (2) A Lobby (7) teleports A Lobby (7) A Main (6) teleports A Main (6) A Ramp (4) teleports A Ramp (4) A Site (1) teleports A Site (1) B Alley (2) teleports B Alley (2) B Heaven (6) teleports B Heaven (6) B Lobby (5) teleports B Lobby (5) B Main (3) teleports B Main (3) B Site (2) teleports B Site (2) B Stairs (1) teleports B Stairs (1) Bottom Mid (3) teleports Bottom Mid (3) Mid Vents (1) teleports Mid Vents (1) Attackers (1) teleports Attackers (1) Defenders (3) teleports Defenders (3) Ramen (1) teleports Ramen (1) Screens (5) teleports Screens (5) Sewers (1) teleports Sewers (1)
  Attack   Defense 
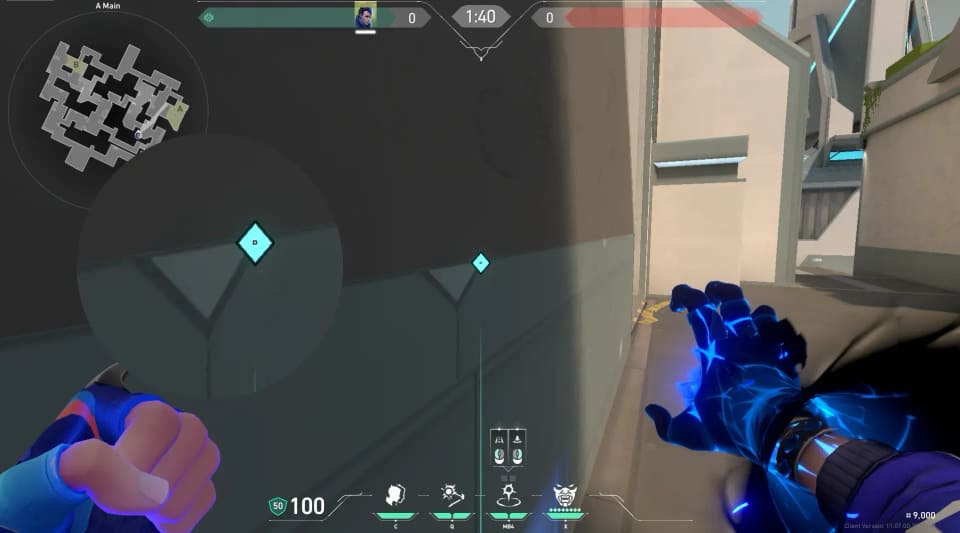
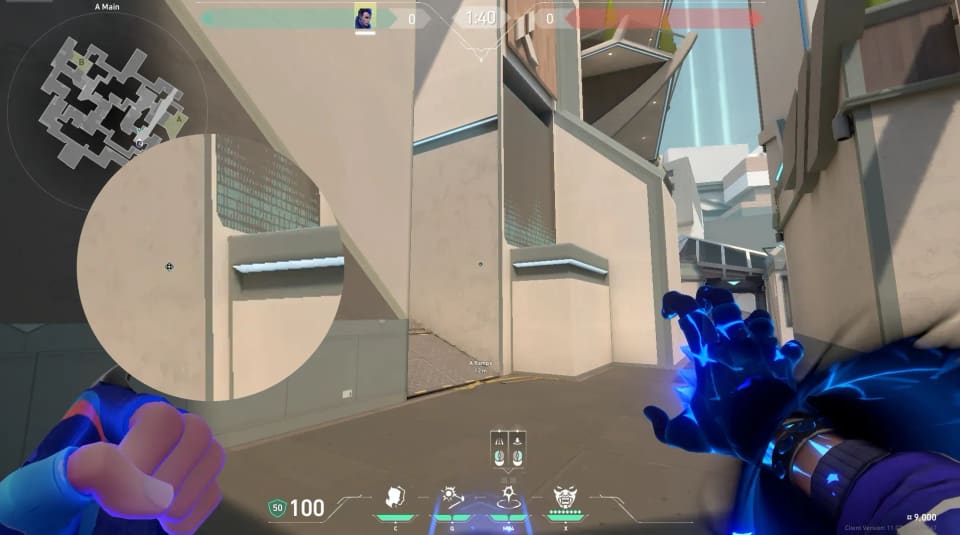
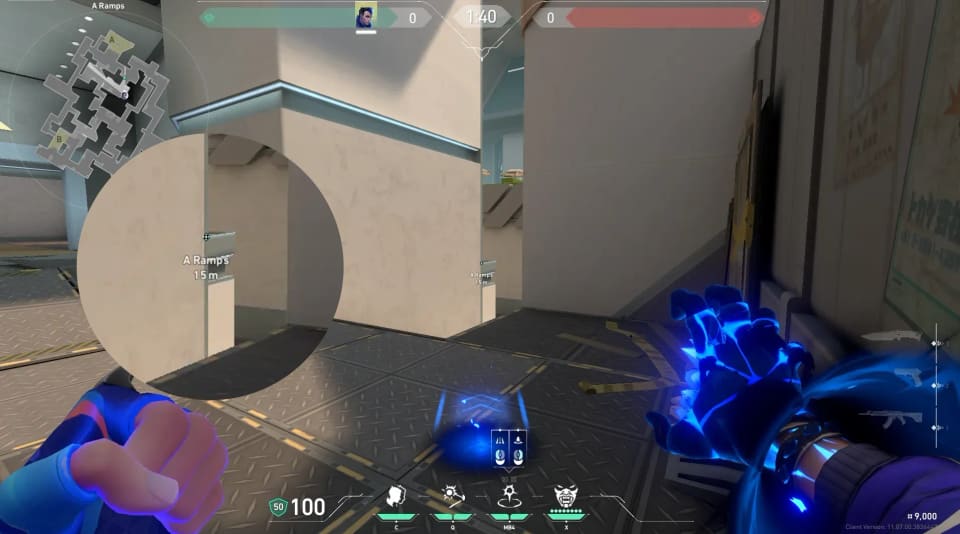
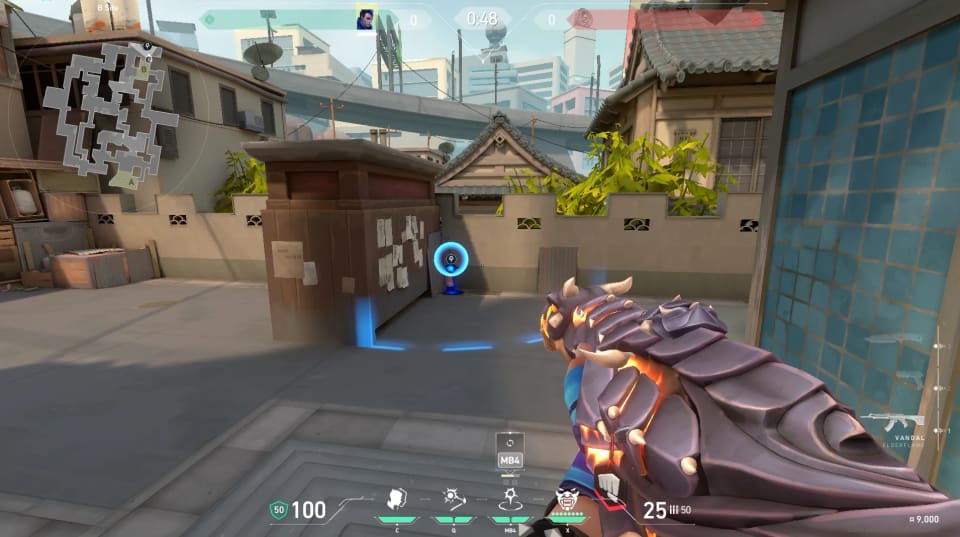
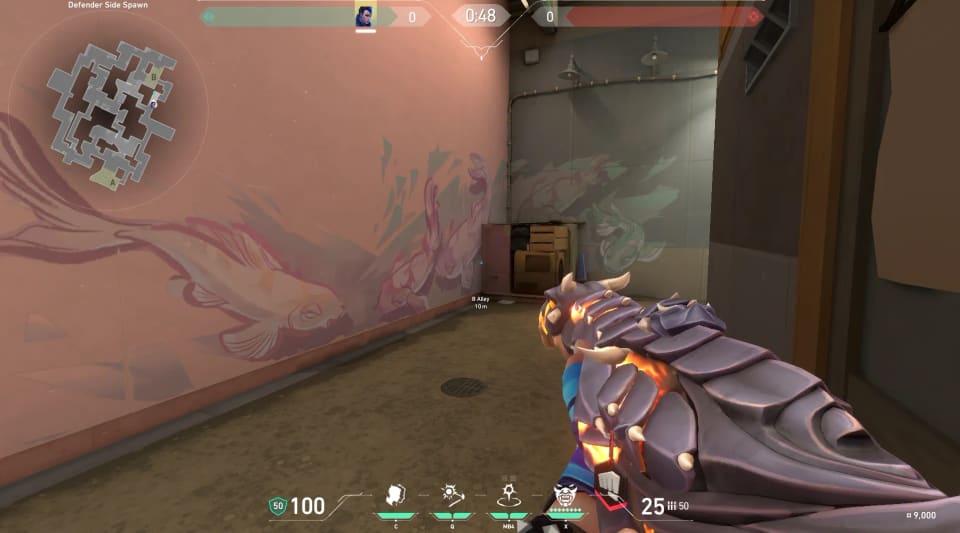
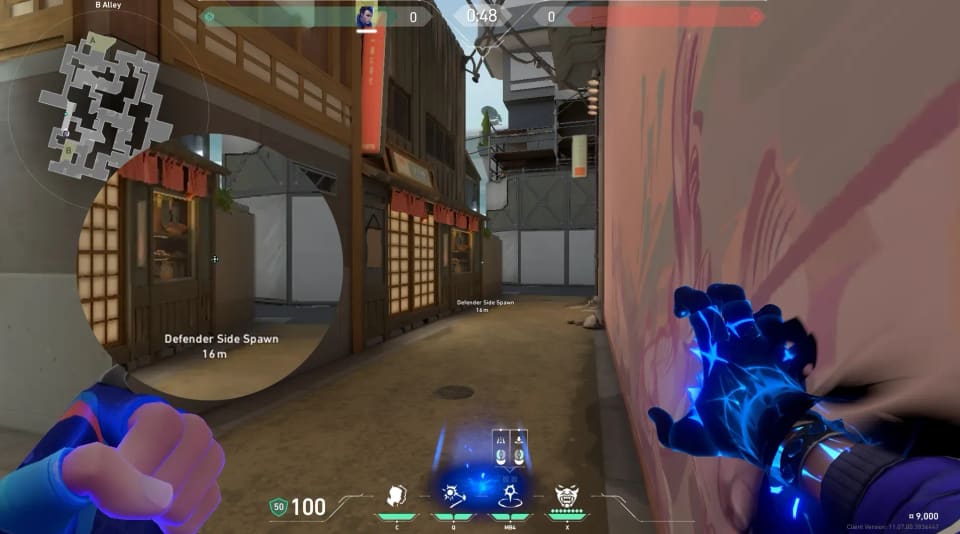
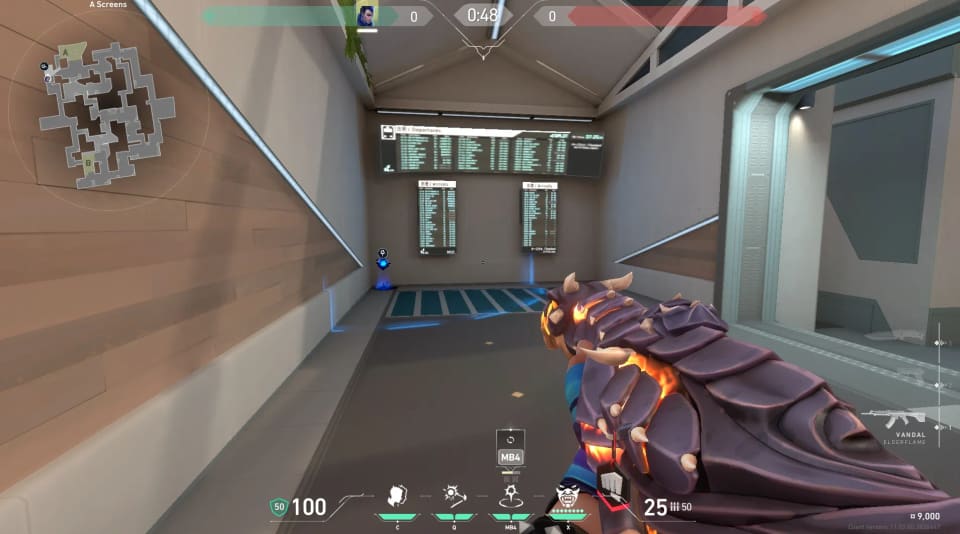
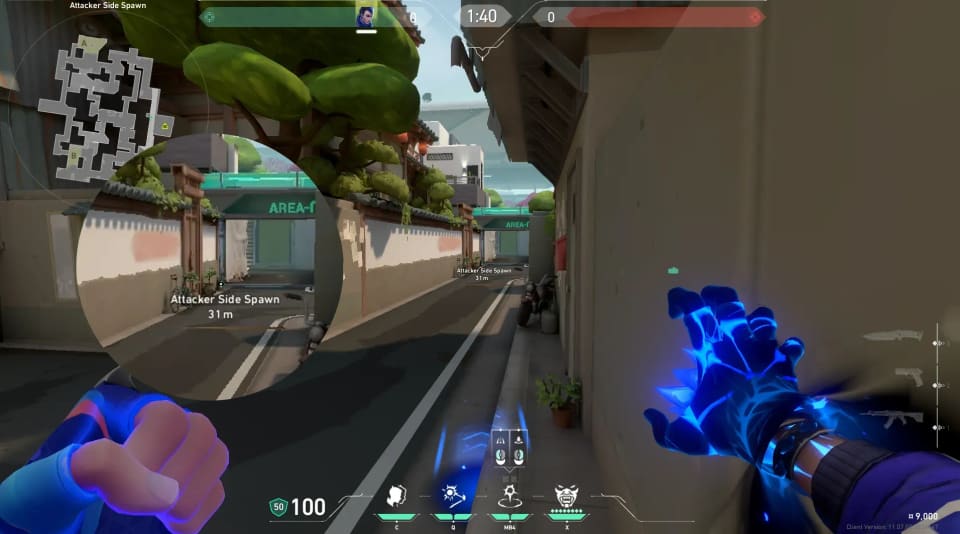
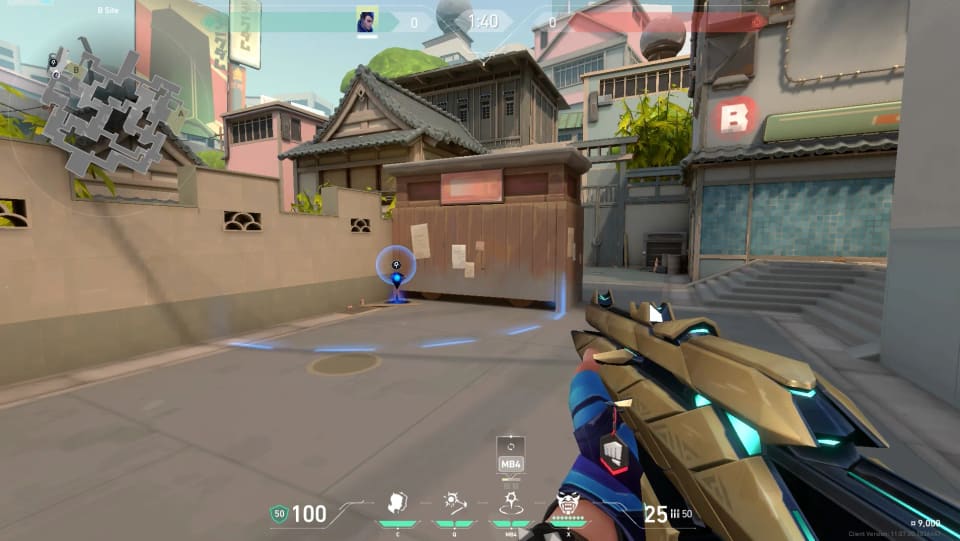
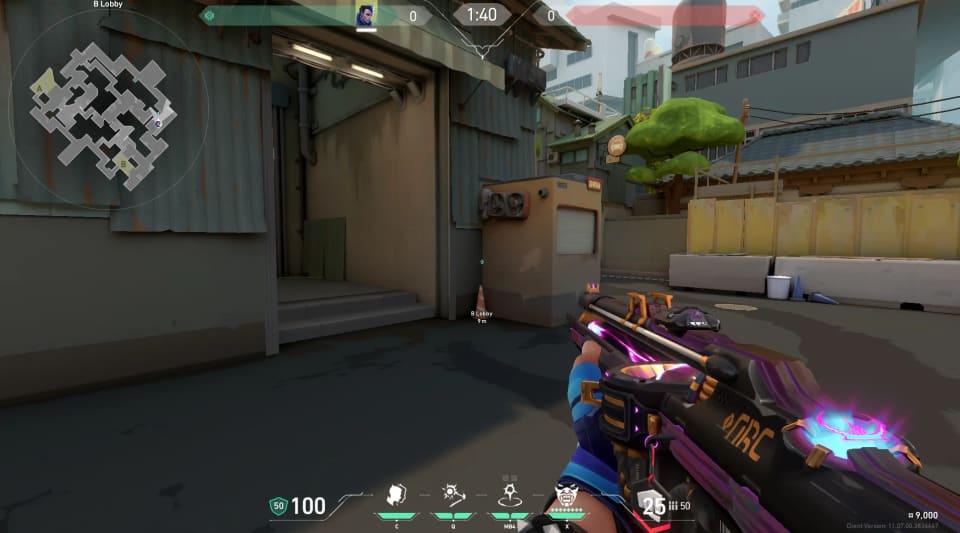
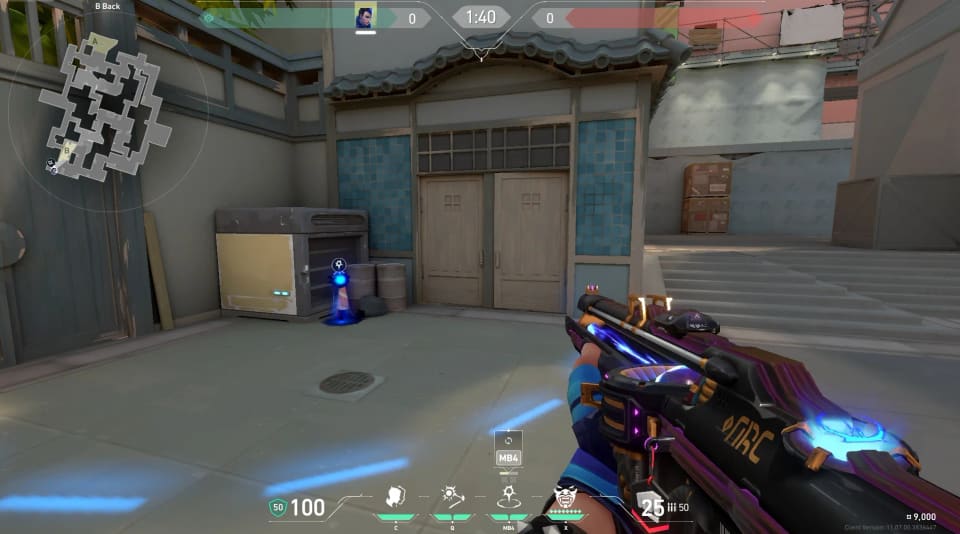
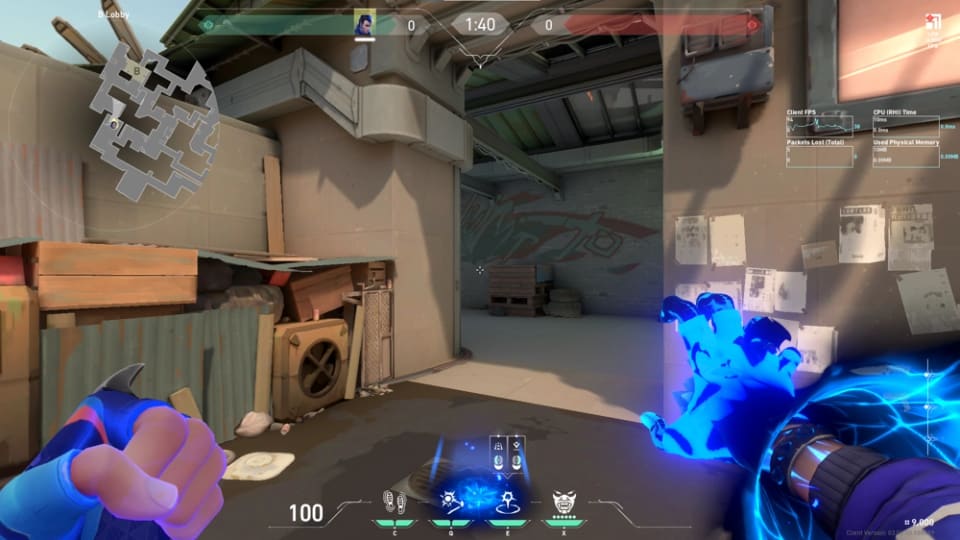
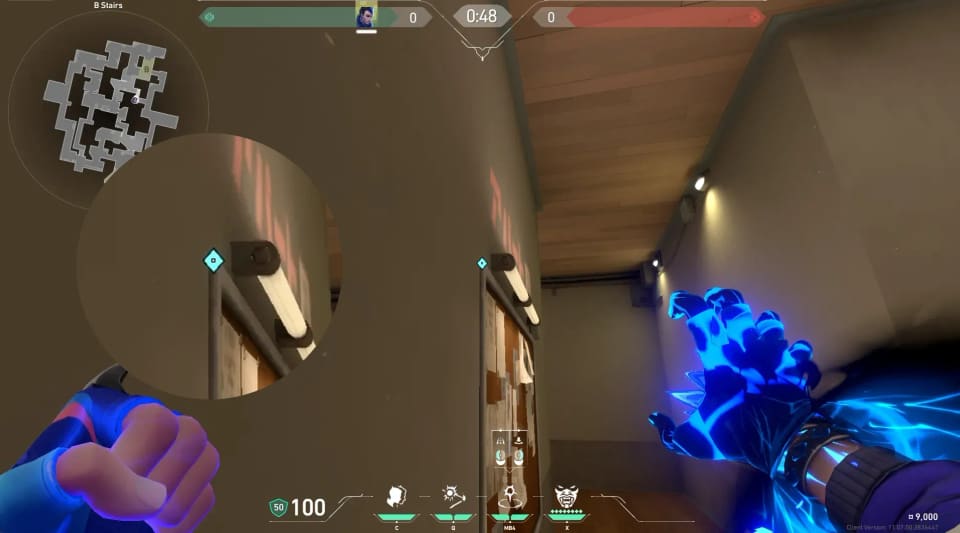
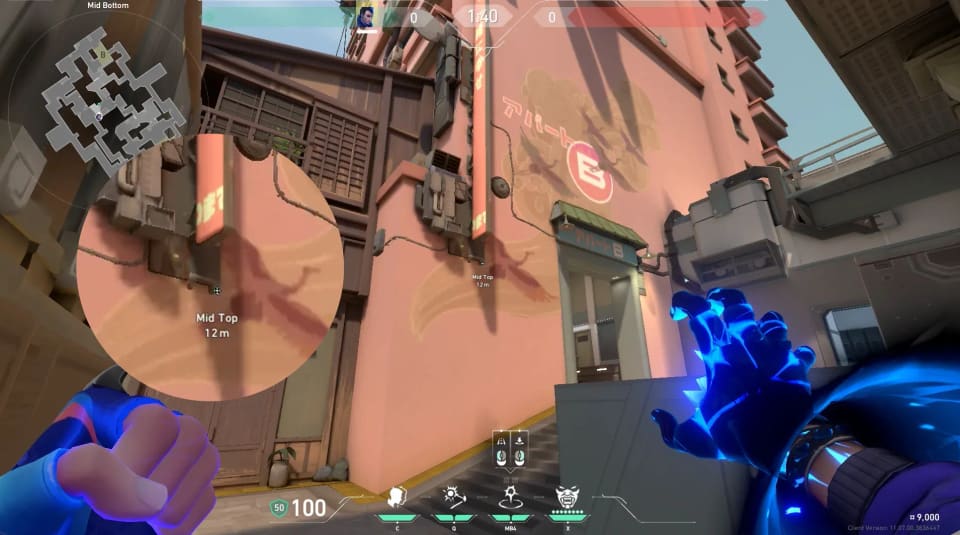
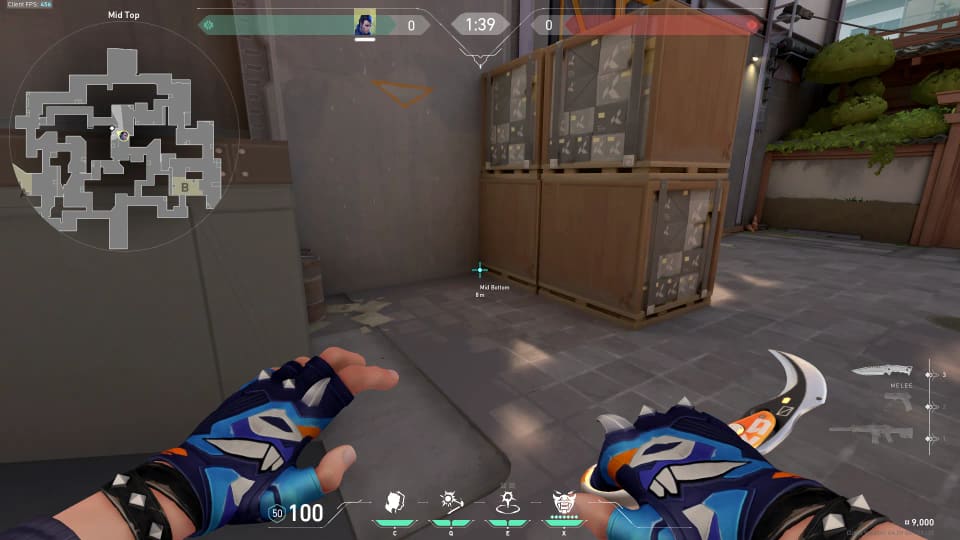
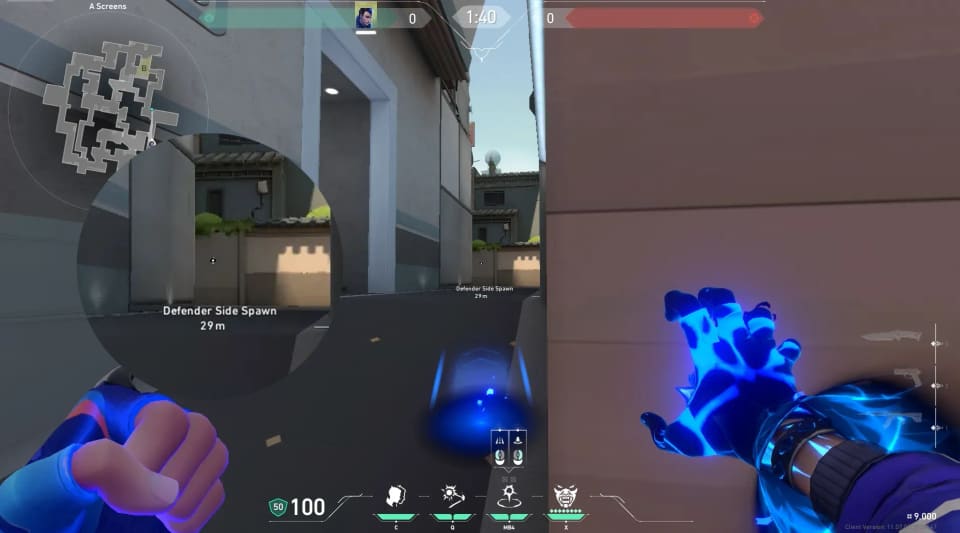
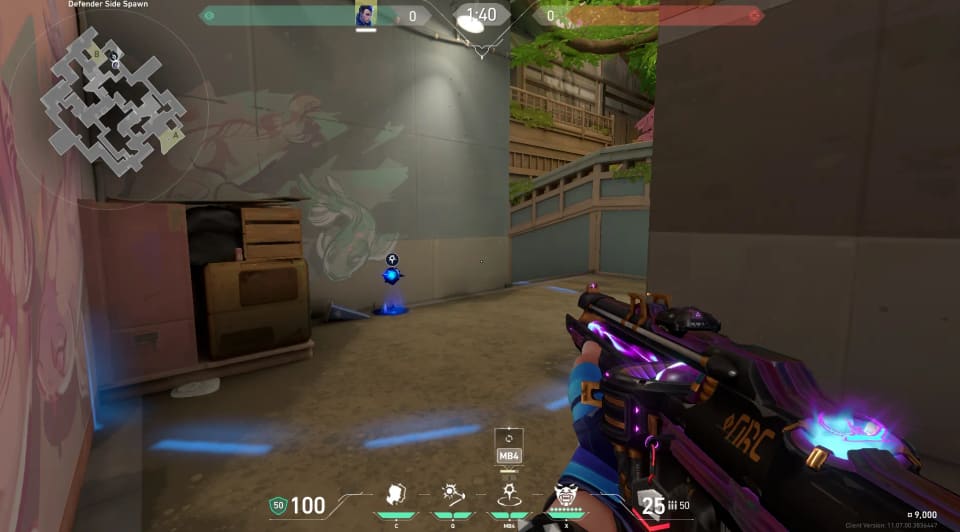
Arrow runs from 1 start to 2 landing spot when both callouts are matched.
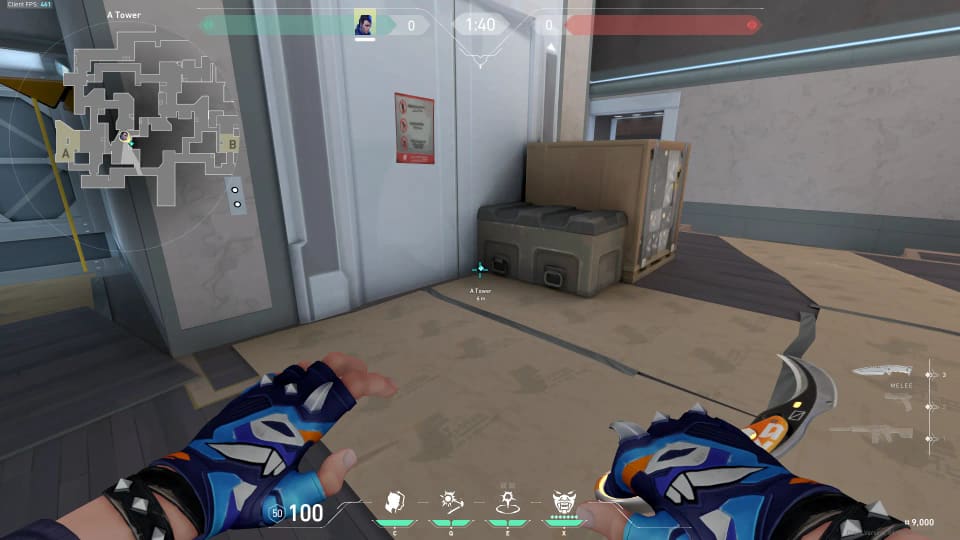
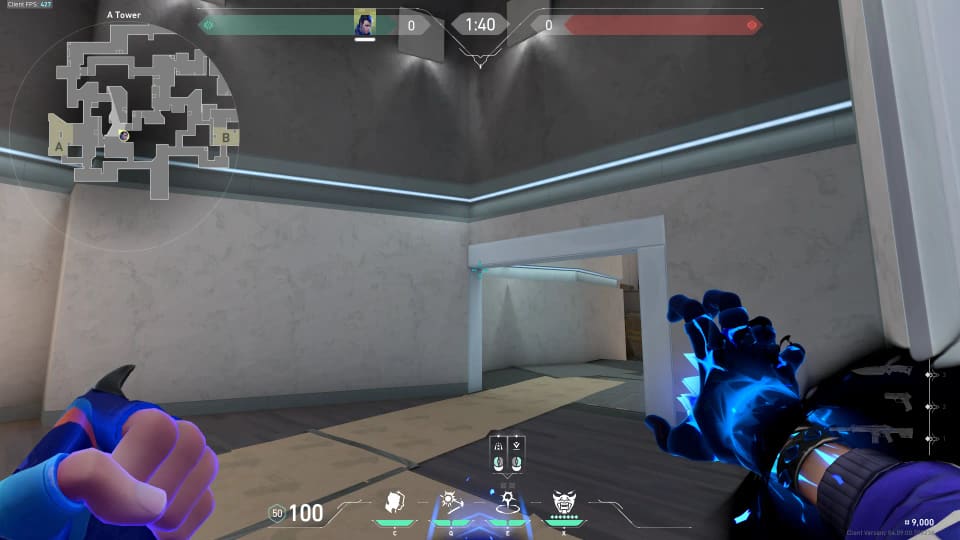
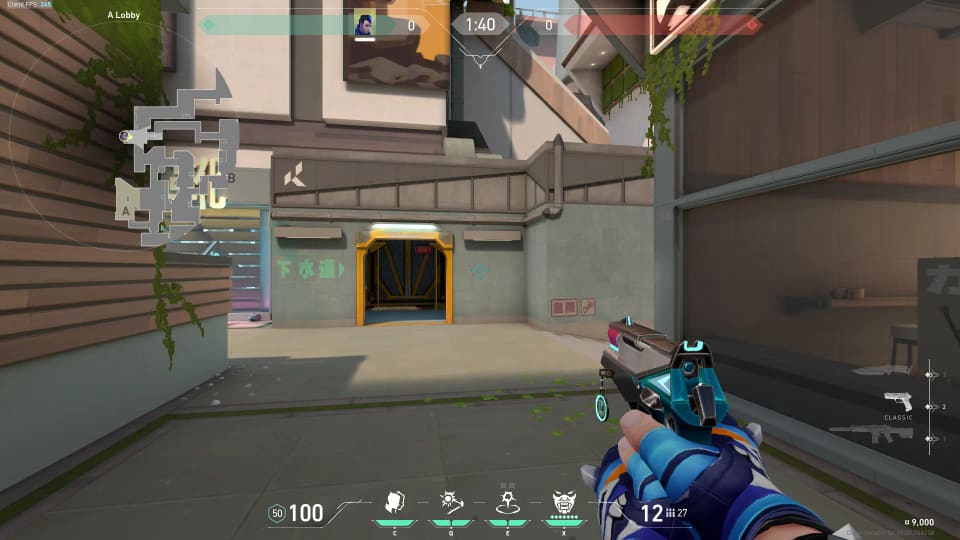
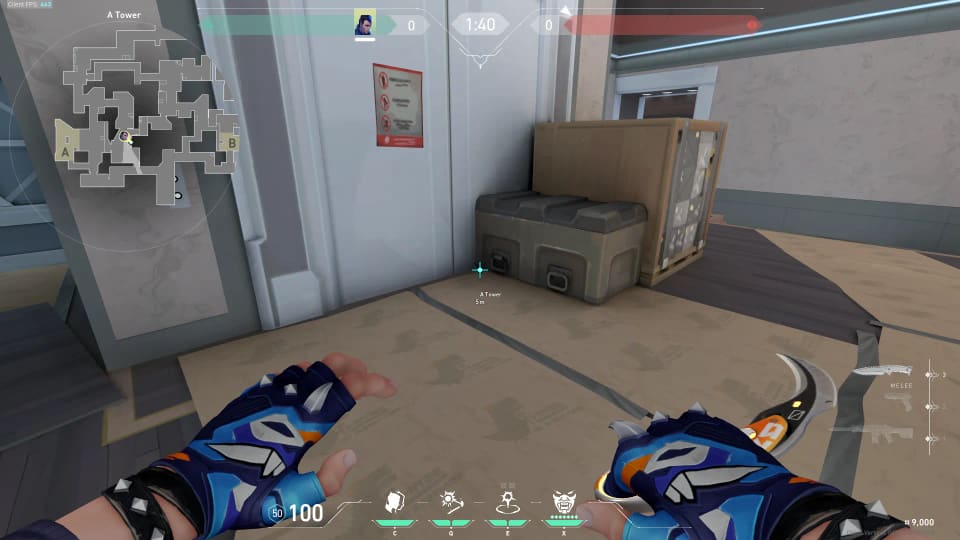
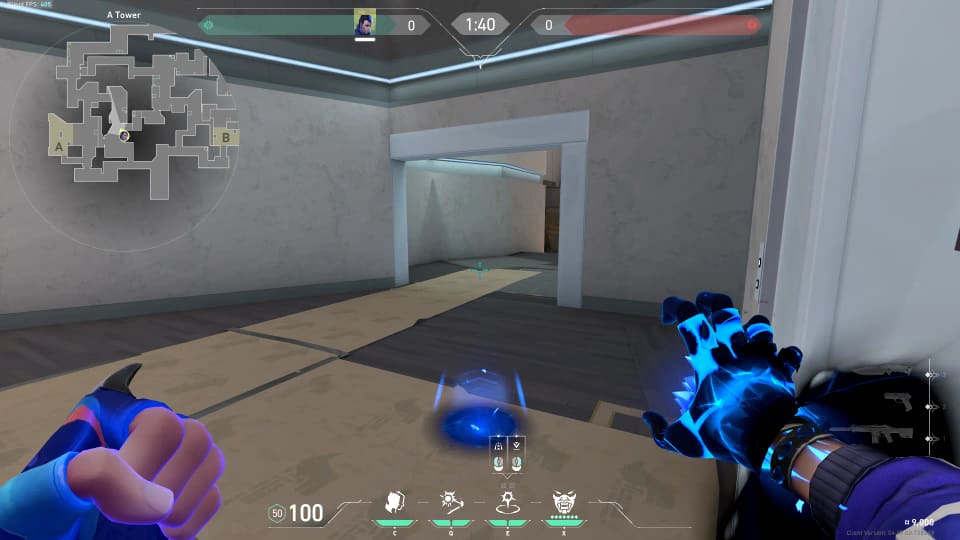
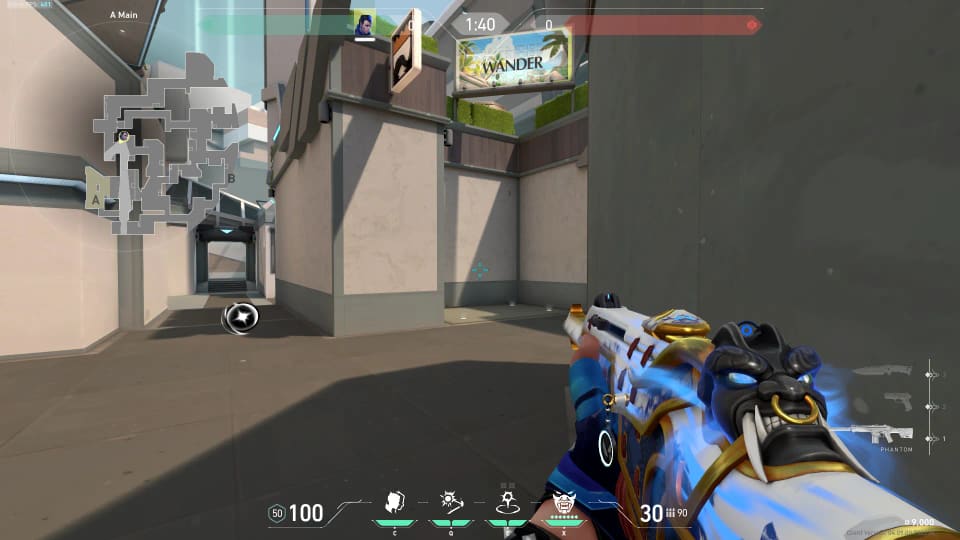
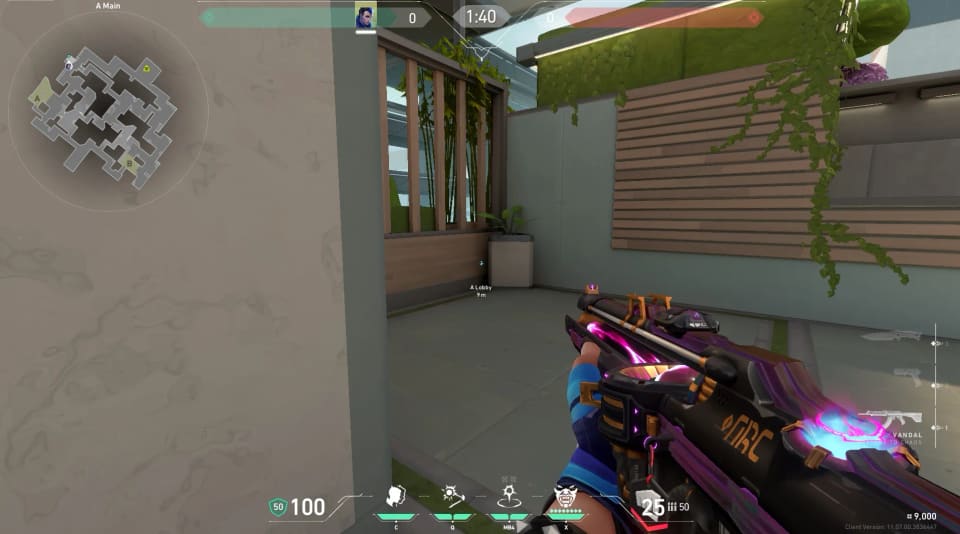
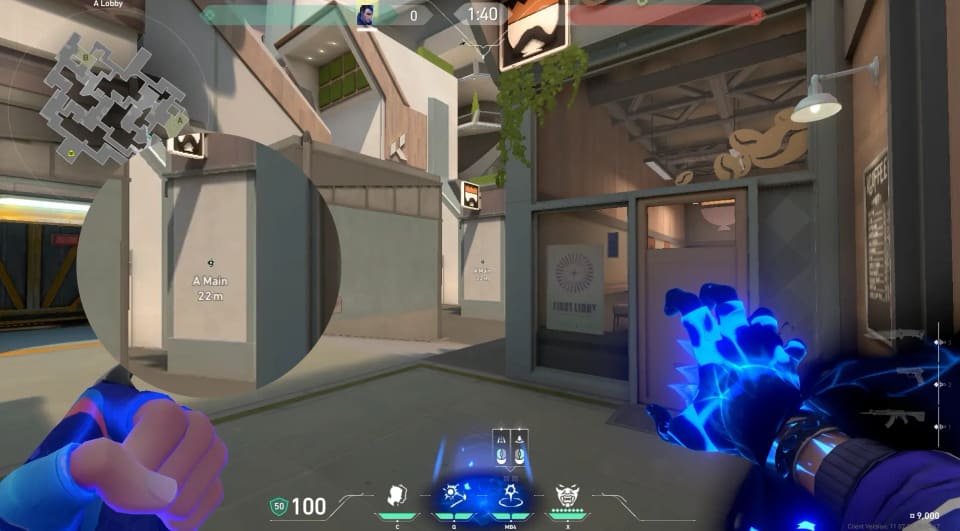
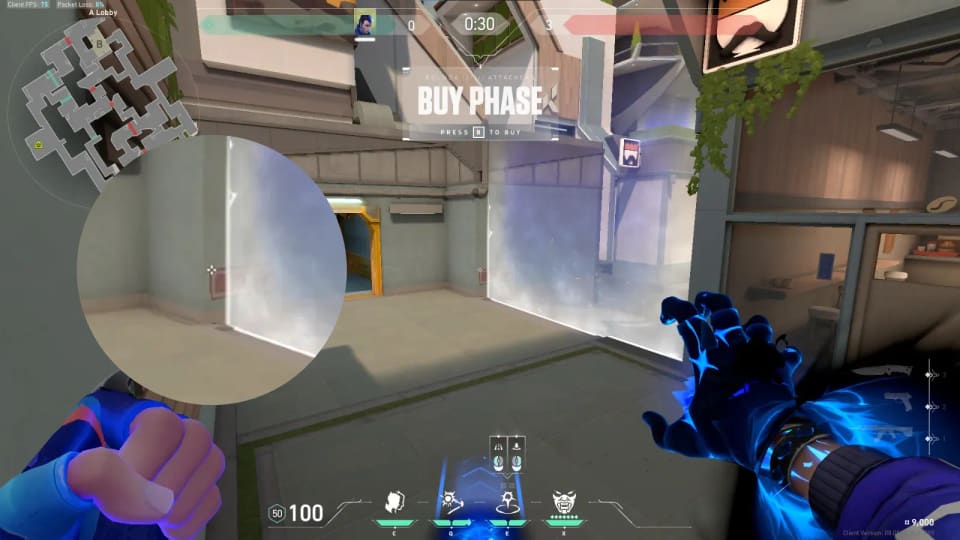
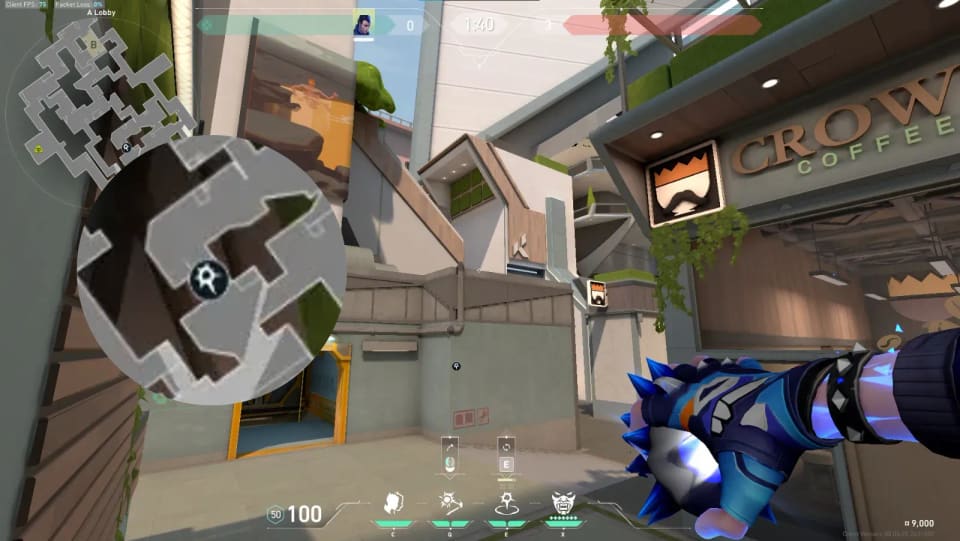
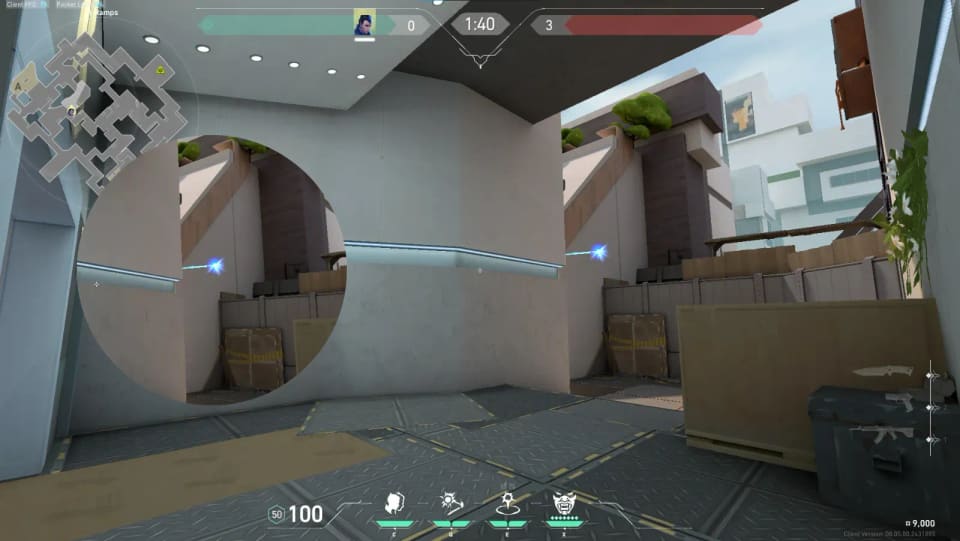
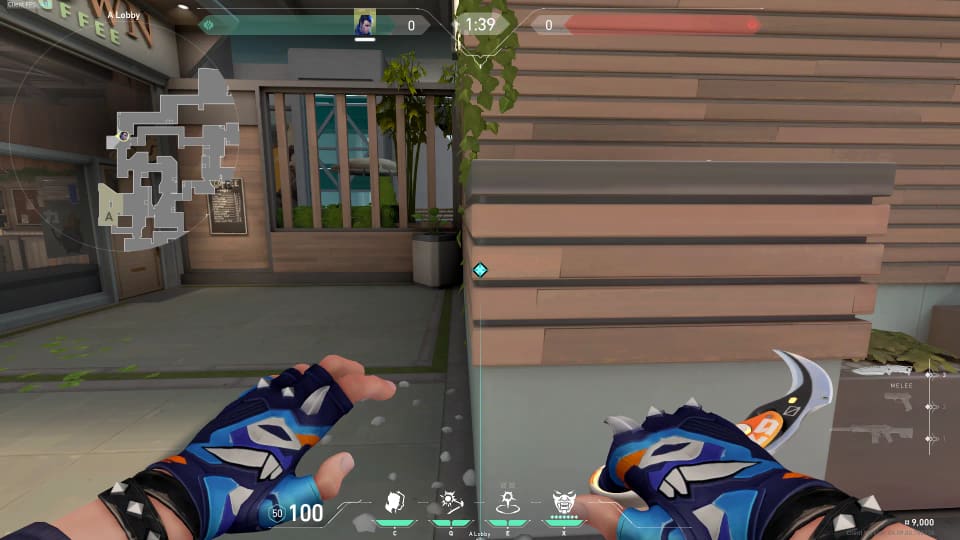
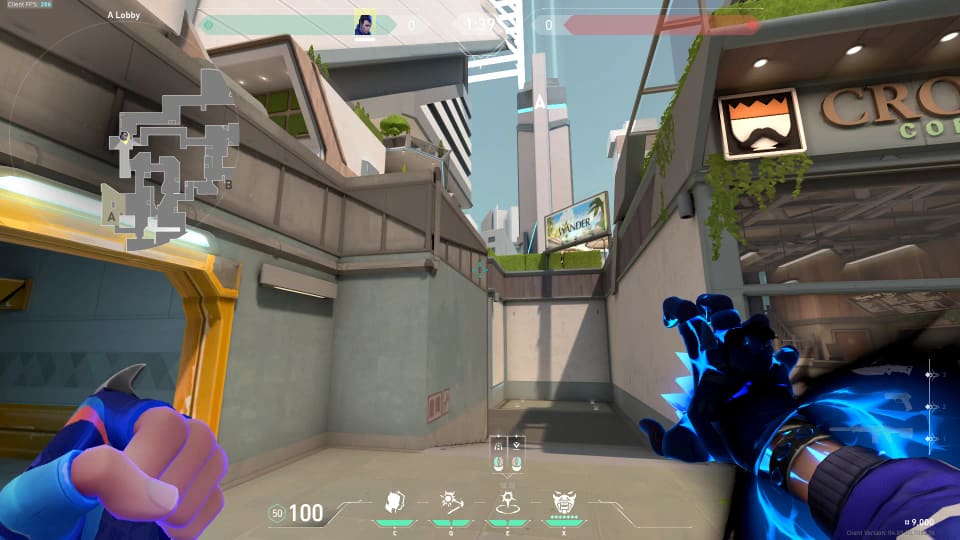
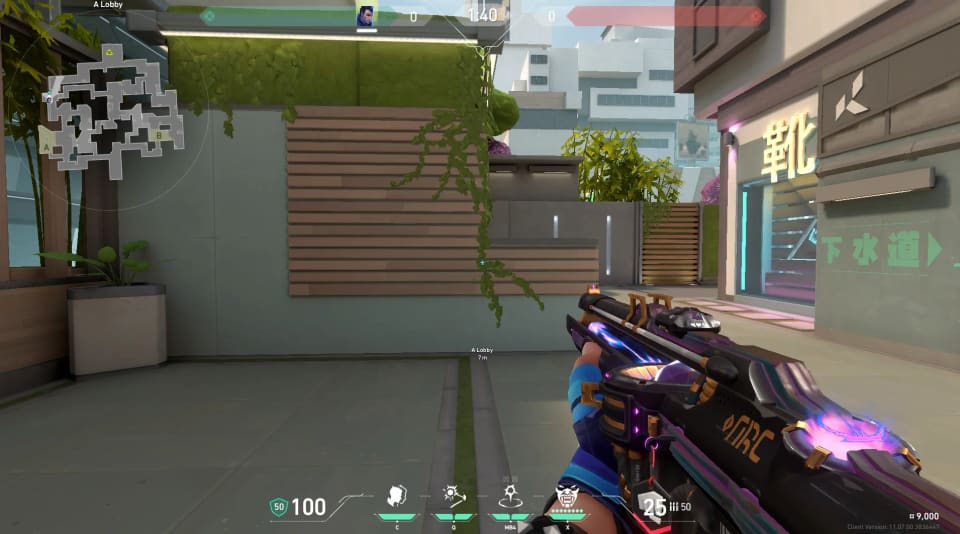
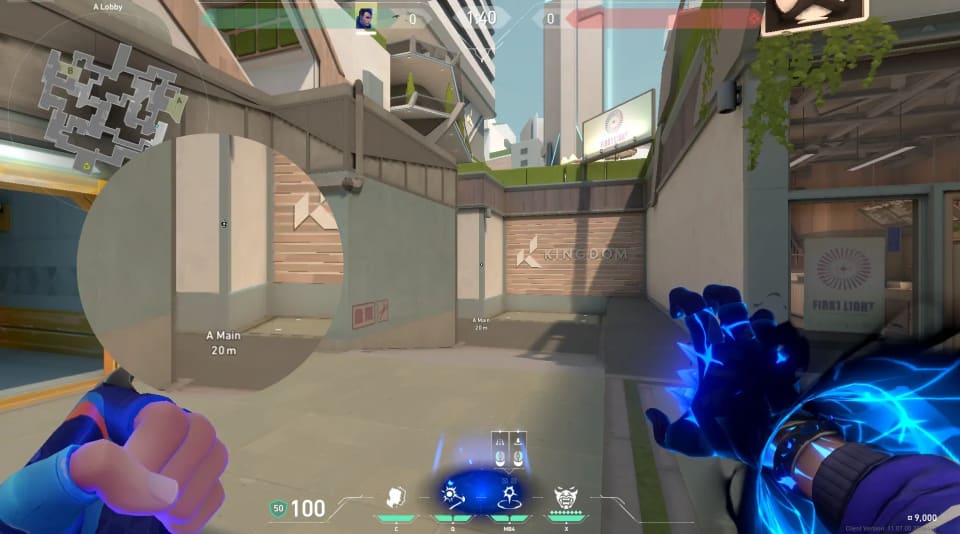
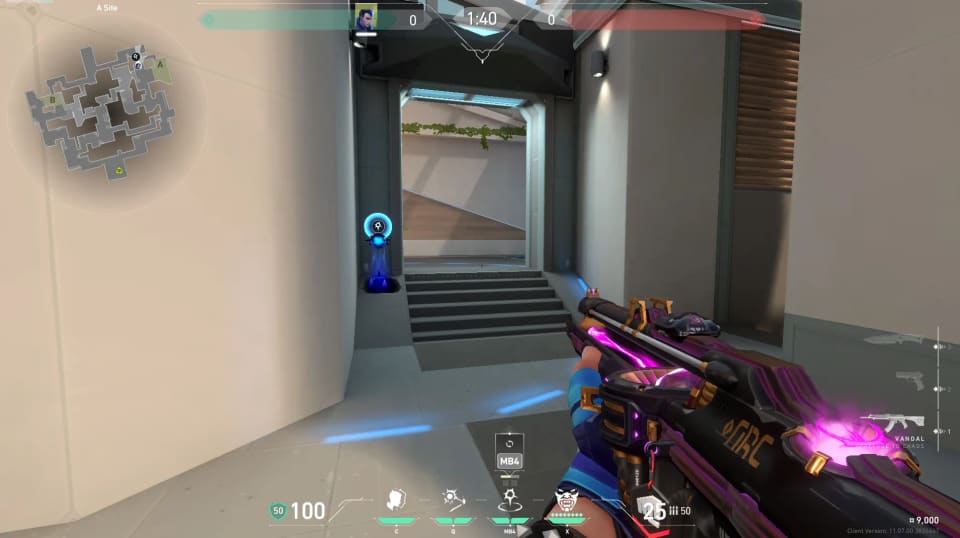
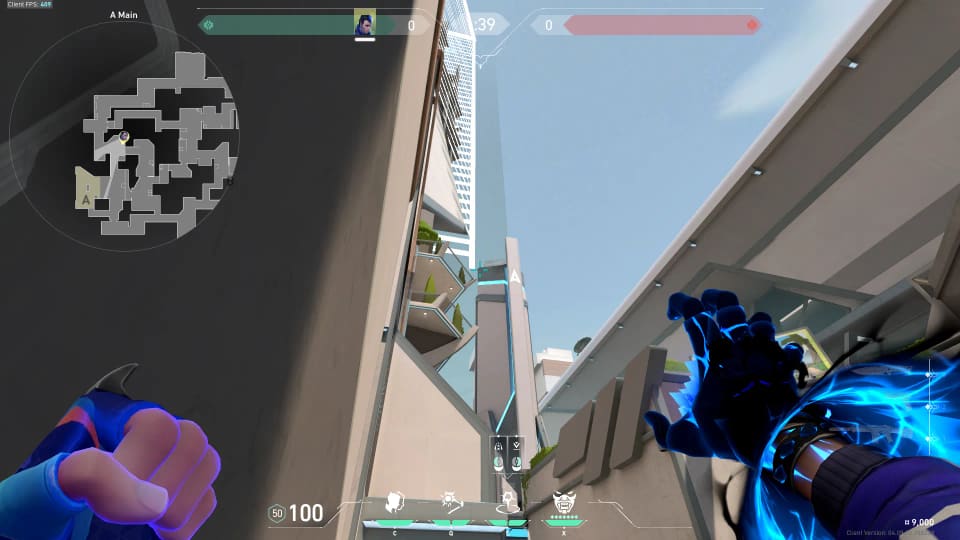
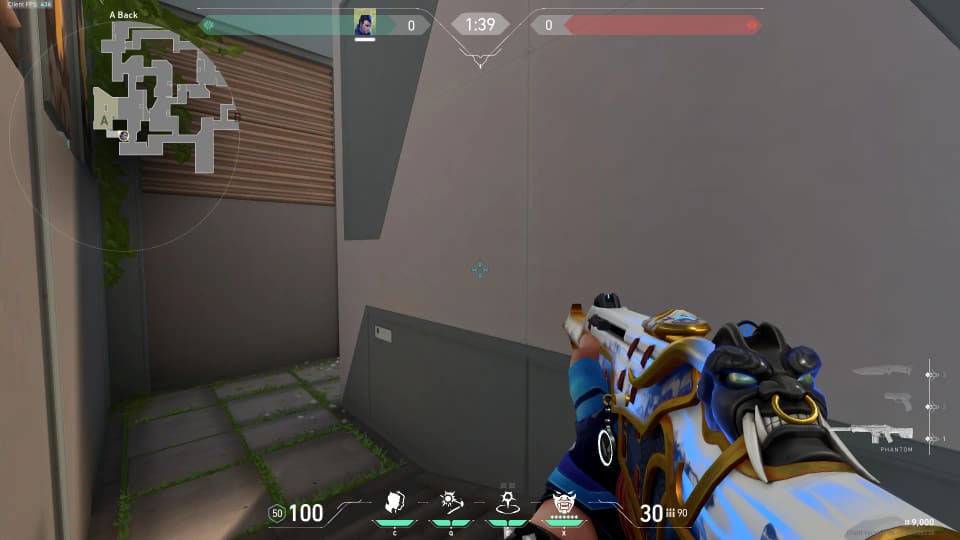
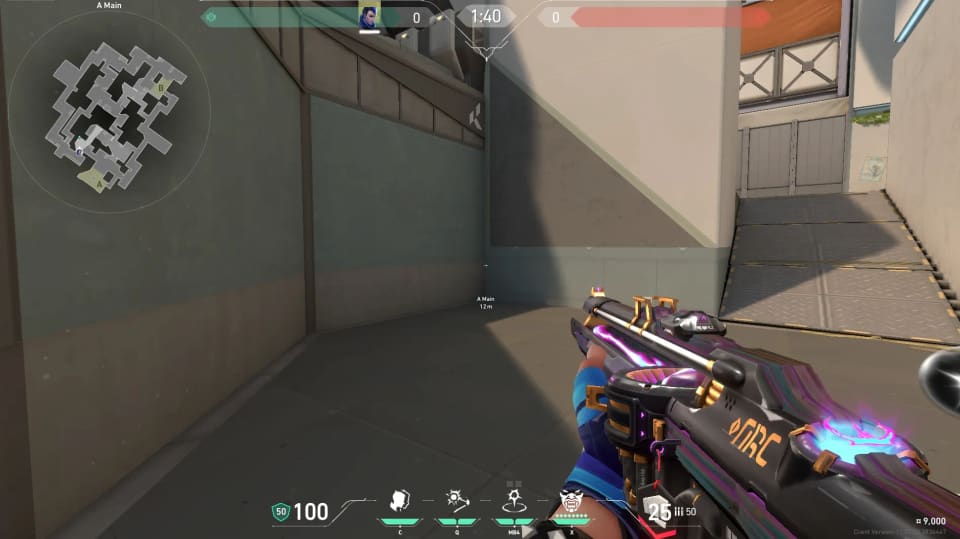
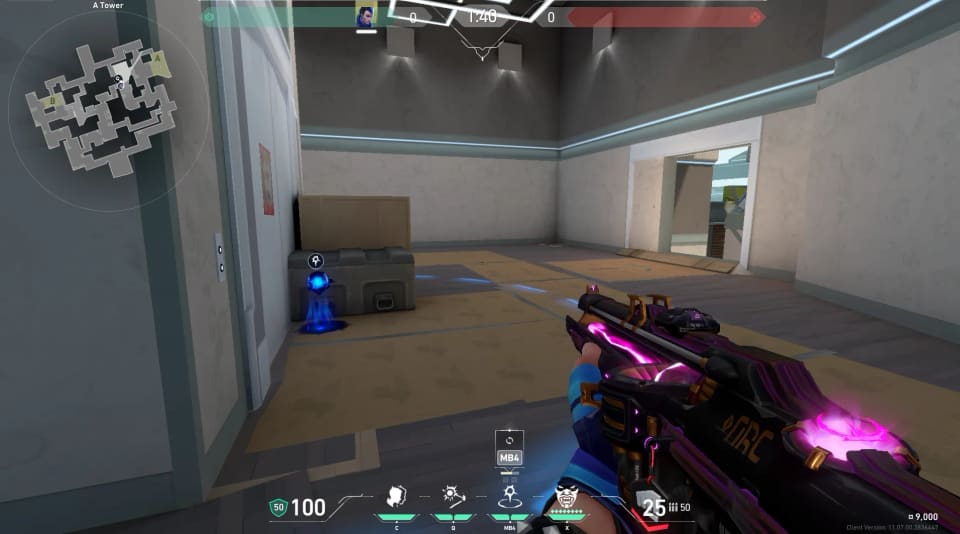
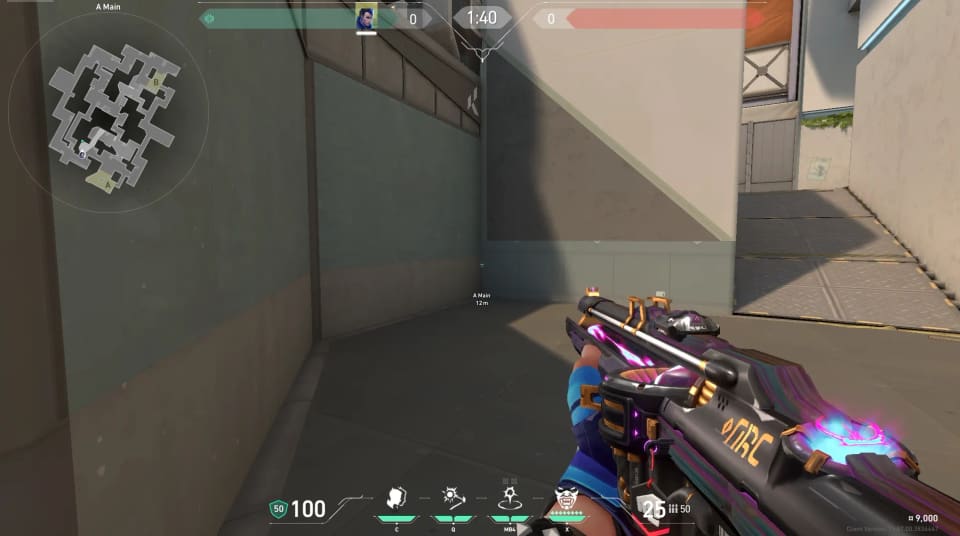
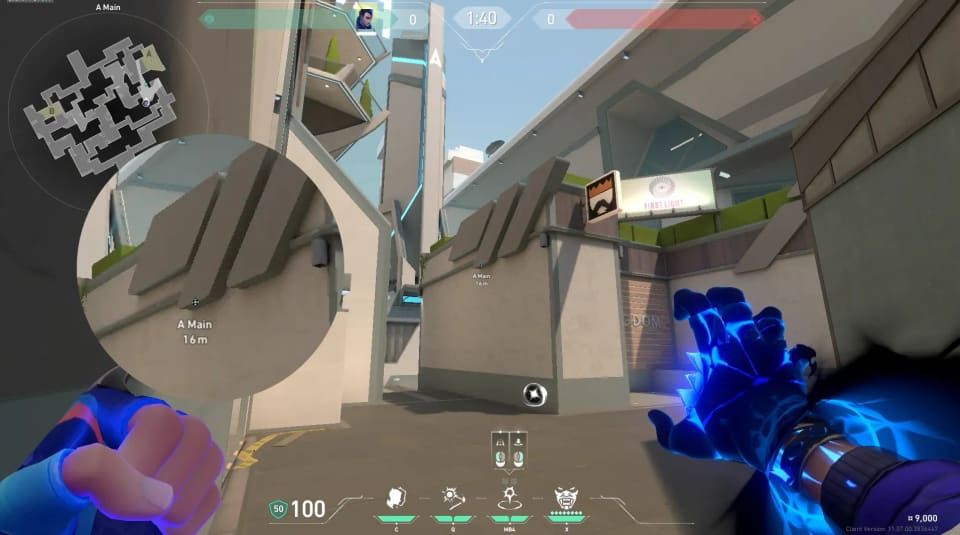
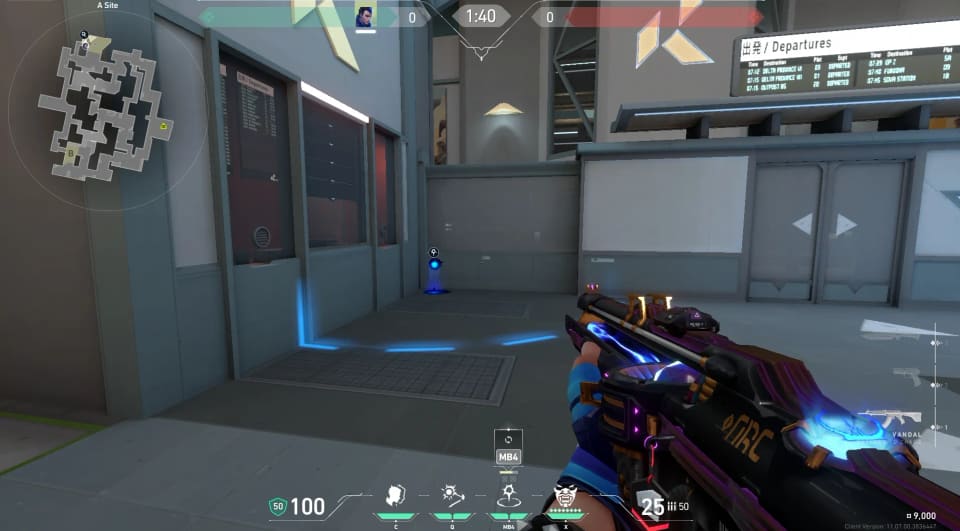
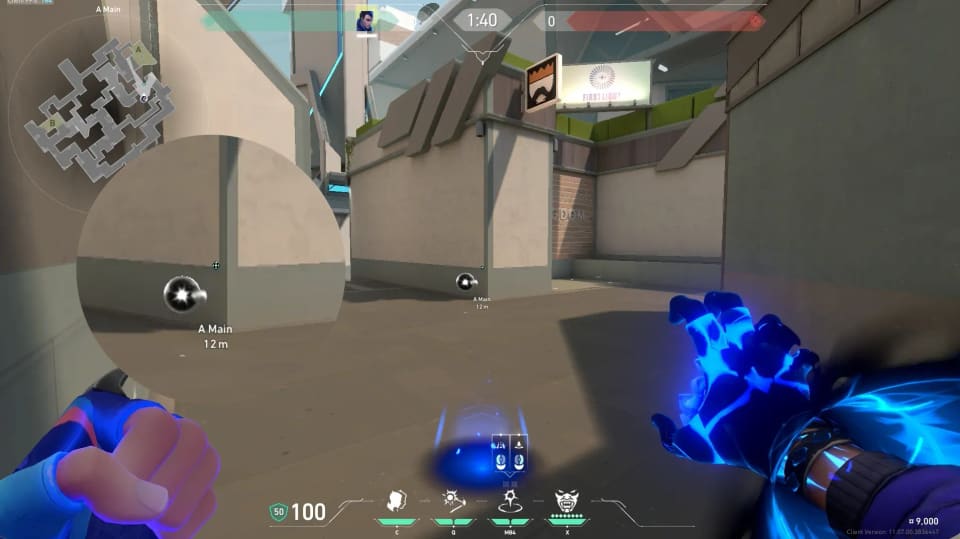
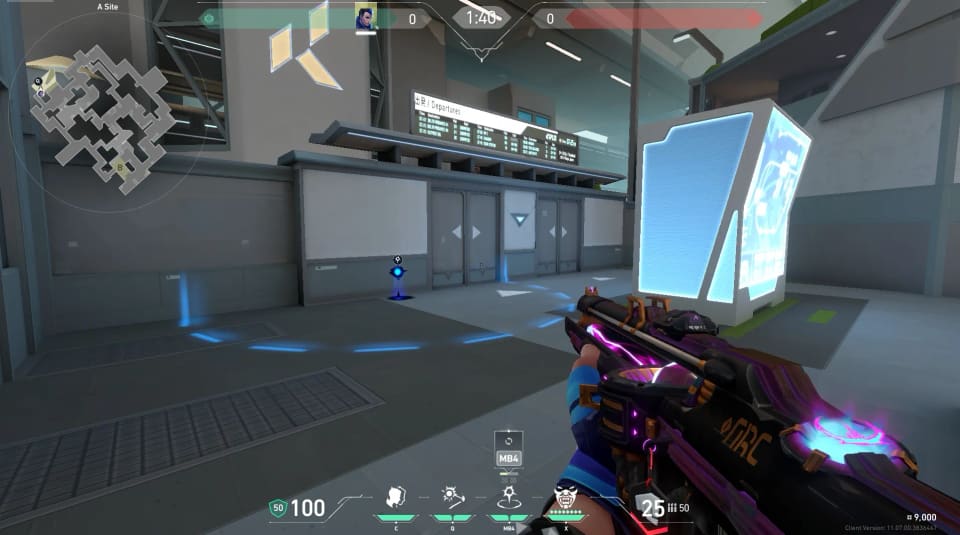
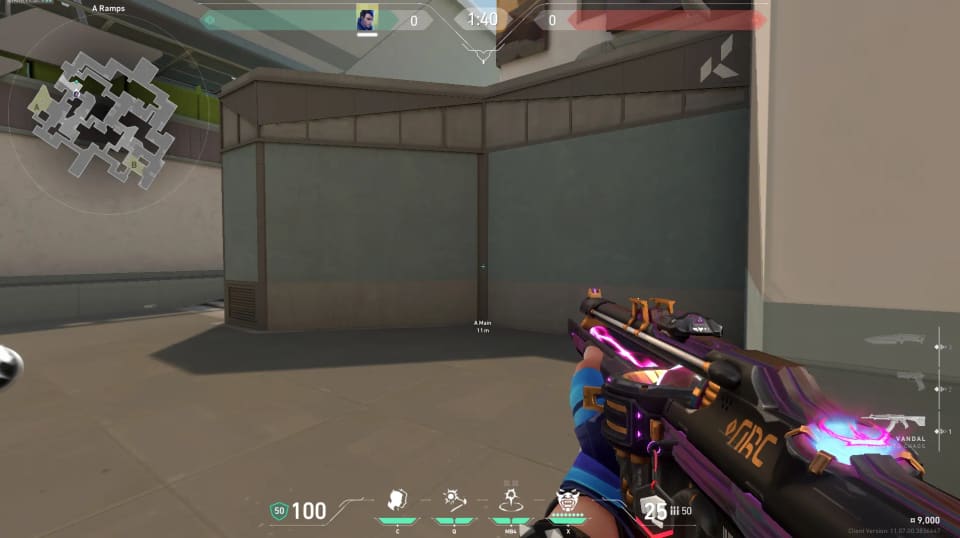
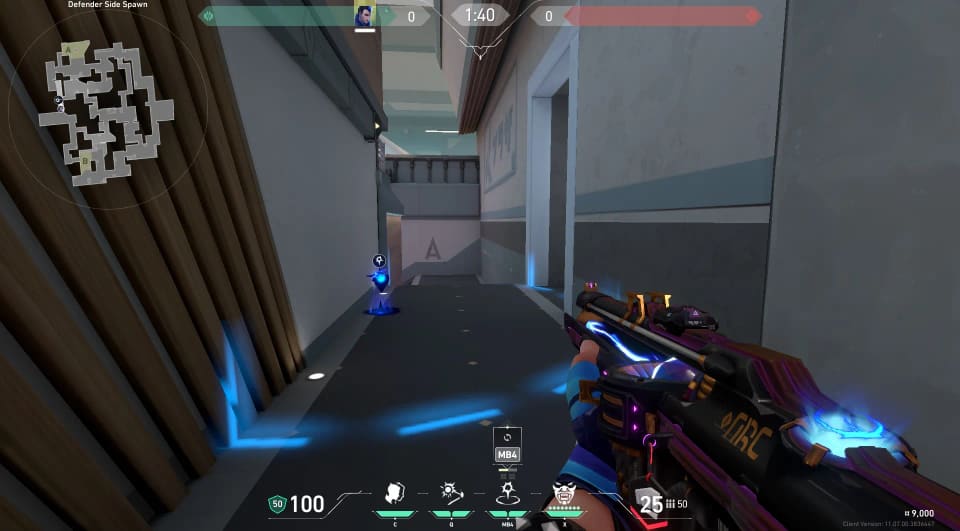
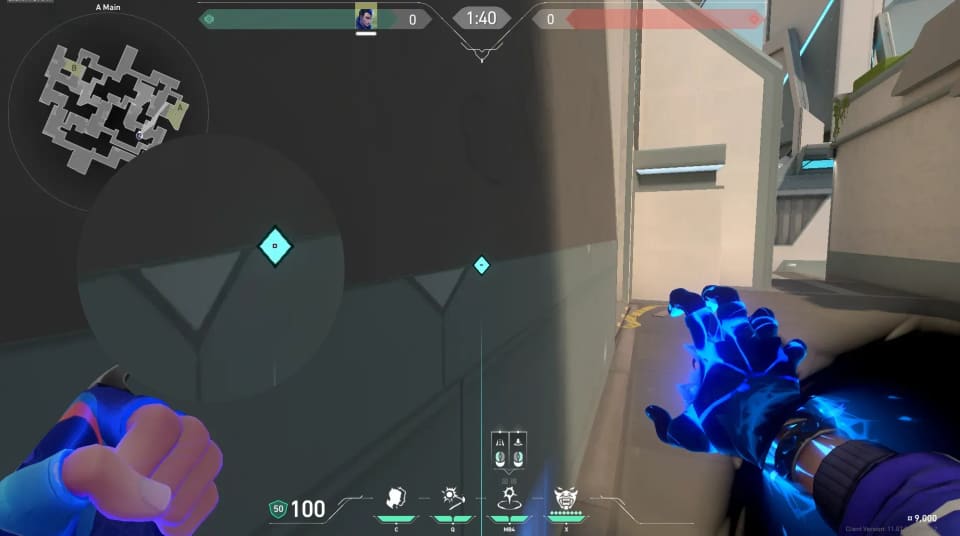
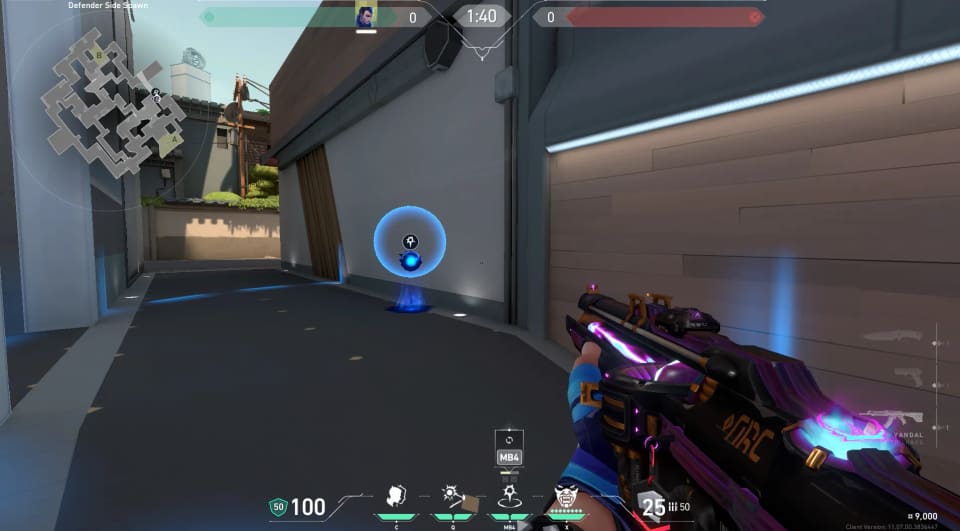
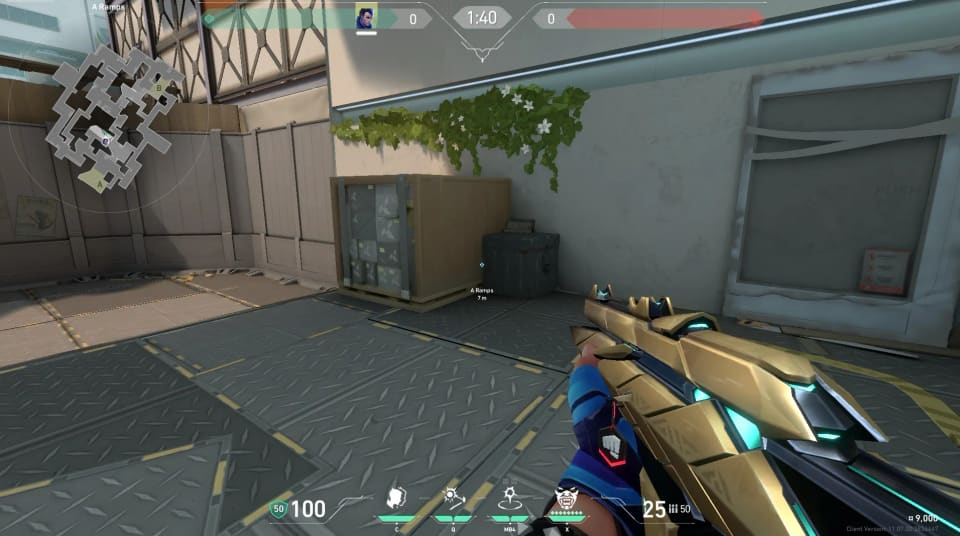
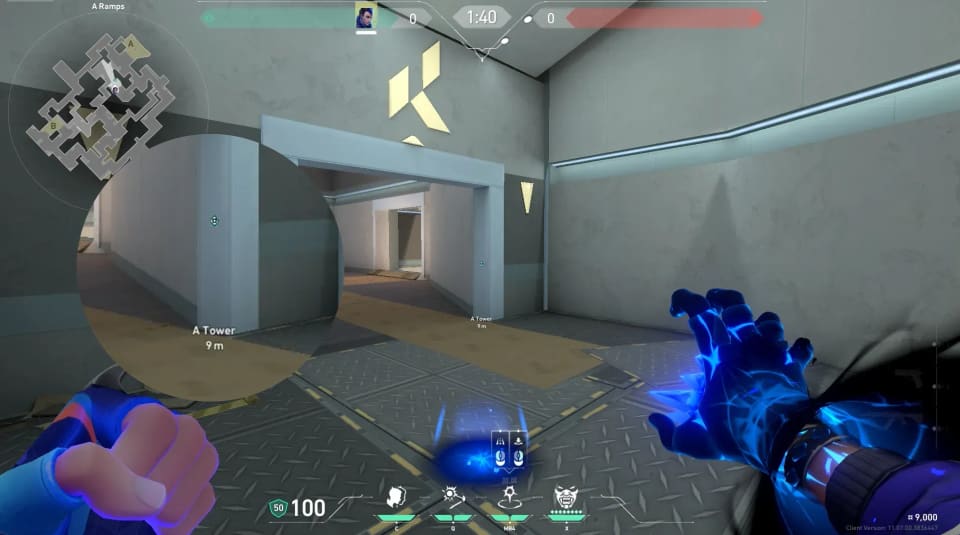
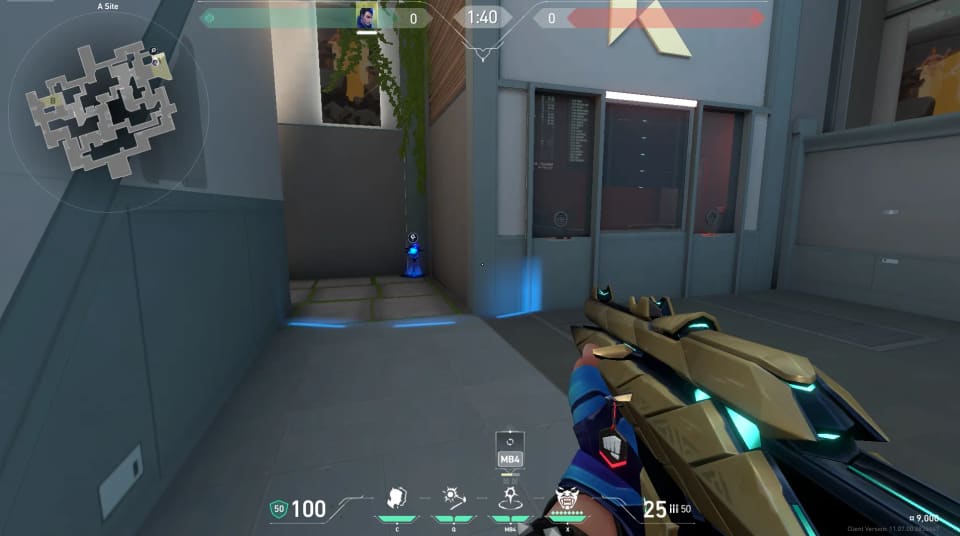
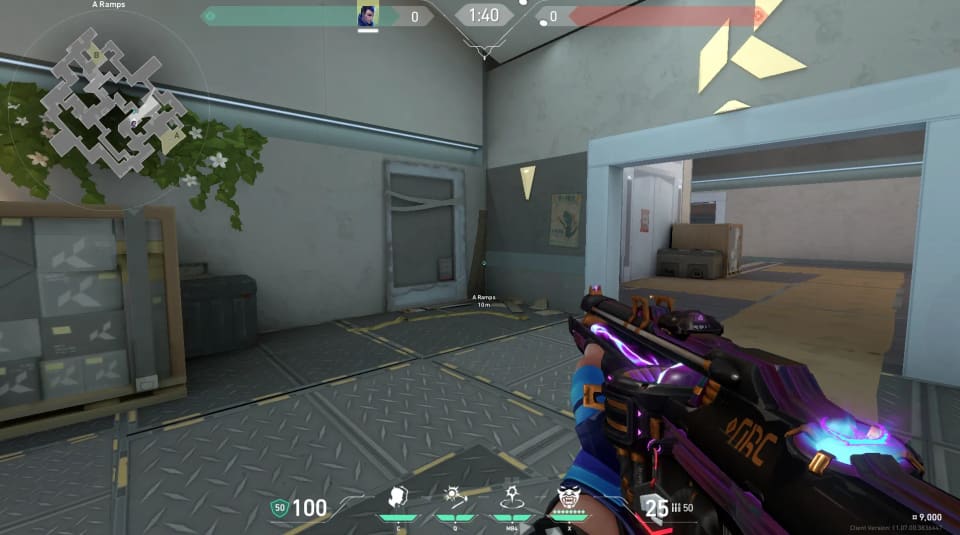
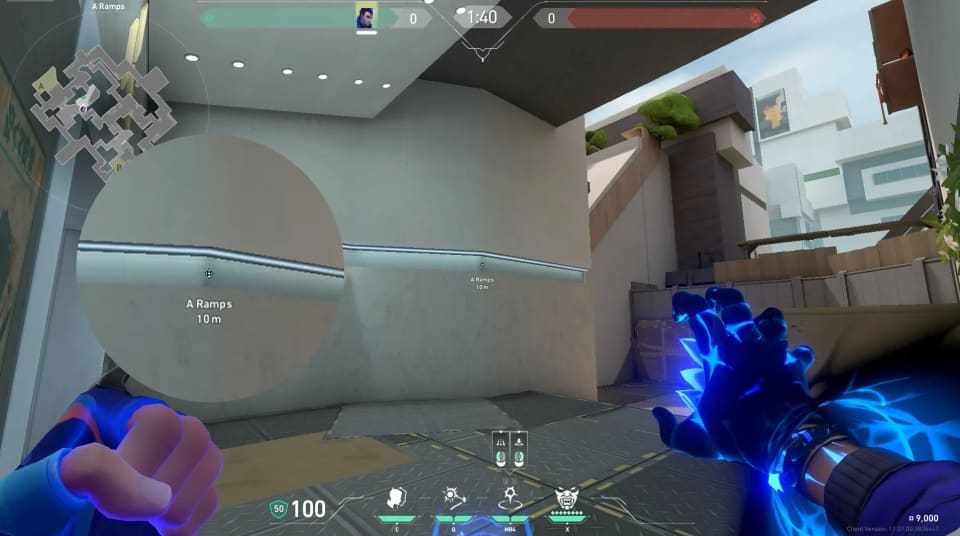
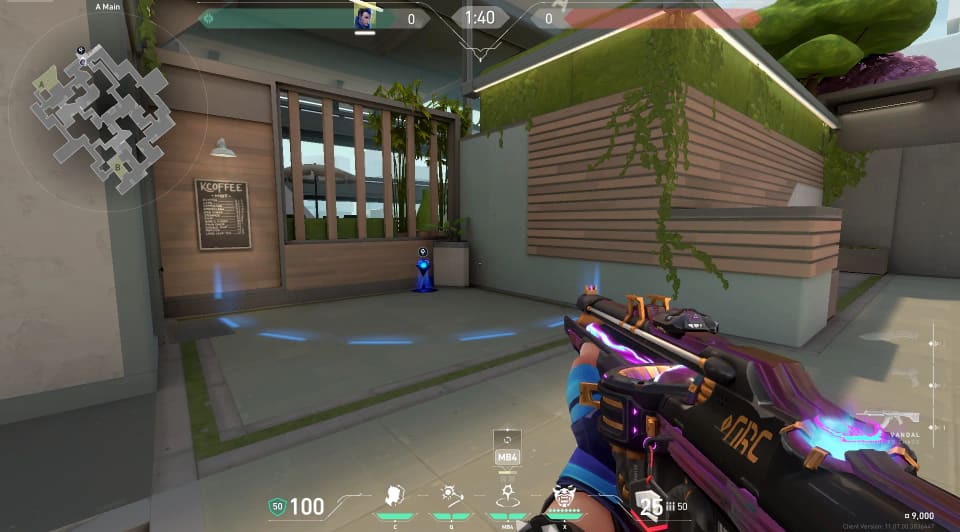
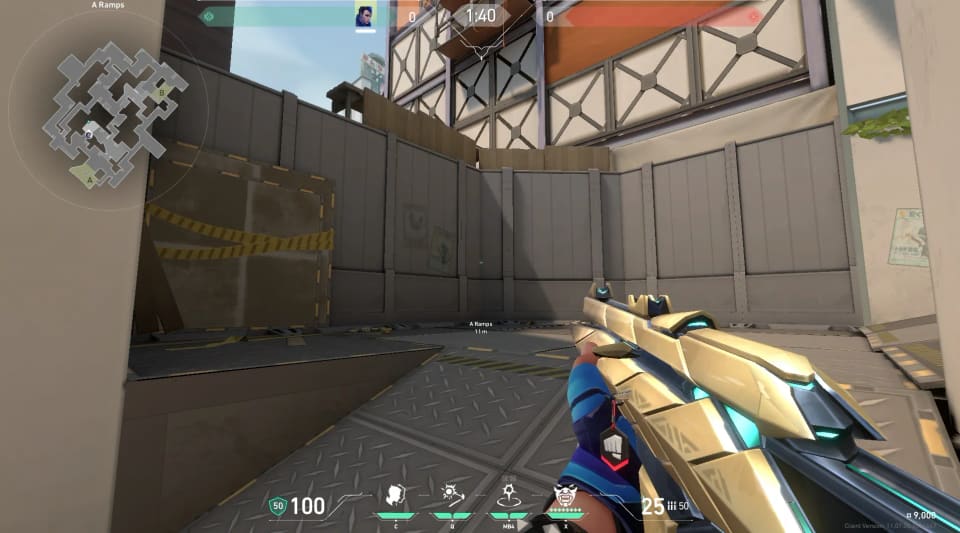
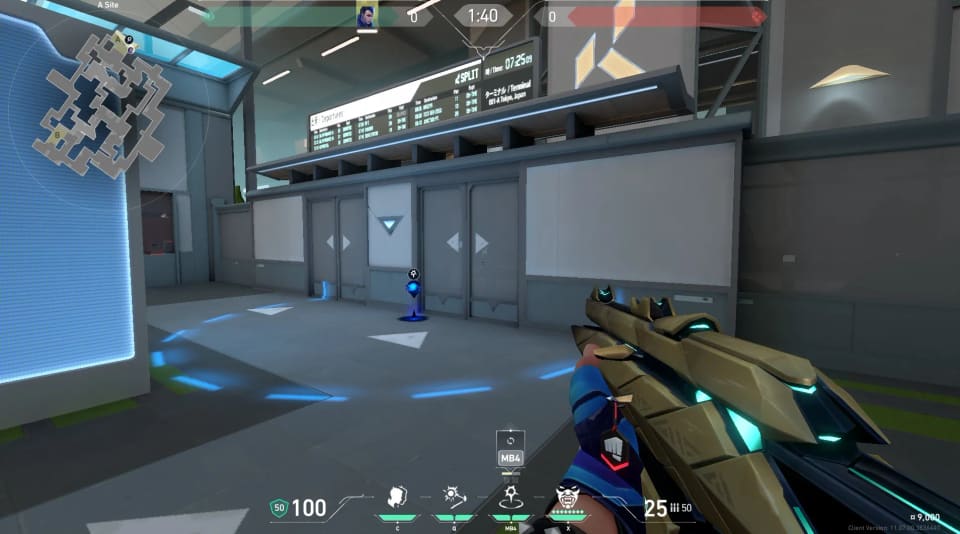
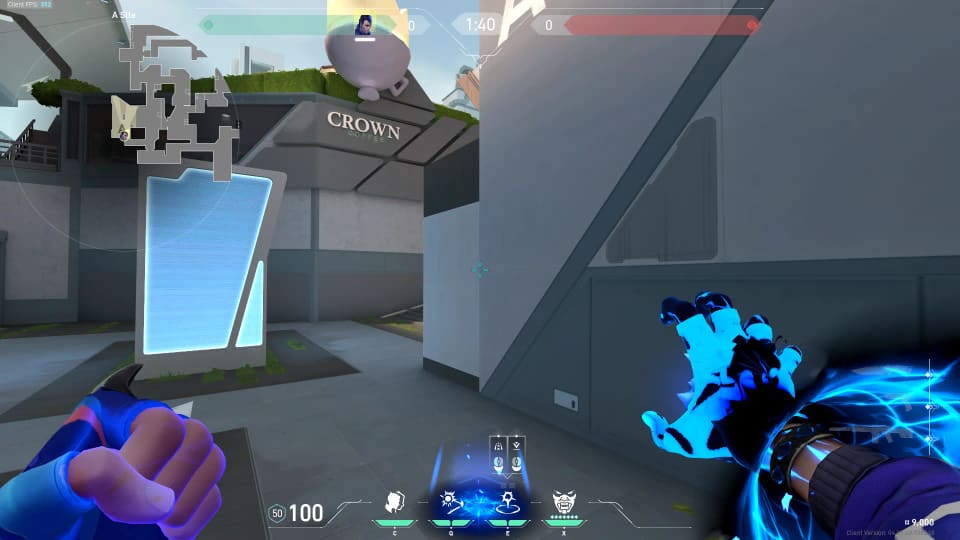
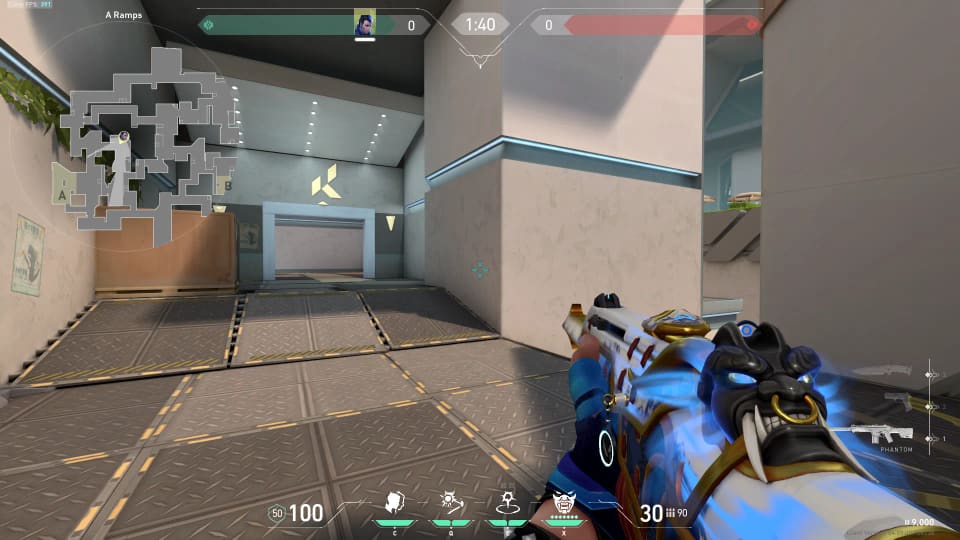
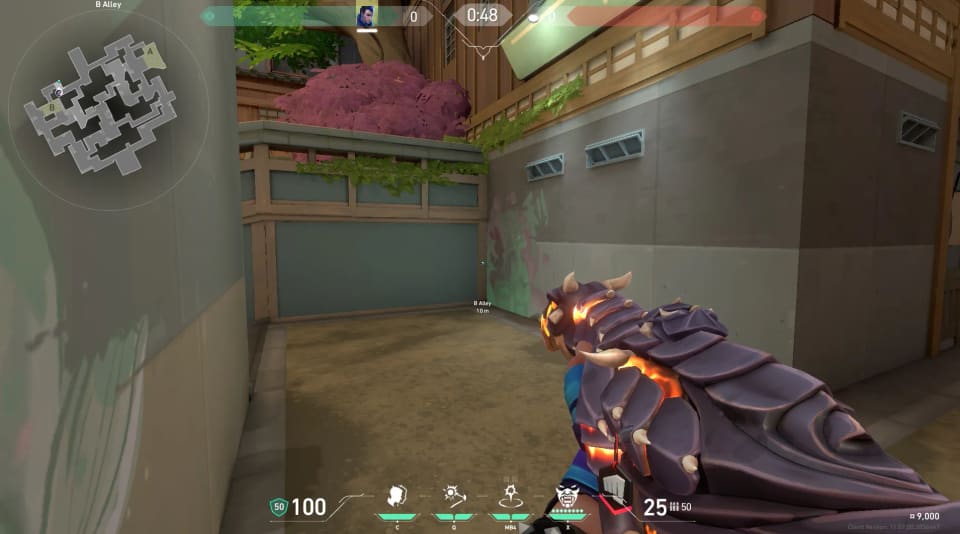
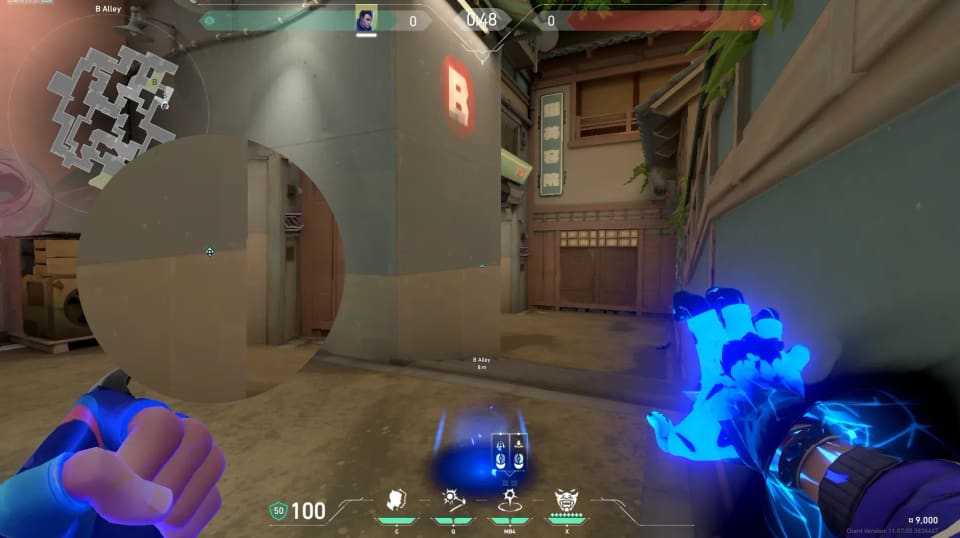
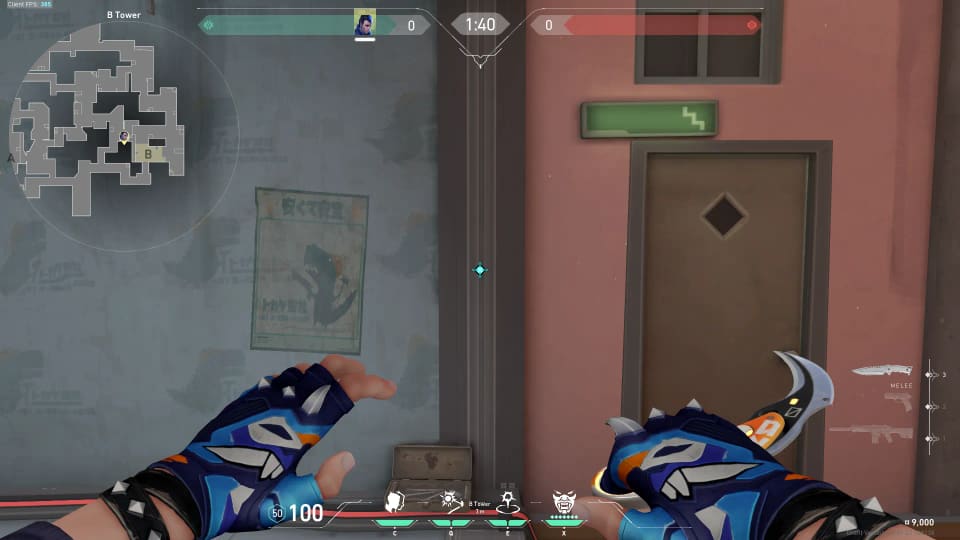
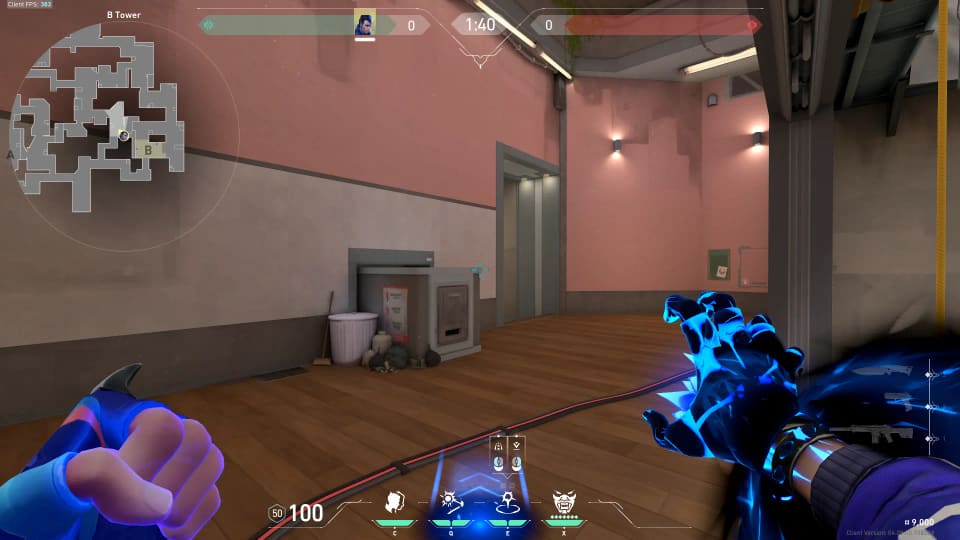
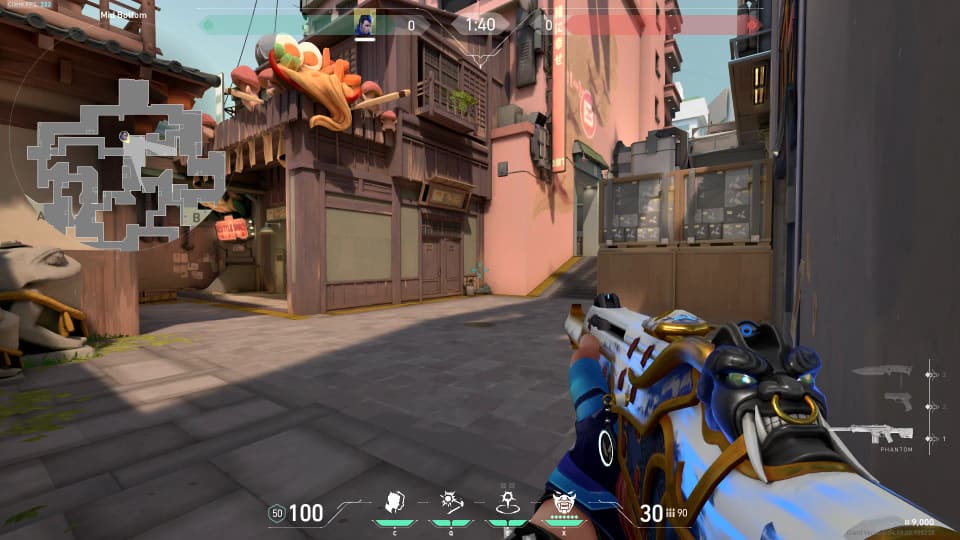
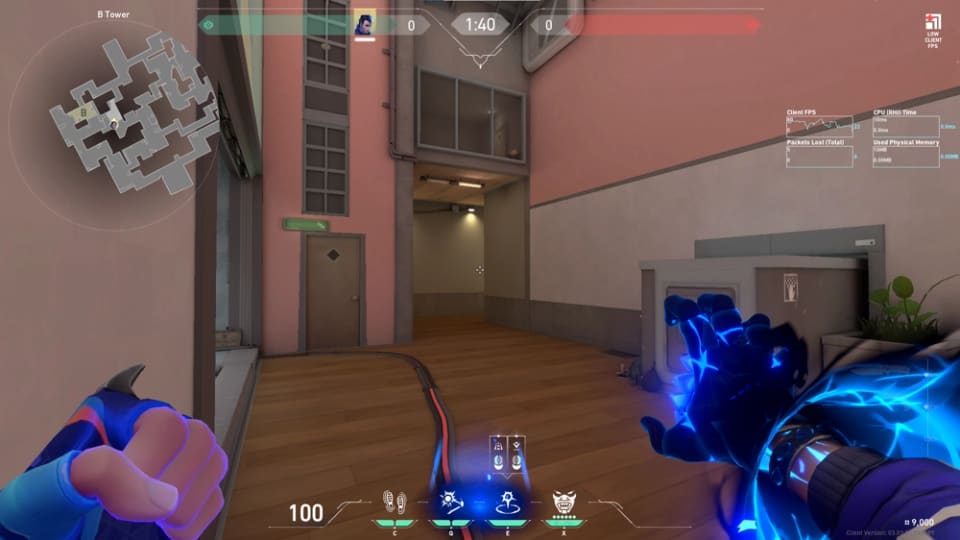
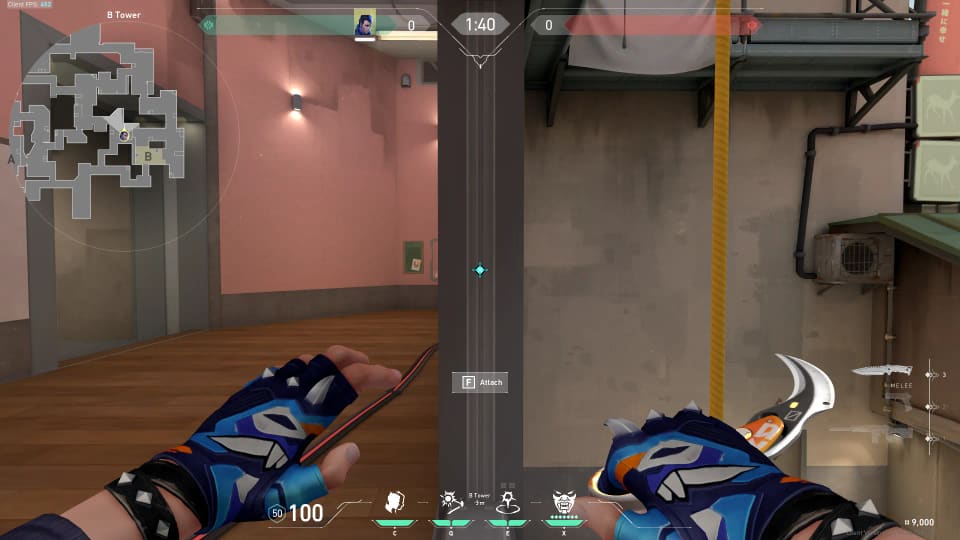
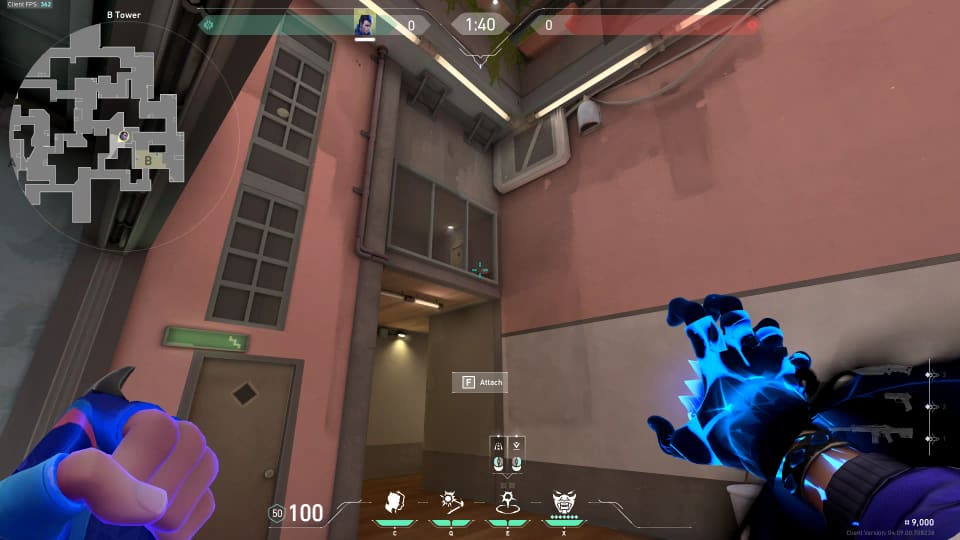
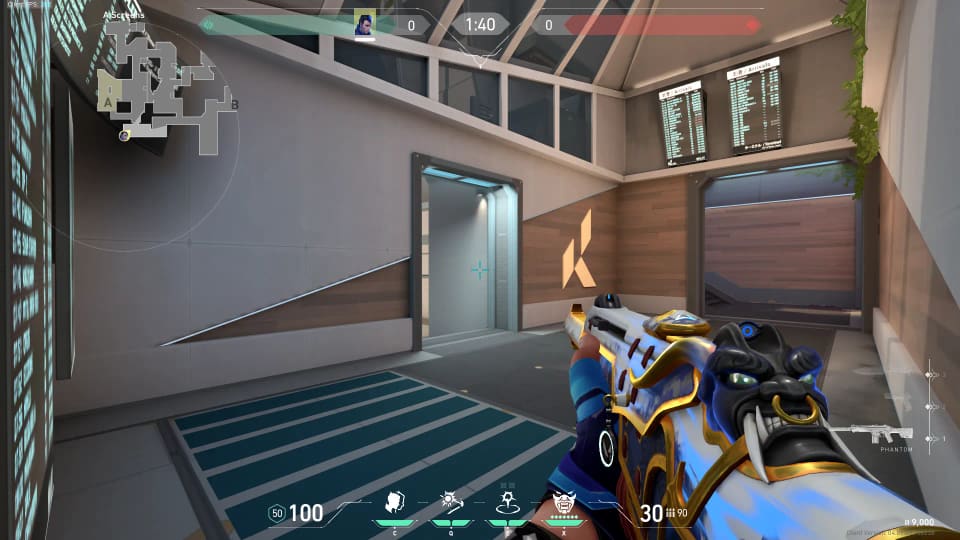
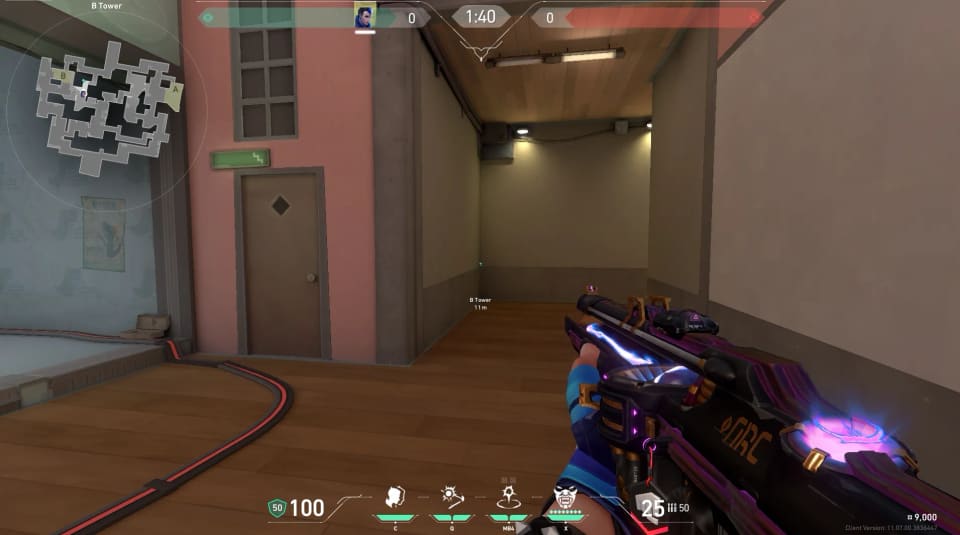
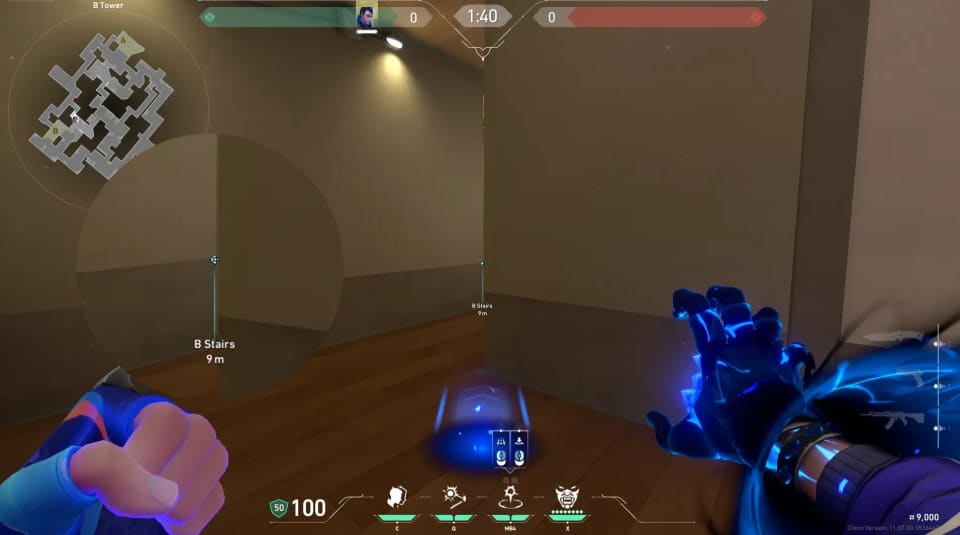
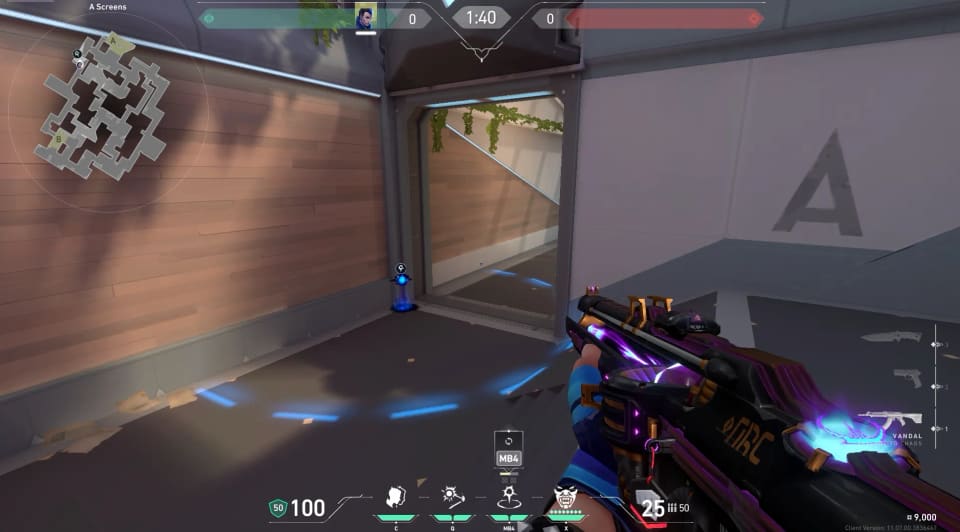
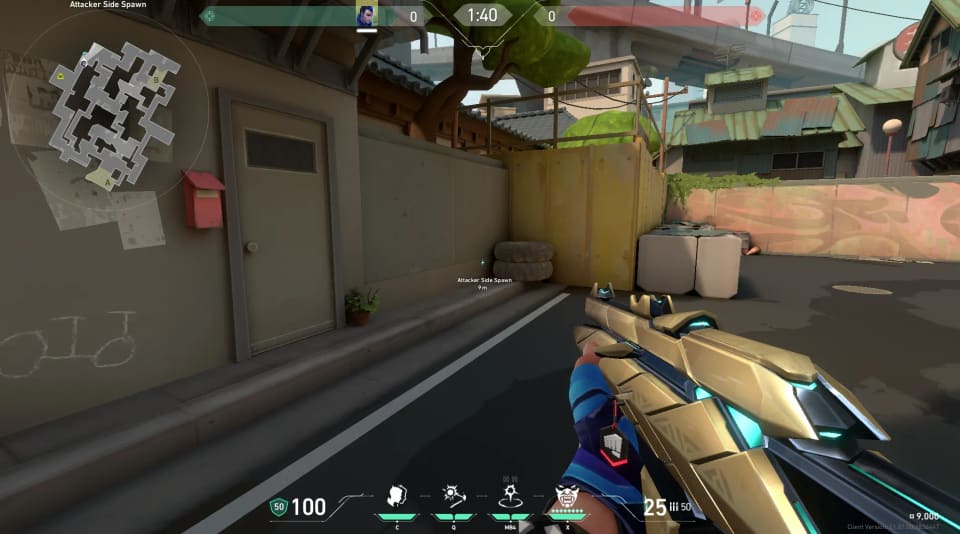
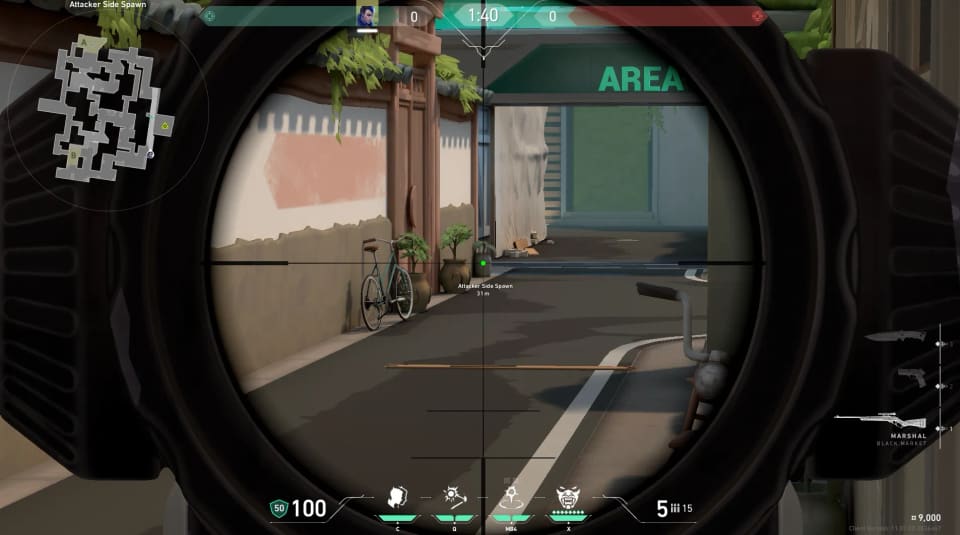
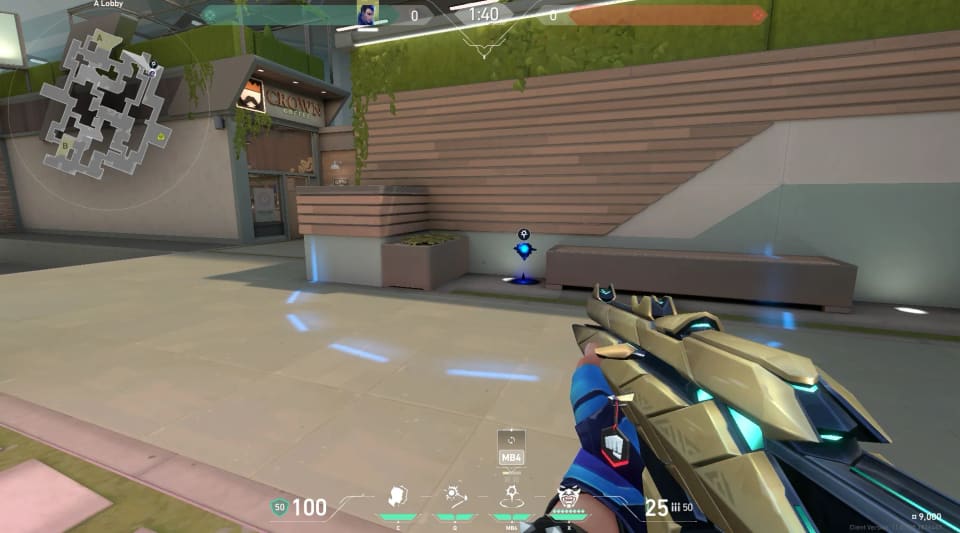
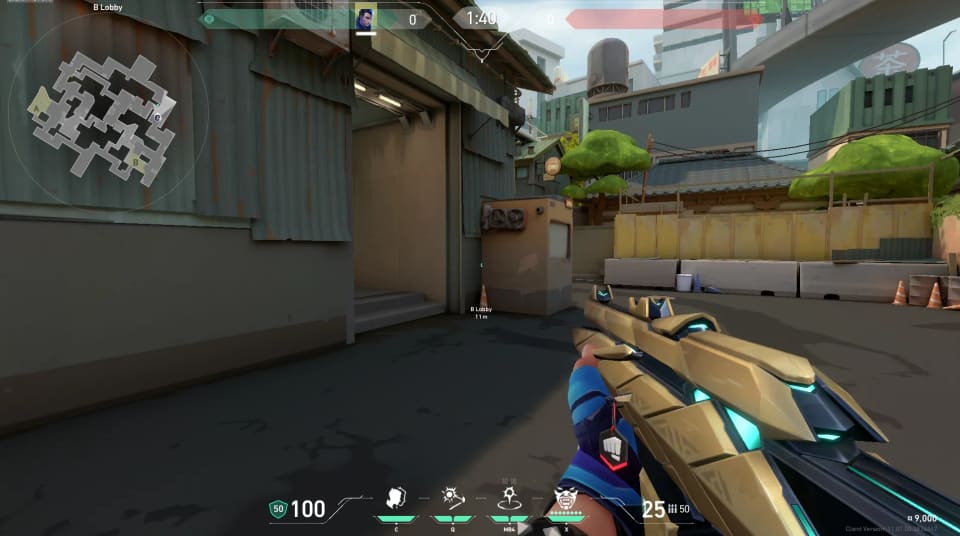
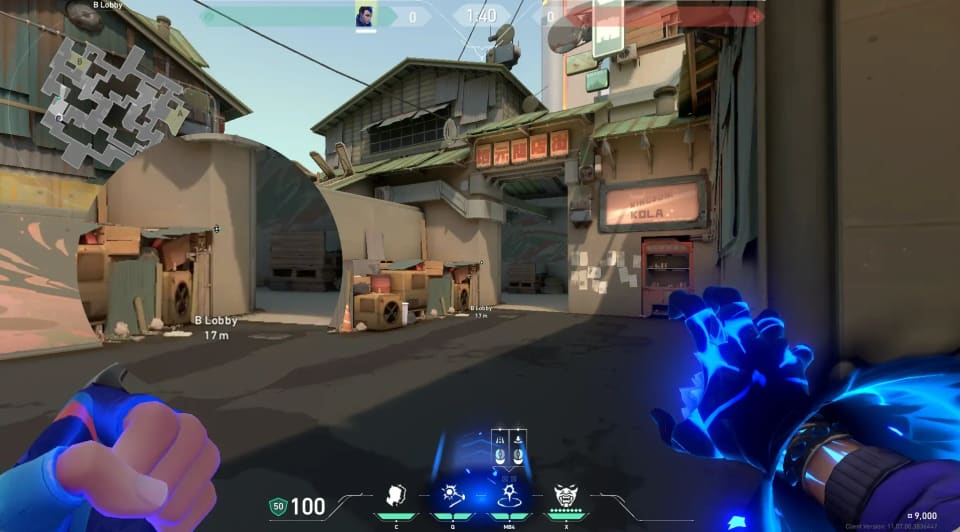
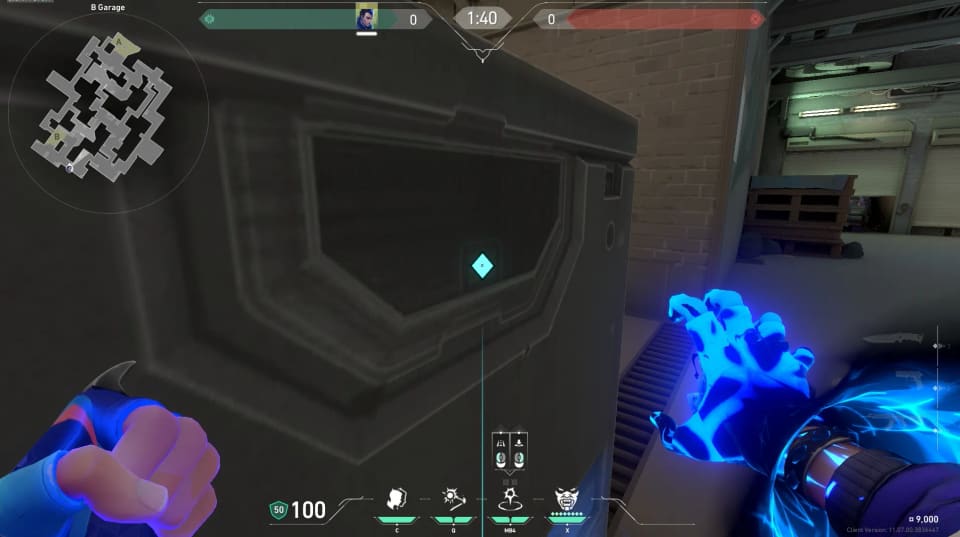
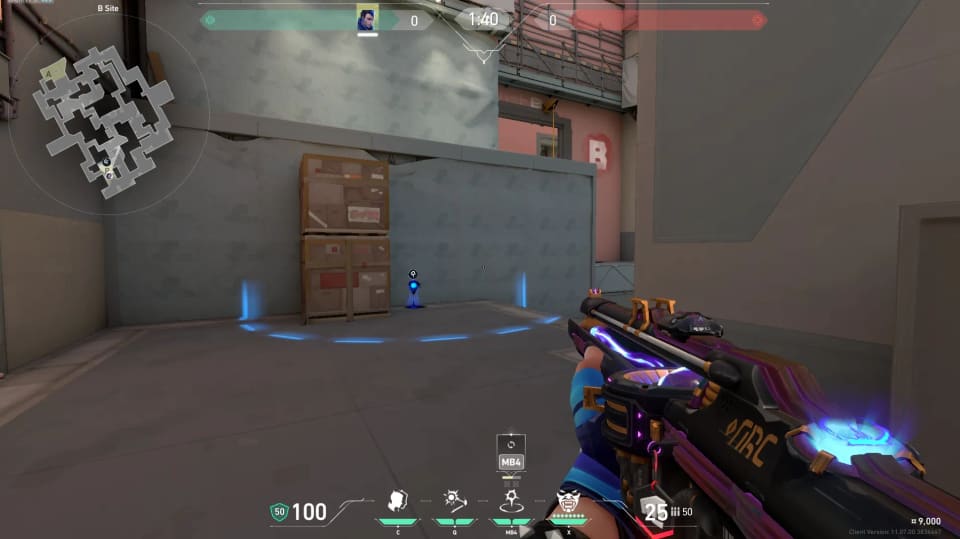
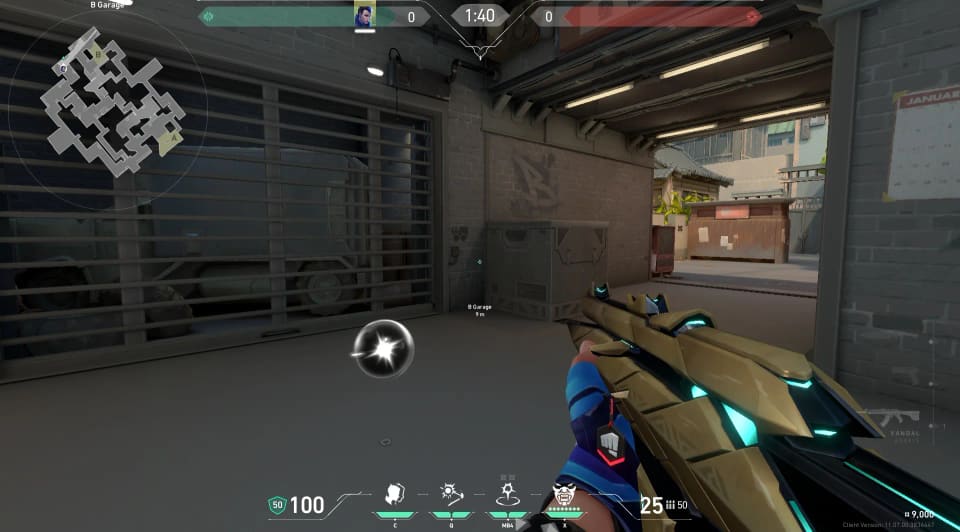
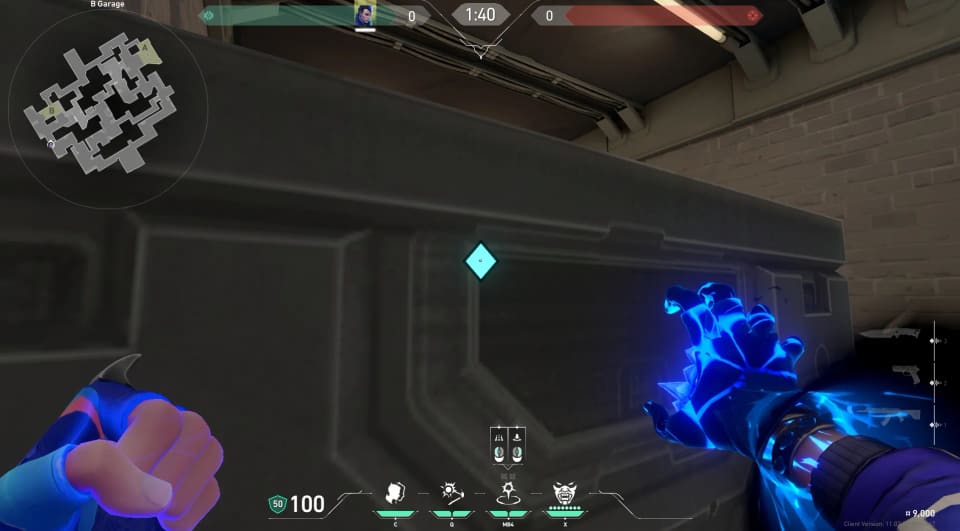
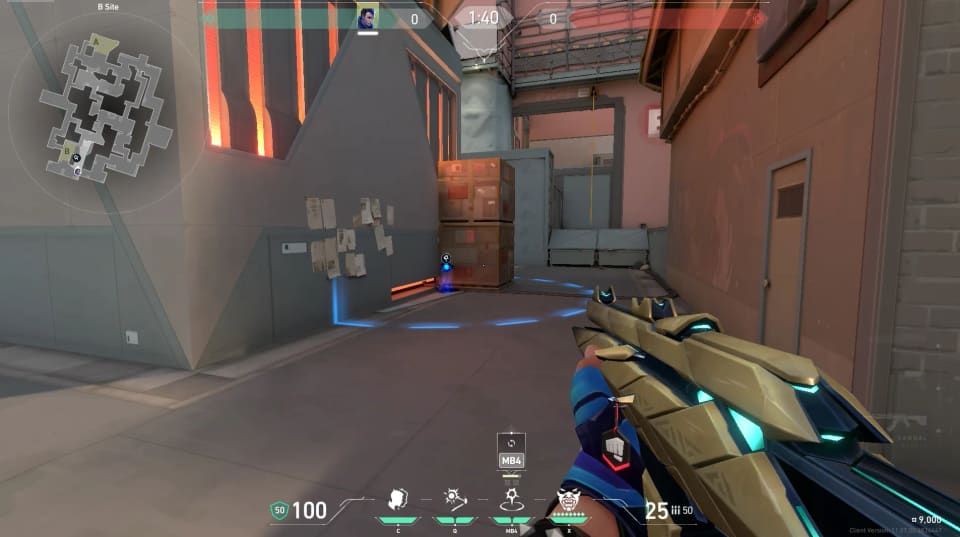
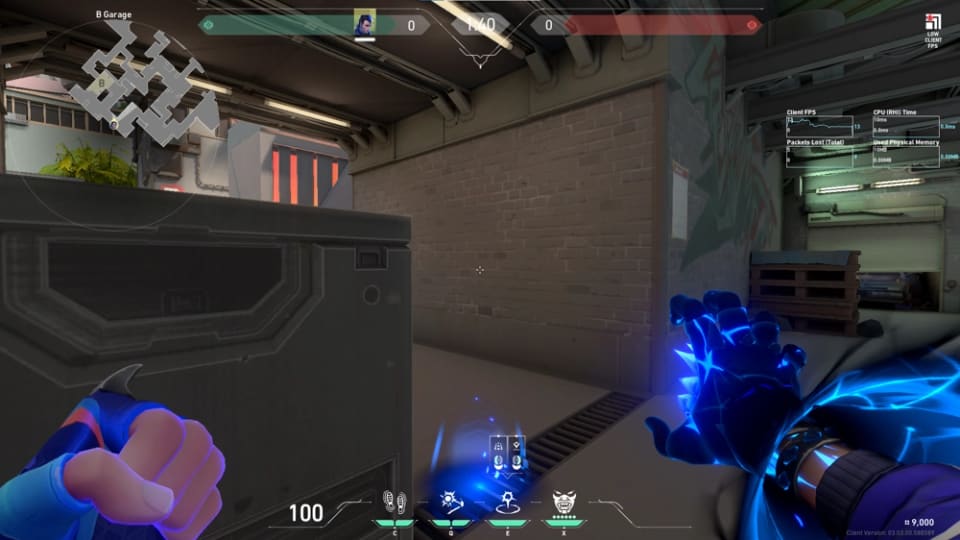
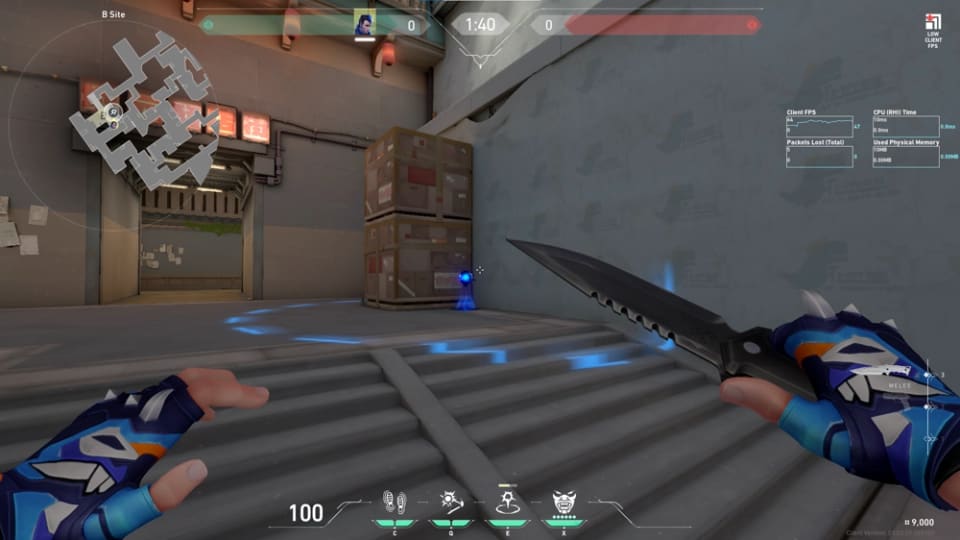
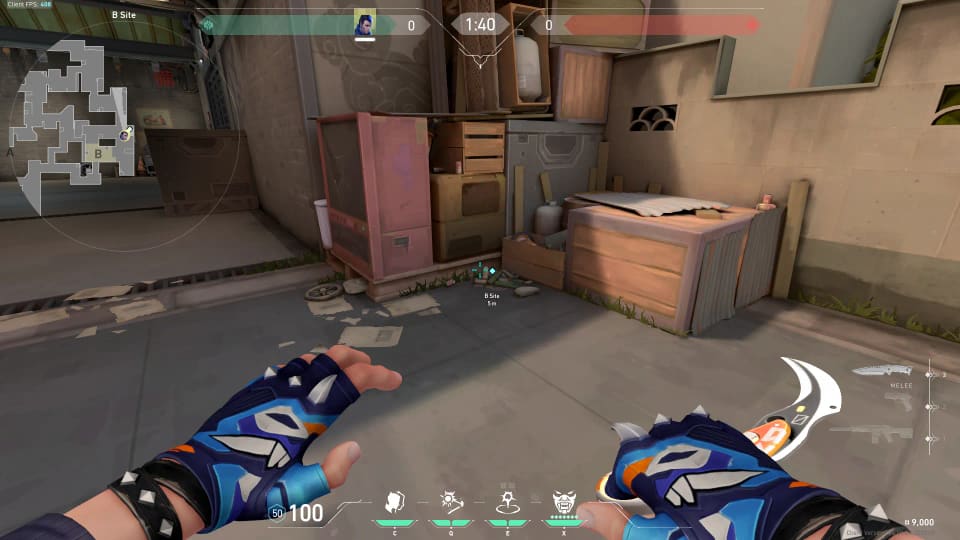
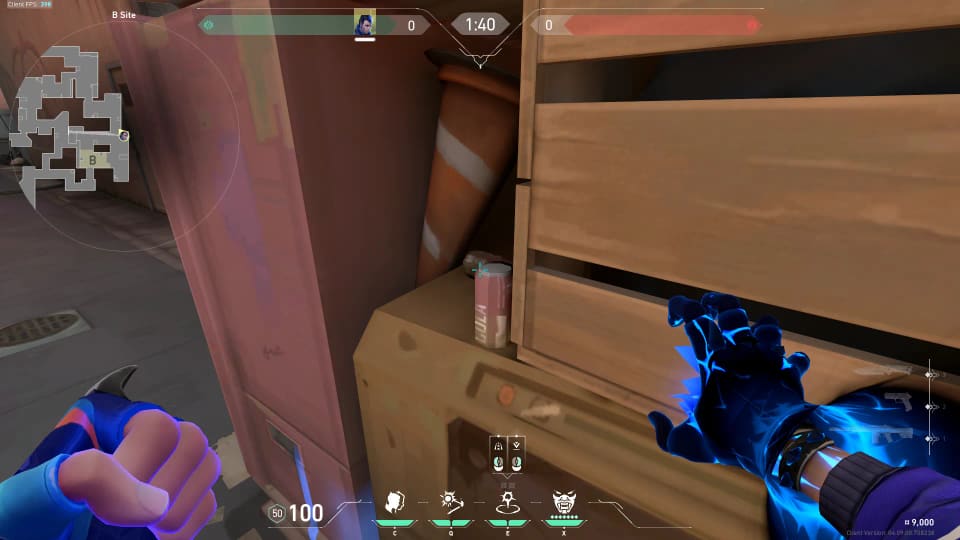
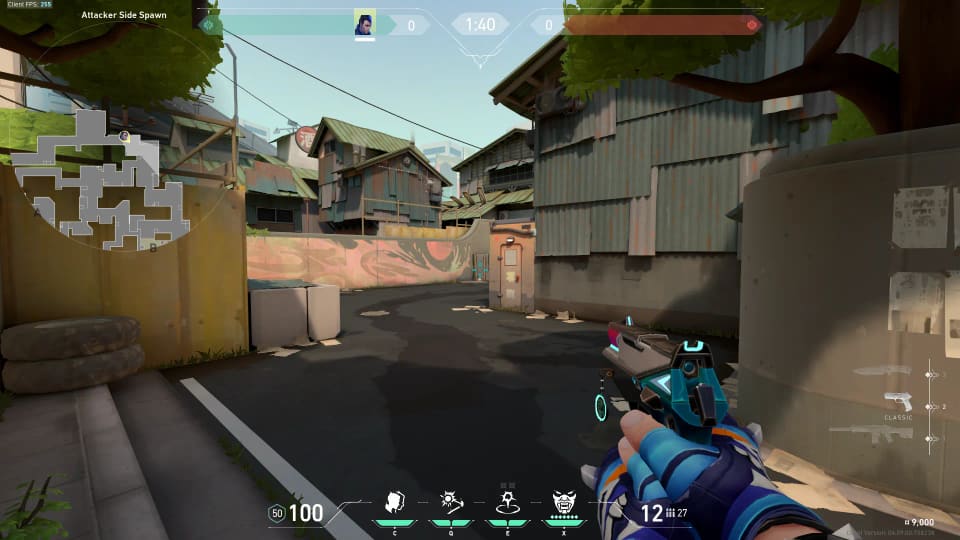
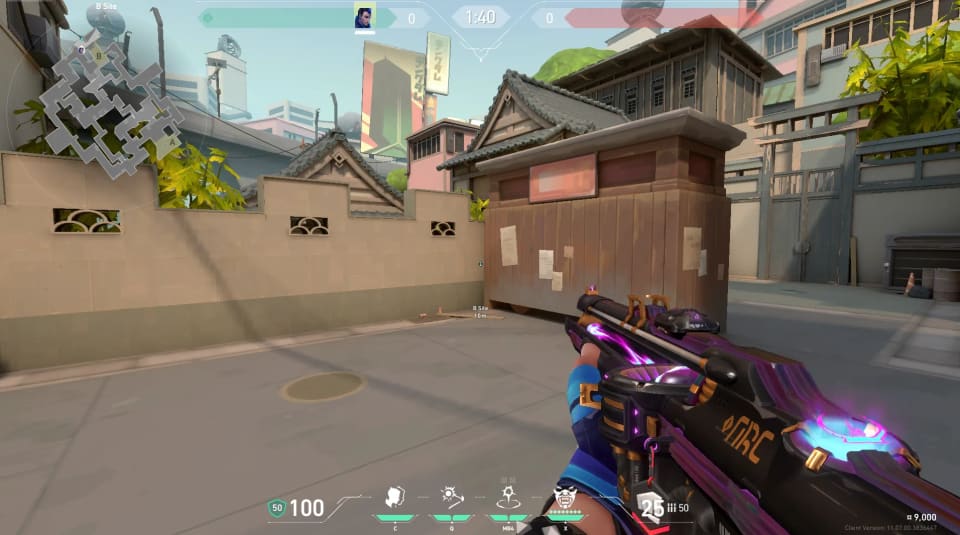
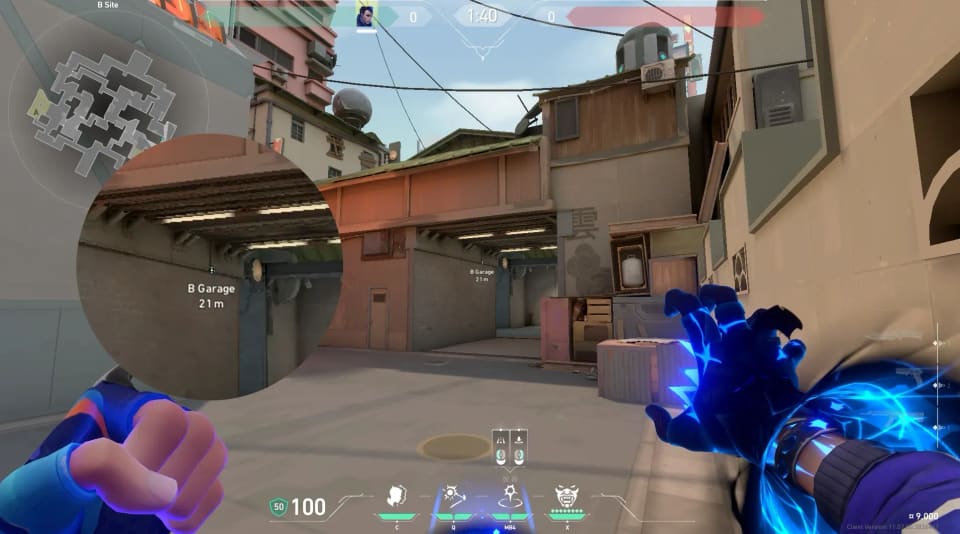
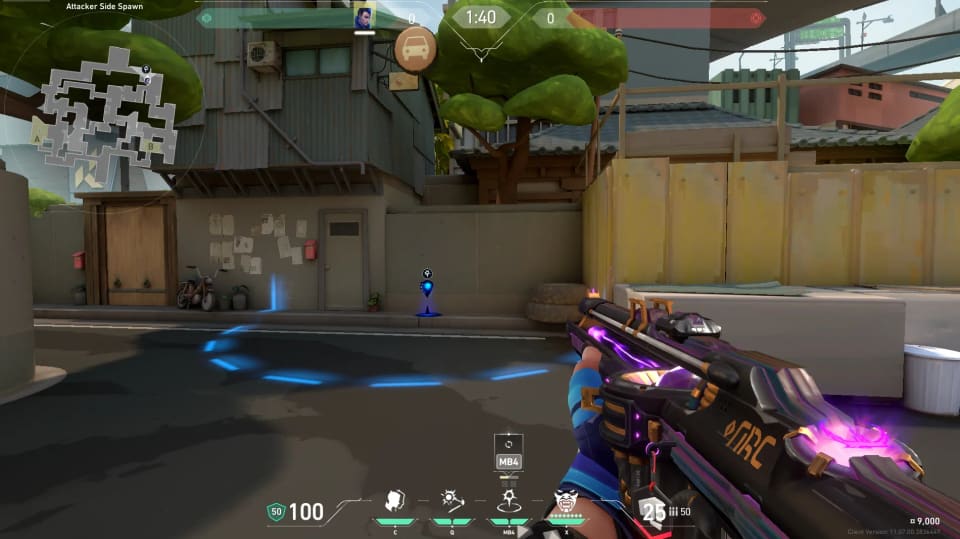
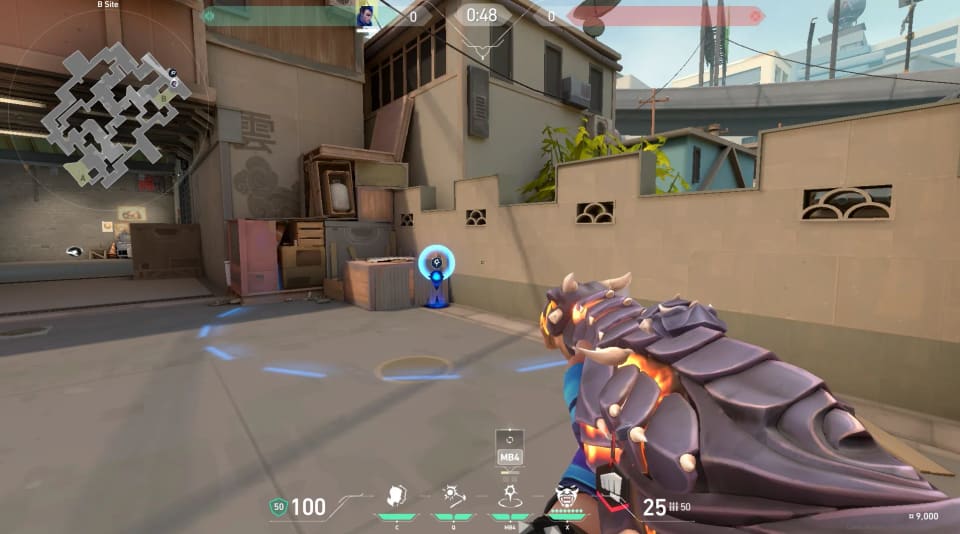
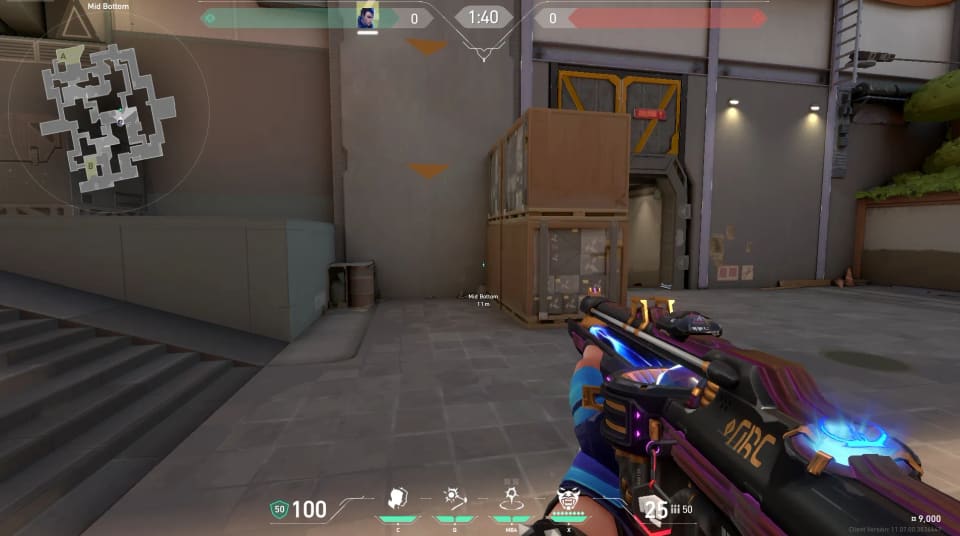
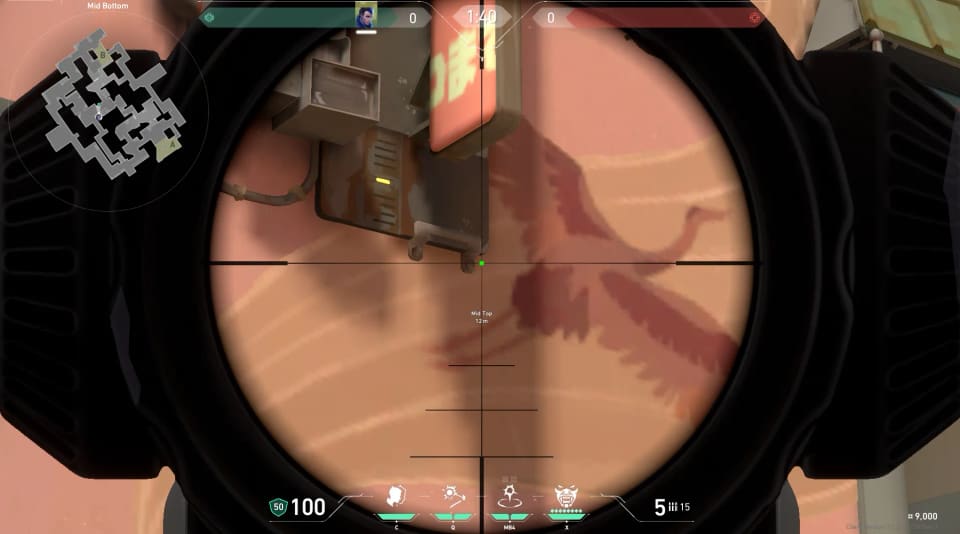
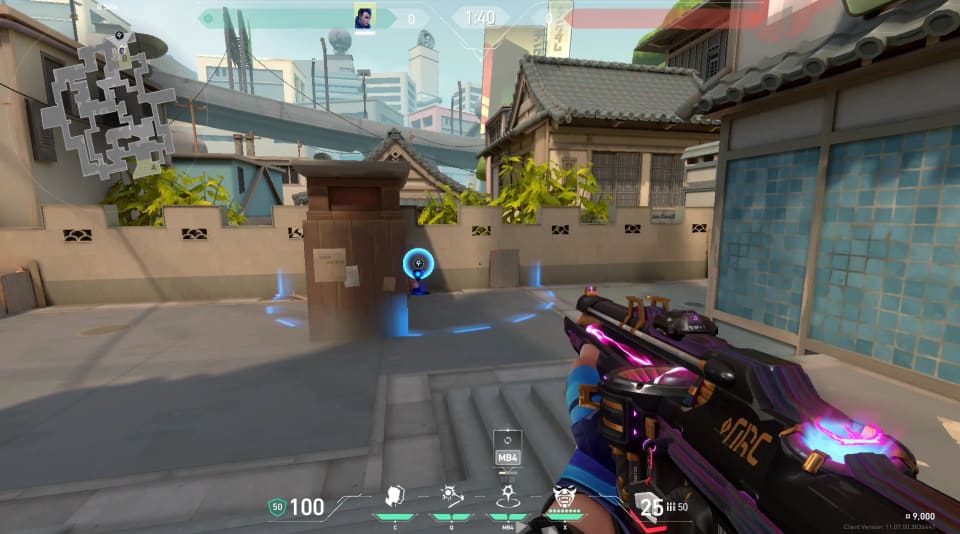
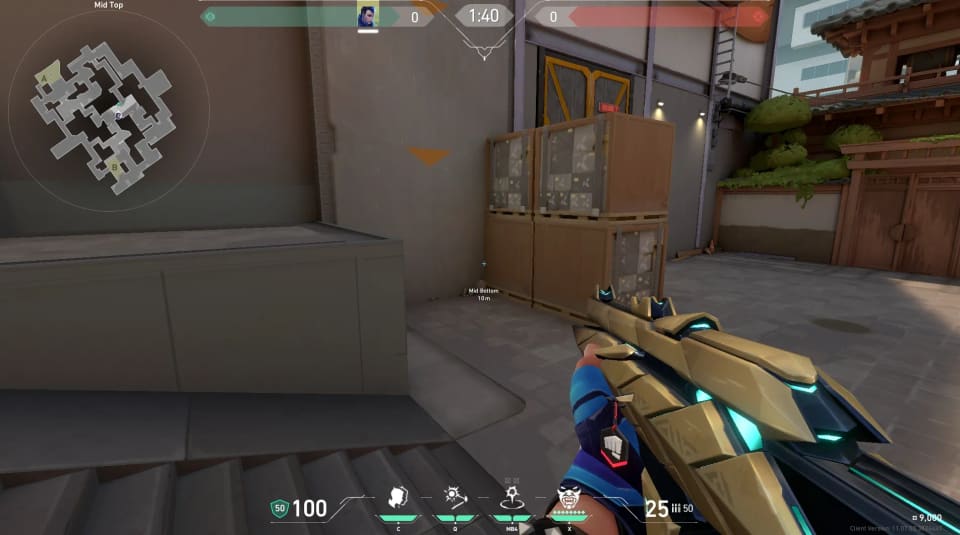
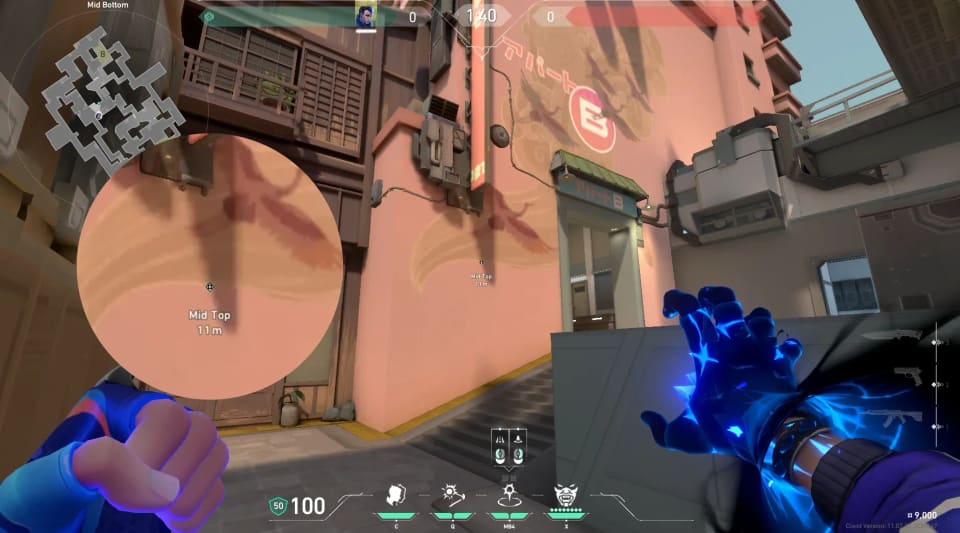
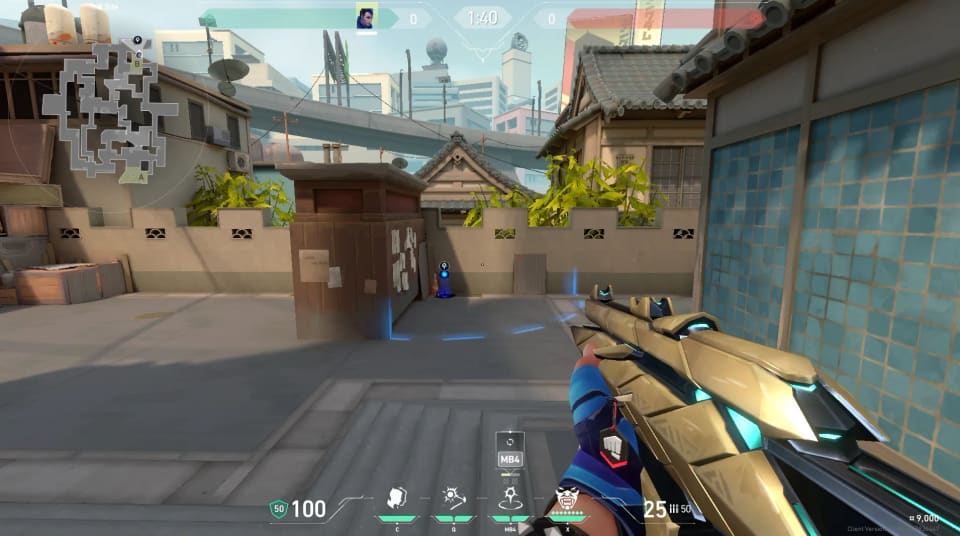
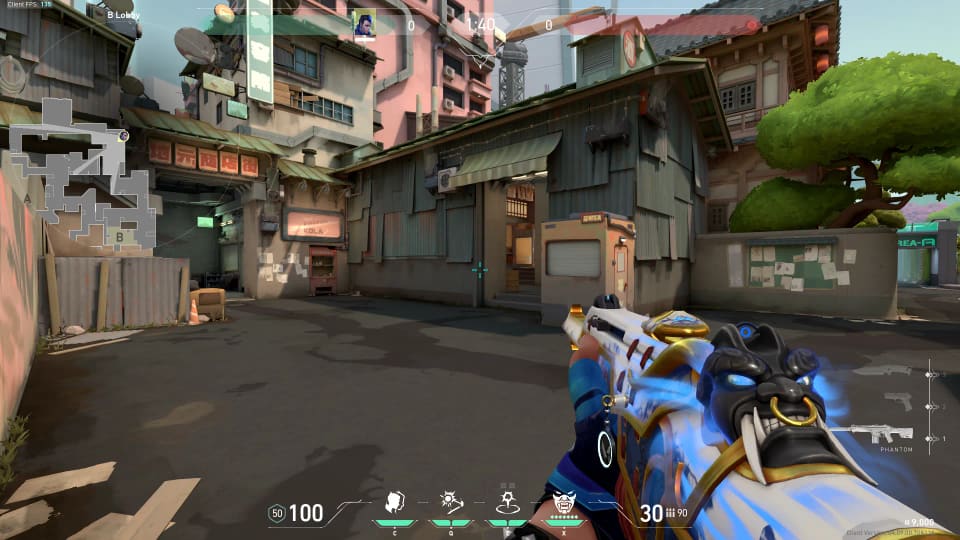
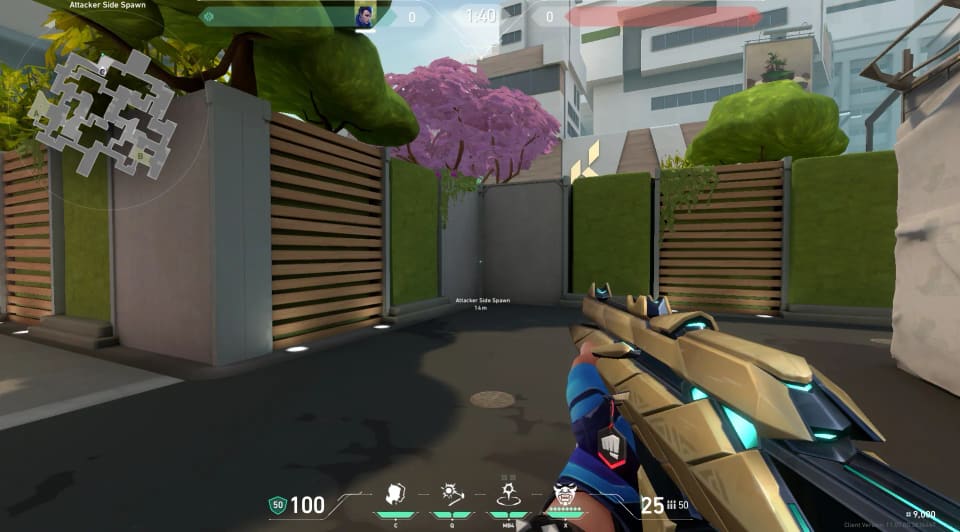
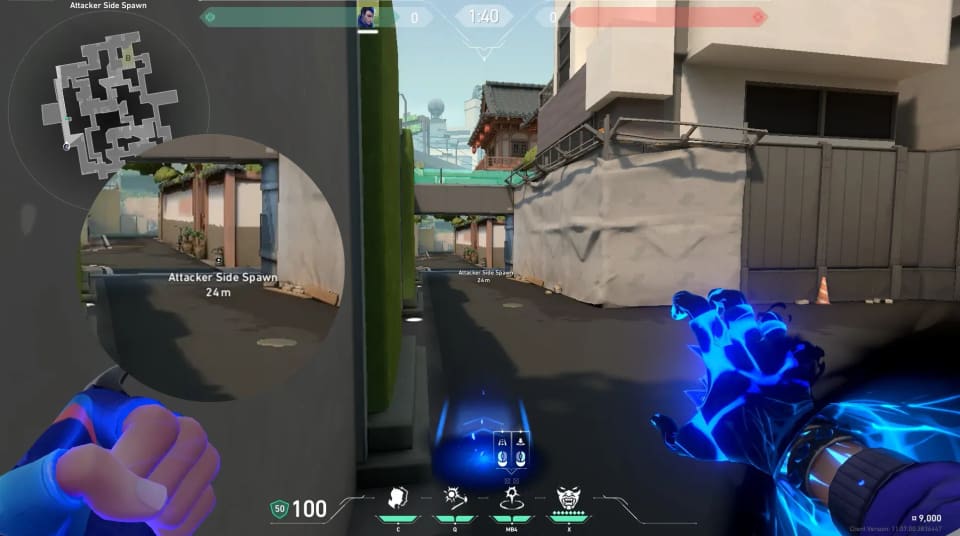
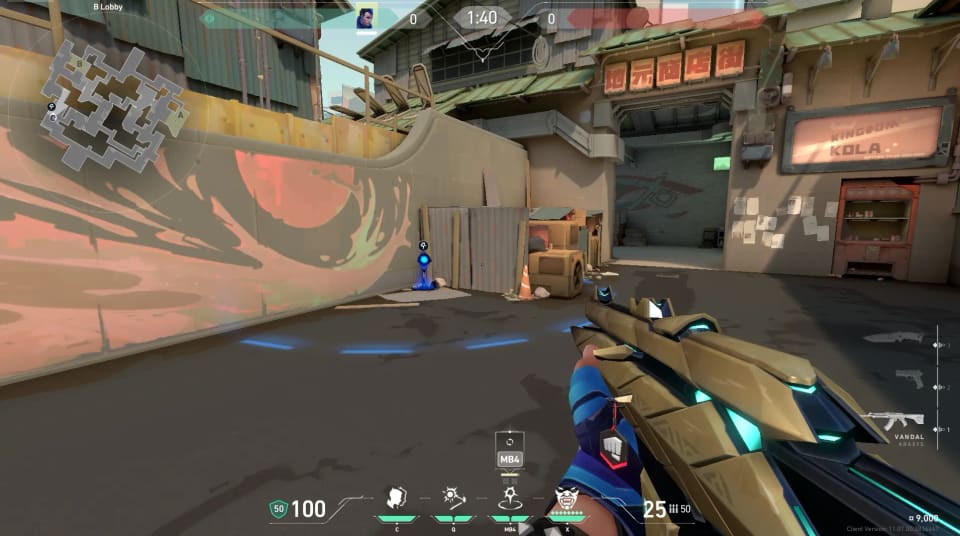
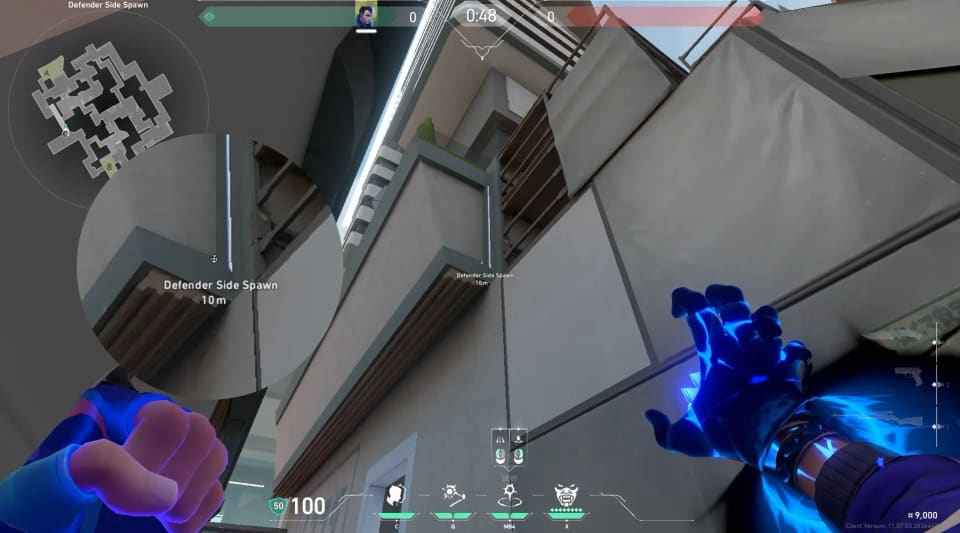
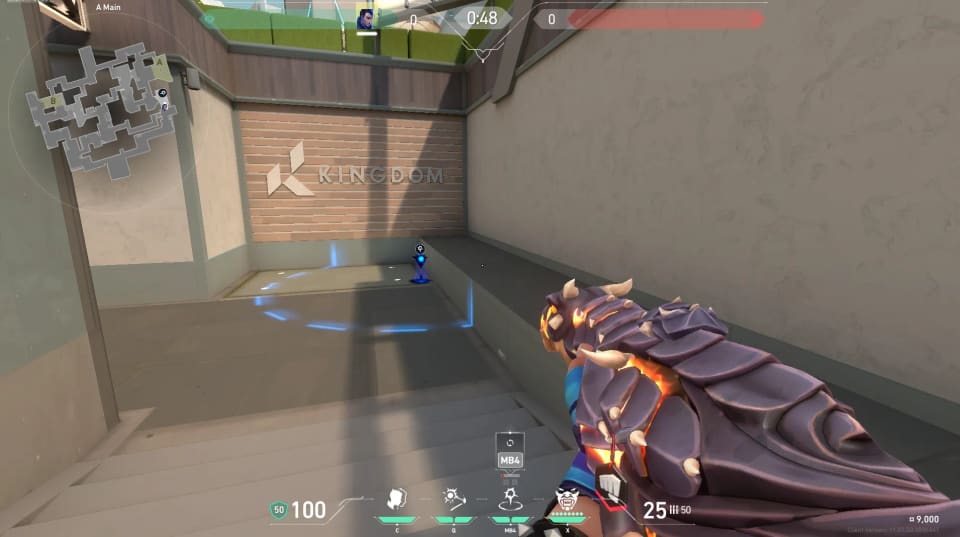
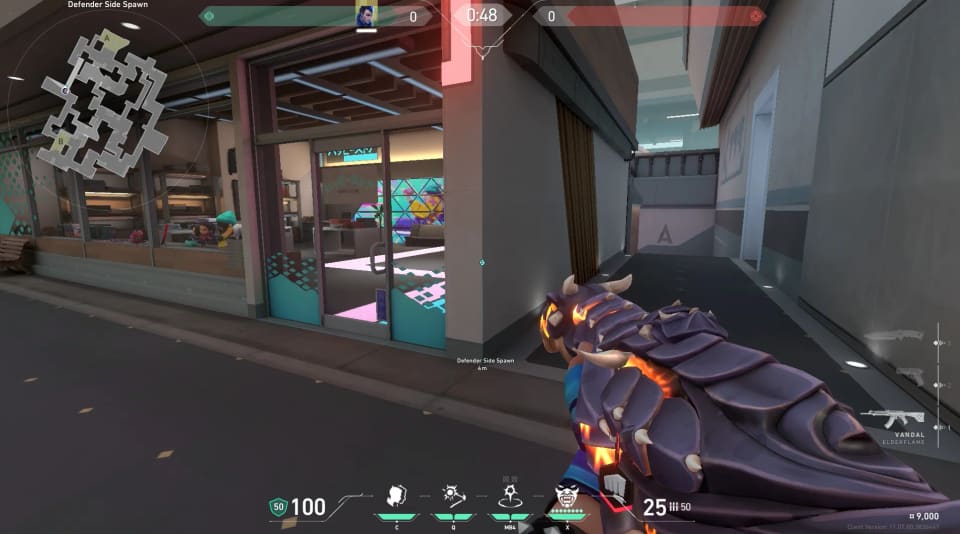
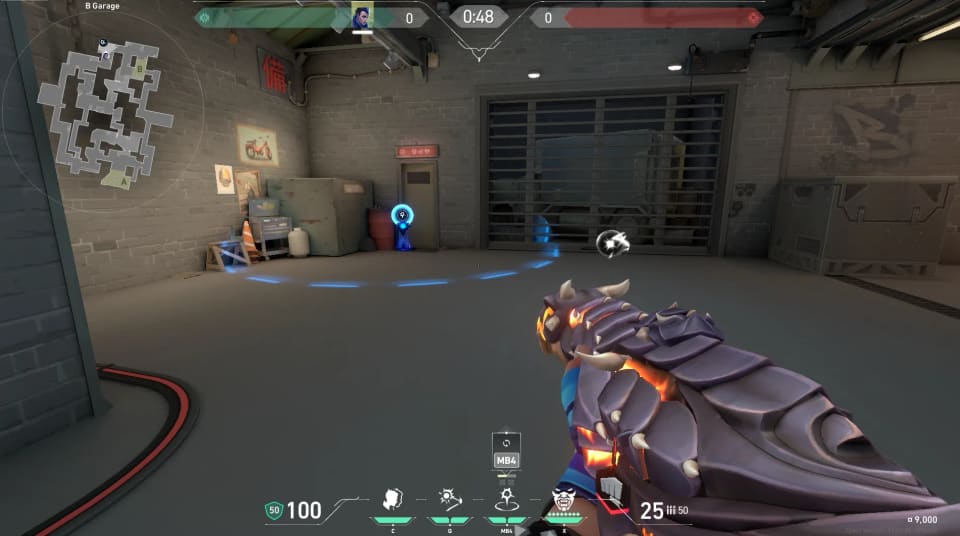
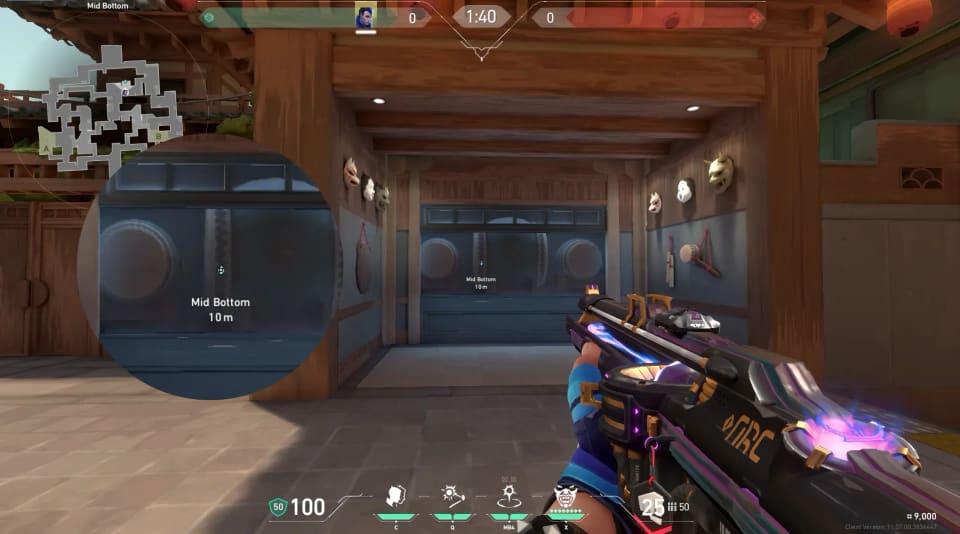
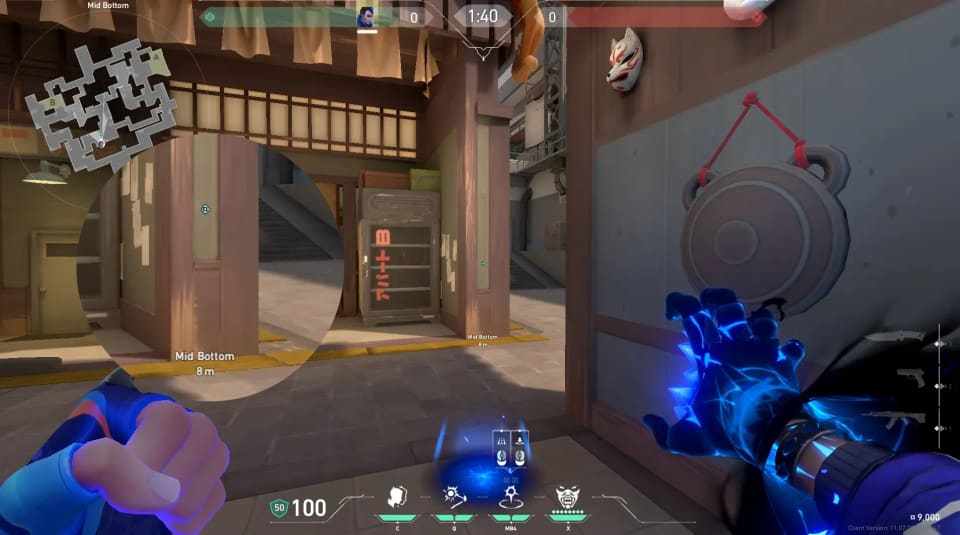
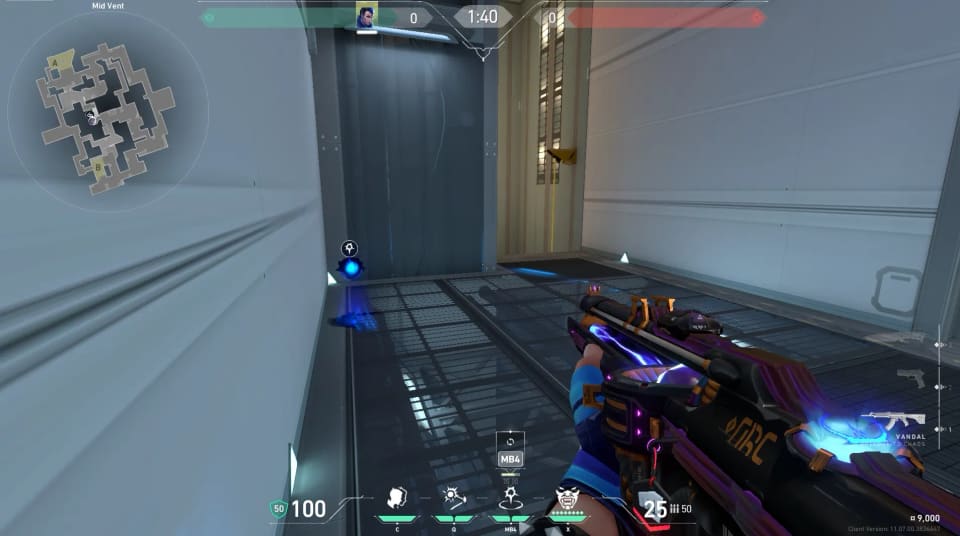
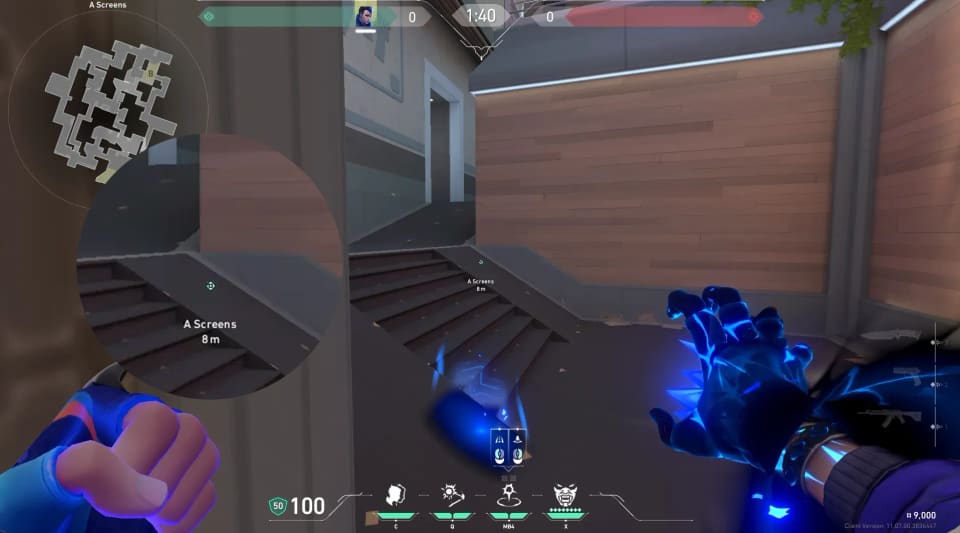
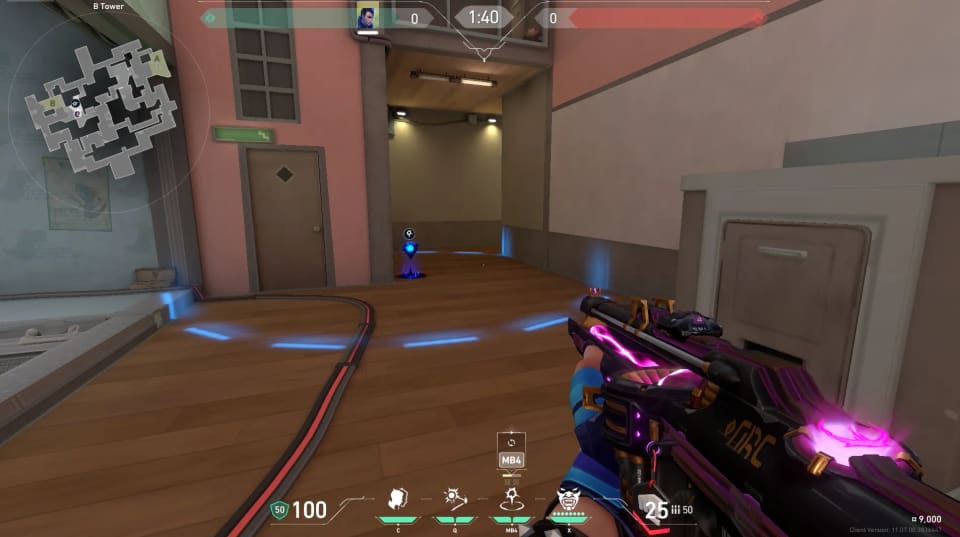
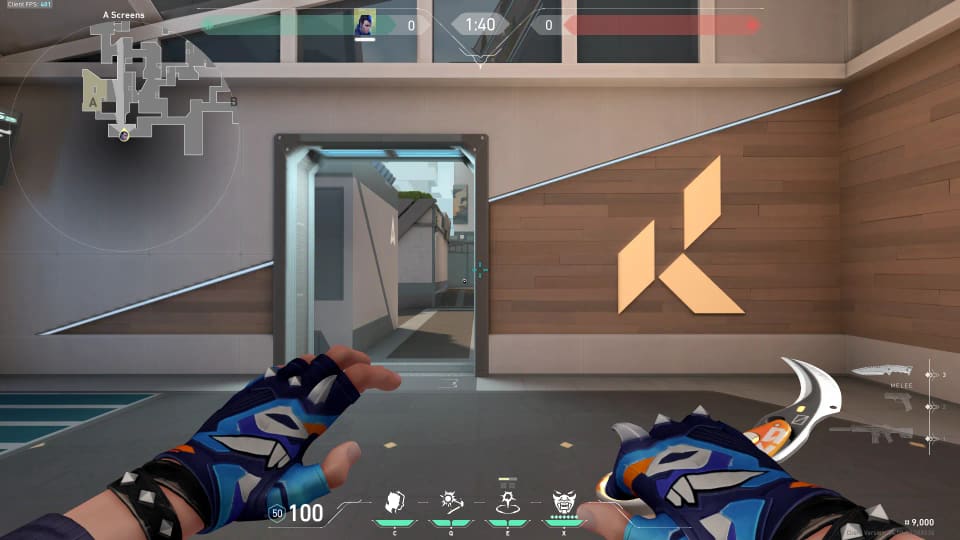
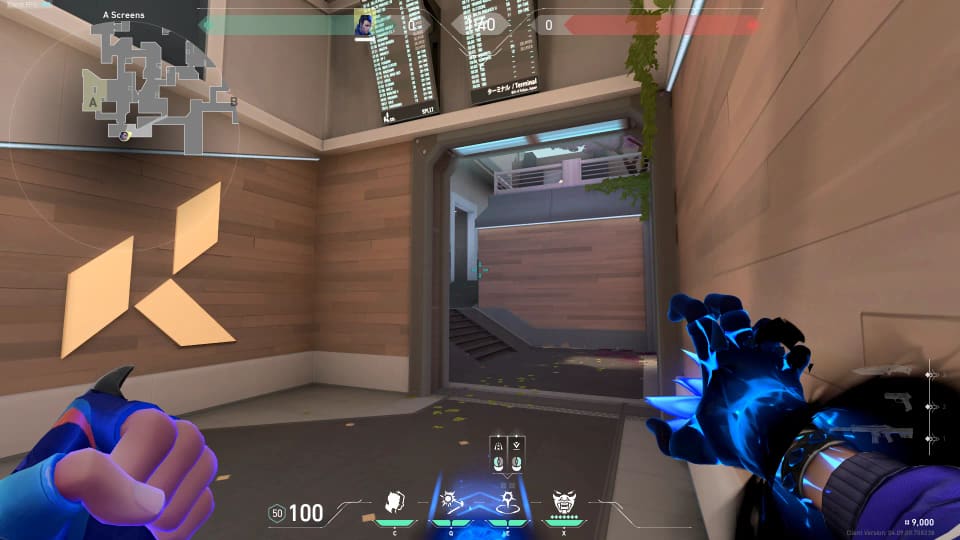
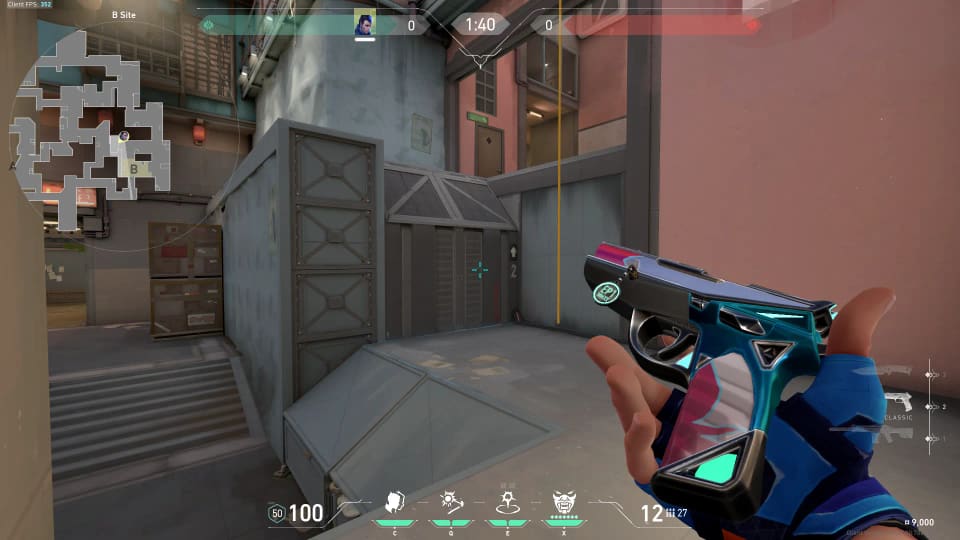
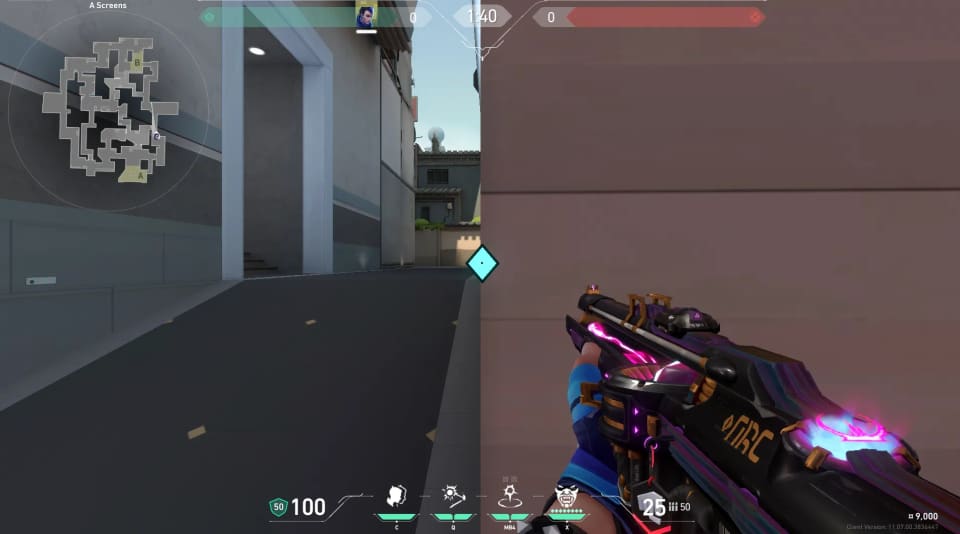
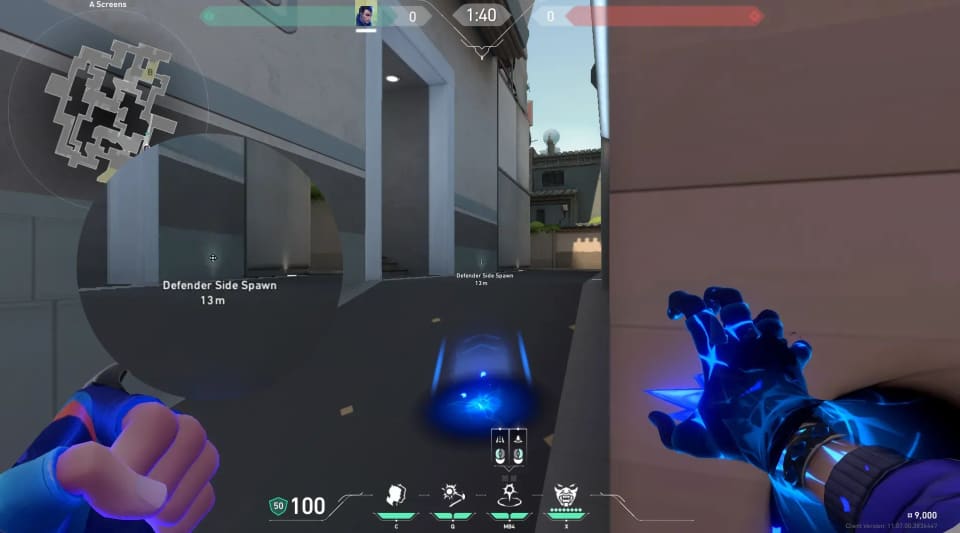
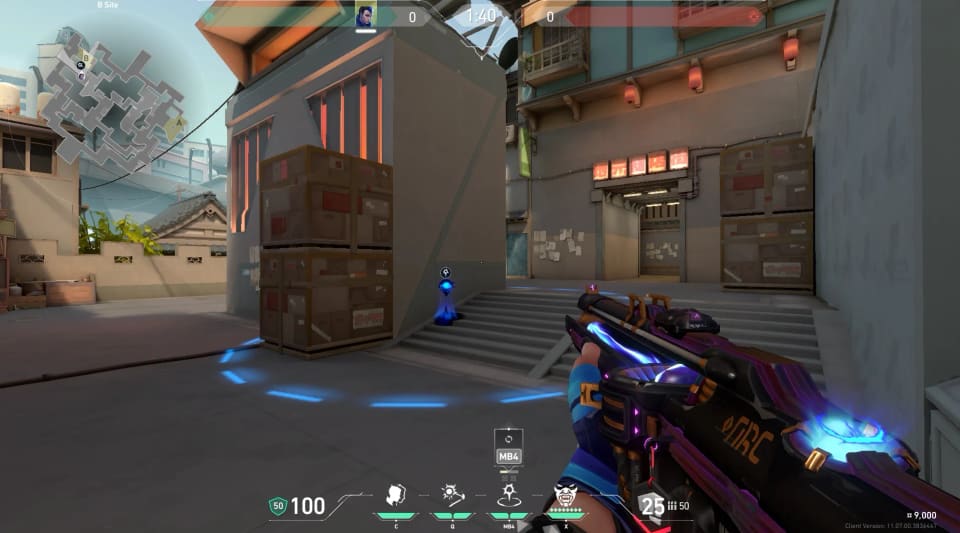
Yoru - Split

Gatecrash teleport routes grouped by starting point, with destinations listed together for each position.

Photos are saved locally from LineupsValorant. Map coordinates use VALORANT public map metadata.

0 favorites
No favorites yet.

A Site Starts

From A Heaven

2 destinations 2
#1 To A Lobby Defense Gatecrash source
#2 To A Main Defense Gatecrash source

From A Lobby

3 destinations 7
#1 To A Hell Attack Gatecrash source
#2 To A Ramp Attack Gatecrash source
#3 To A Ramp Attack Gatecrash source
#4 To A Ramp Attack Gatecrash + Blindside source
#5 To Screens Attack Gatecrash source
#6 To Screens Attack Gatecrash source
#7 To Screens Attack Gatecrash source

From A Main

4 destinations 6
#1 To A Elbow Attack Gatecrash source
#2 To A Heaven Attack Gatecrash source
#3 To A Site Attack Gatecrash source
#4 To A Site Attack Gatecrash source
#5 To Defenders Attack Gatecrash source
#6 To Defenders Attack Gatecrash source

From A Ramp

4 destinations 4
#1 To A Elbow Attack Gatecrash source
#2 To A Lobby Attack Gatecrash source
#3 To A Site Attack Gatecrash source
#4 To Screens Attack Gatecrash source

From A Site

1 destination 1
#1 To A Ramp Defense Gatecrash source

B Site Starts

From B Alley

2 destinations 2
#1 To Backsite B Defense Gatecrash source
#2 To Screens Defense Gatecrash source

From B Heaven

4 destinations 6
#1 To Bottom Mid Defense Gatecrash source
#2 To Defenders Defense Gatecrash source
#3 To Mid Vents Defense Gatecrash source
#4 To Screens Defense Gatecrash source
#5 To Screens Defense Gatecrash source
#6 To Screens Defense Gatecrash source

From B Lobby

4 destinations 5
#1 To A Lobby Attack Gatecrash source
#2 To B Site Attack Gatecrash source
#3 To Backsite B Attack Gatecrash source
#4 To Backsite B Attack Gatecrash source
#5 To Sewers Attack Gatecrash source

From B Main

1 destination 3
#1 To B Site Attack Gatecrash source
#2 To B Site Attack Gatecrash source
#3 To B Site Attack Gatecrash source

From B Site

1 destination 2
#1 To B Lobby Defense Gatecrash source
#2 To B Lobby Defense Gatecrash source

From B Stairs

1 destination 1
#1 To B Site Defense Gatecrash source

Mid Starts

From Bottom Mid

1 destination 3
#1 To Backsite B Attack Gatecrash source
#2 To Backsite B Attack Gatecrash source
#3 To Backsite B Attack Gatecrash source

From Mid Vents

1 destination 1
#1 To B Lobby Defense Gatecrash source

Other Starts

From Attackers

1 destination 1
#1 To B Lobby Attack Gatecrash source

From Defenders

3 destinations 3
#1 To A Main Defense Gatecrash source
#2 To A Site Defense Gatecrash source
#3 To B Main Defense Gatecrash source

From Ramen

1 destination 1
#1 To Mid Vents Attack Gatecrash source

From Screens

5 destinations 5
#1 To A Site Defense Gatecrash source
#2 To B Alley Defense Gatecrash source
#3 To B Heaven Defense Gatecrash source
#4 To B Hell Defense Gatecrash source
#5 To B Site Defense Gatecrash source

From Sewers

1 destination 1
#1 To Market Attack Gatecrash source