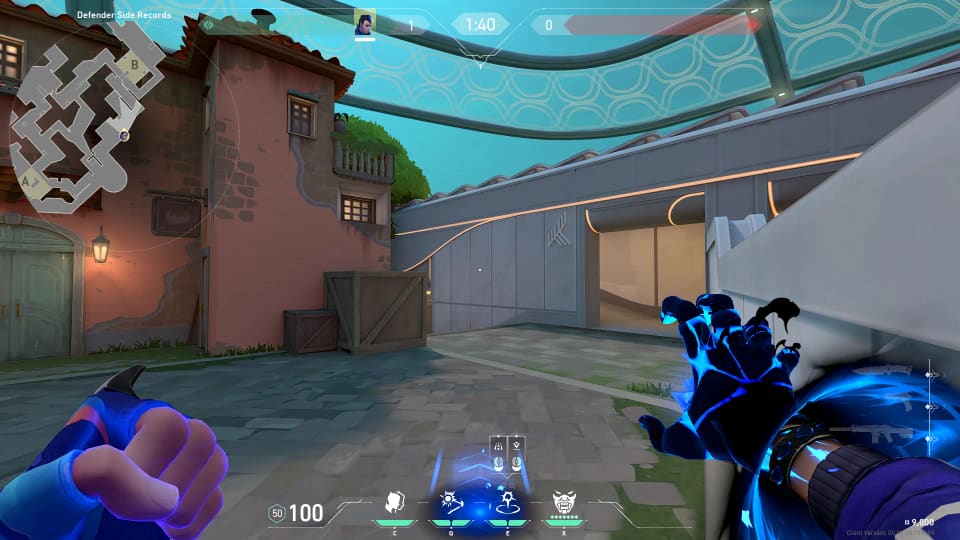
Site Map
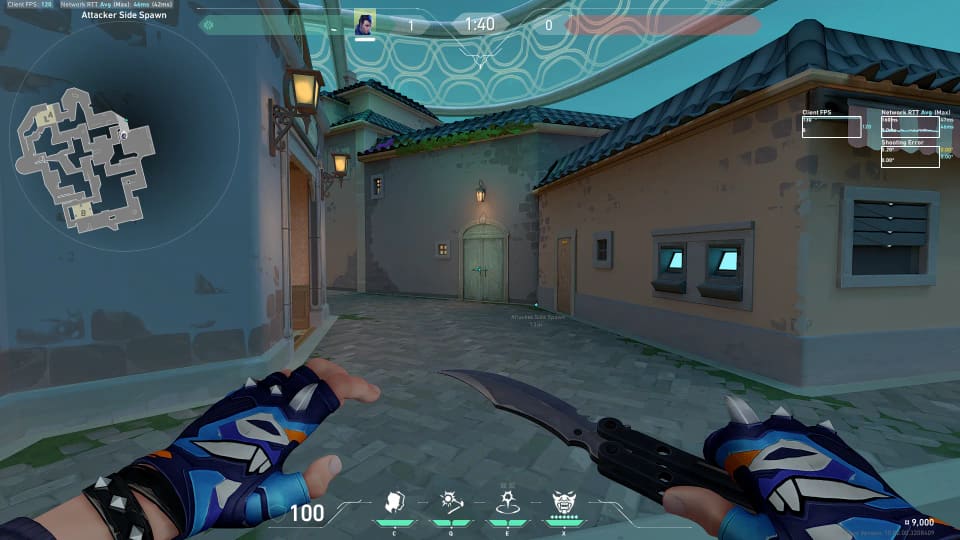
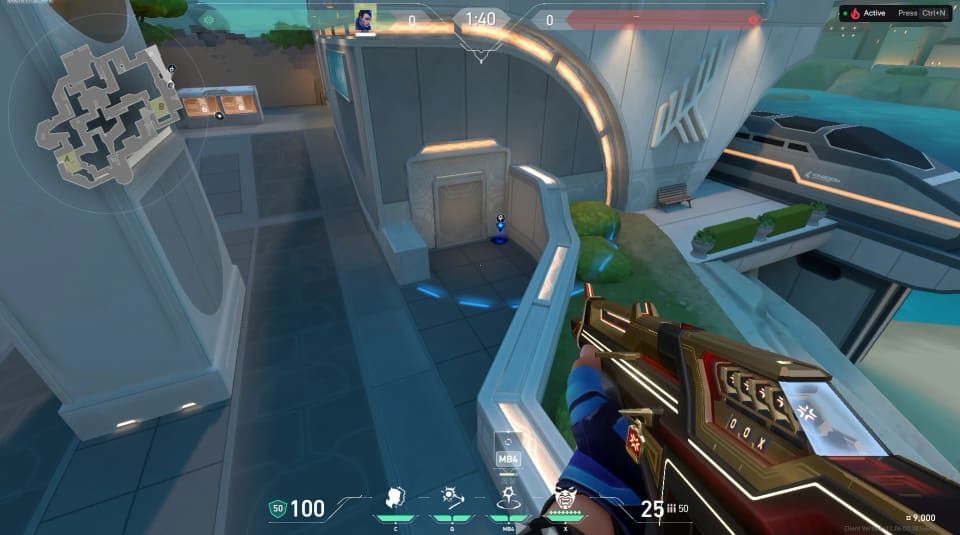
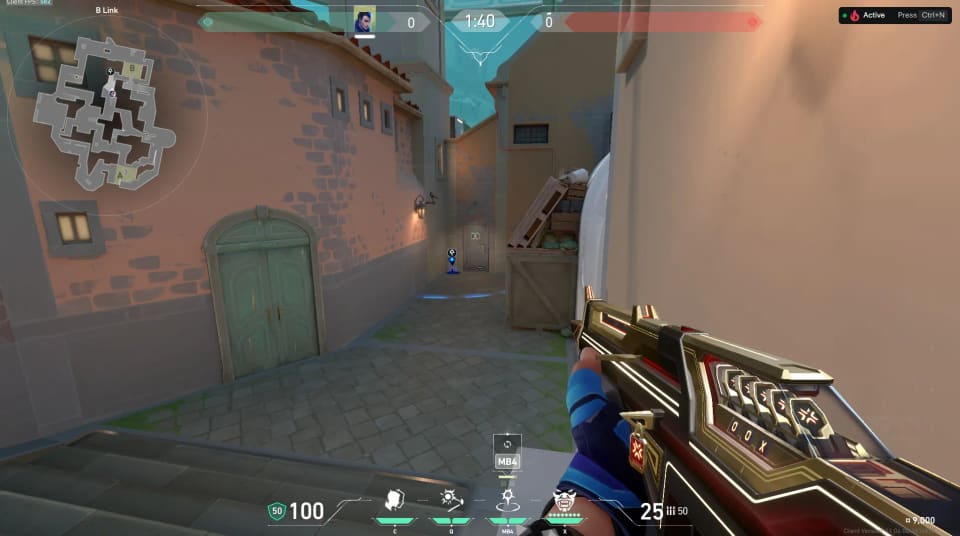
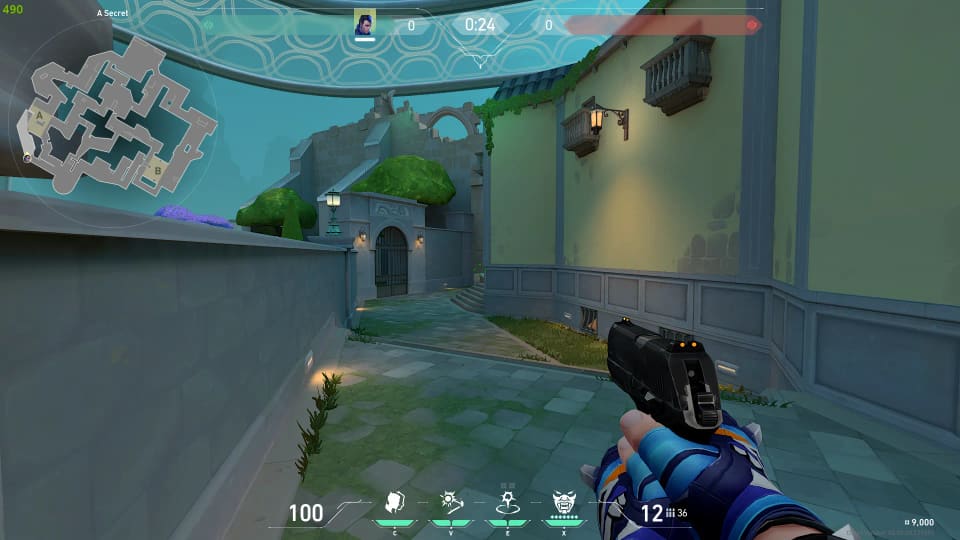
Start
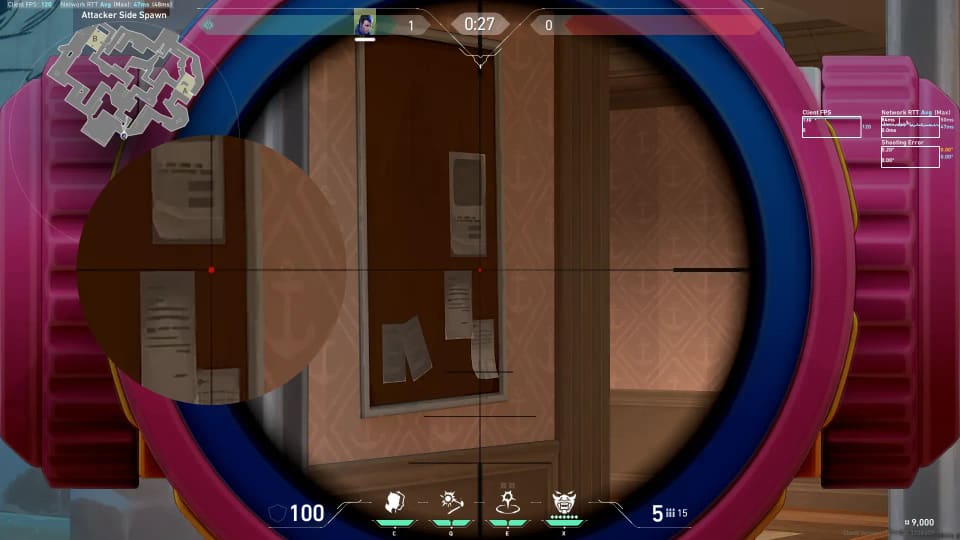
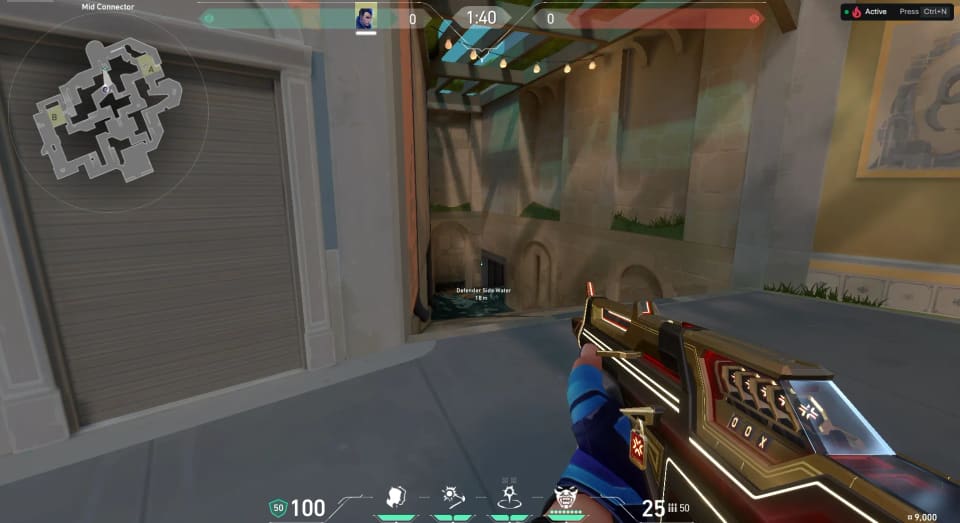
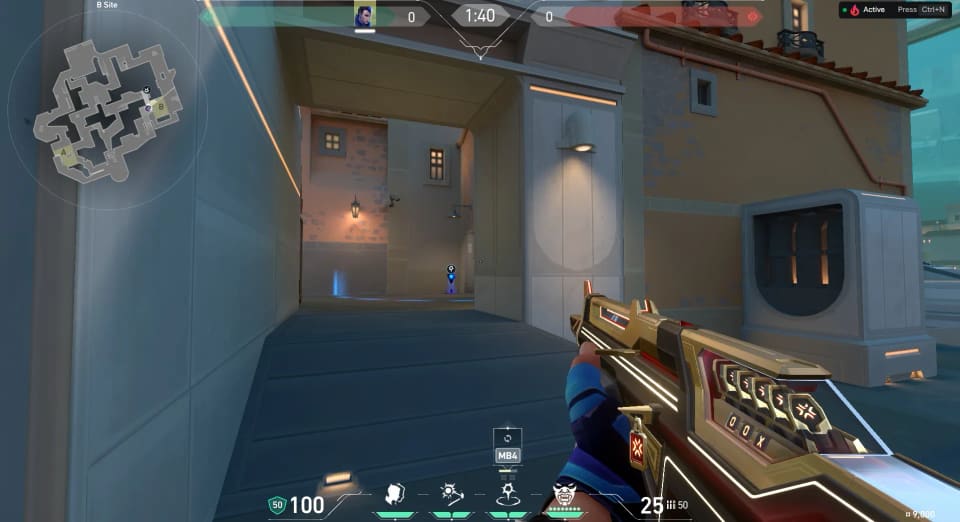
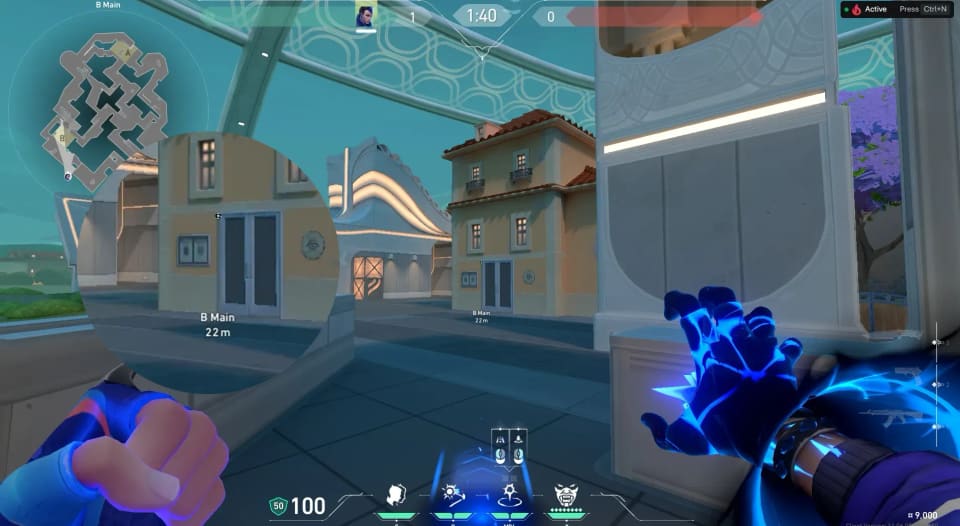
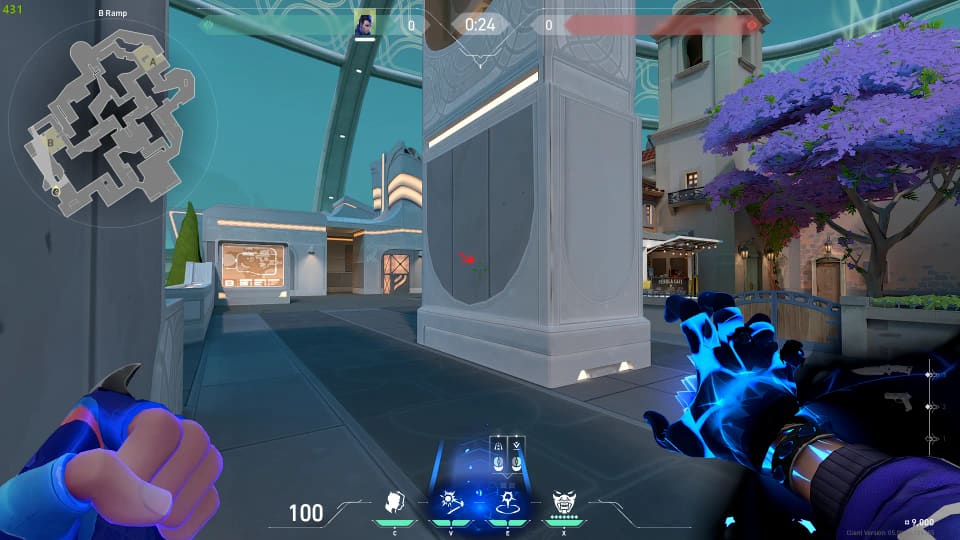
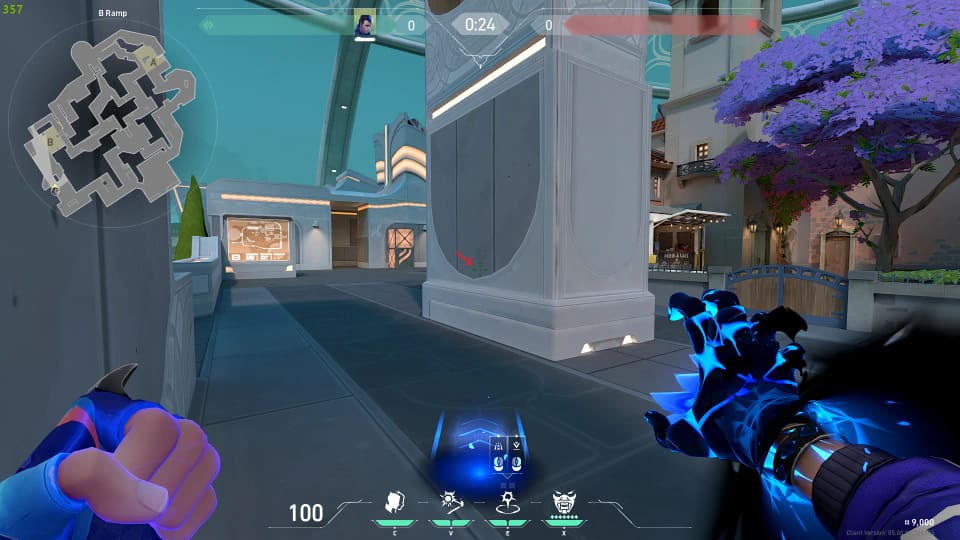
Finish
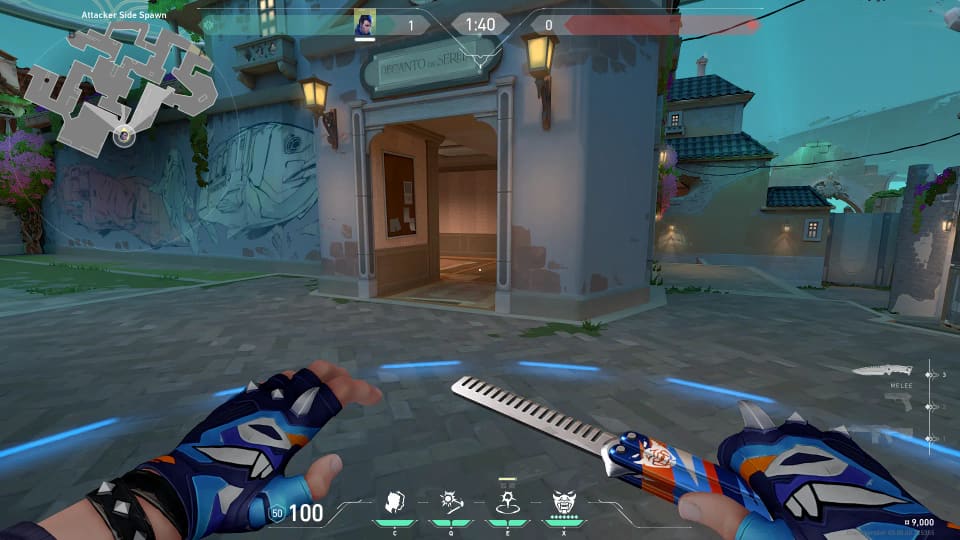
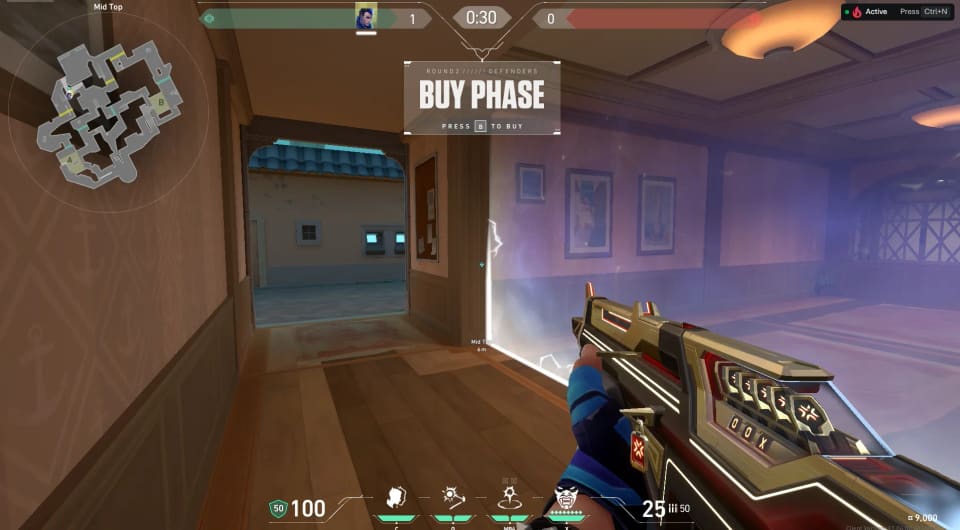
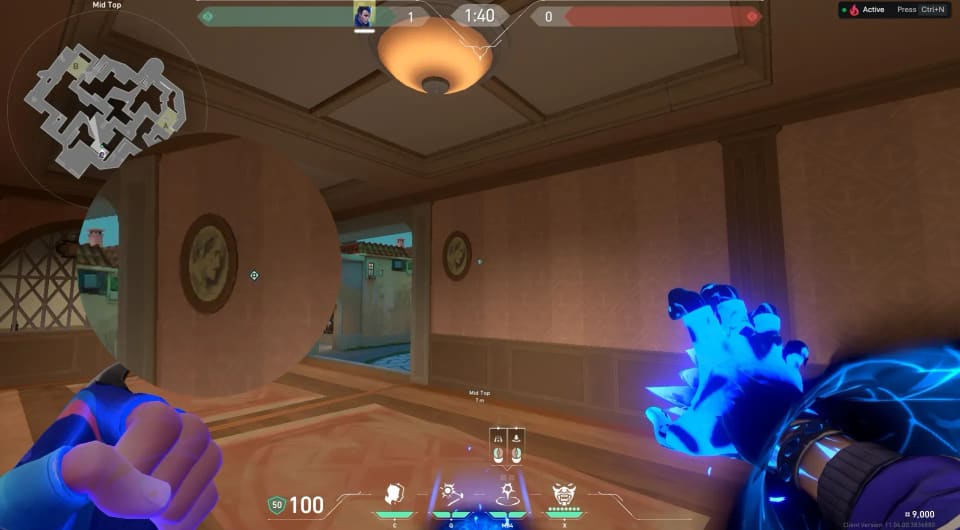
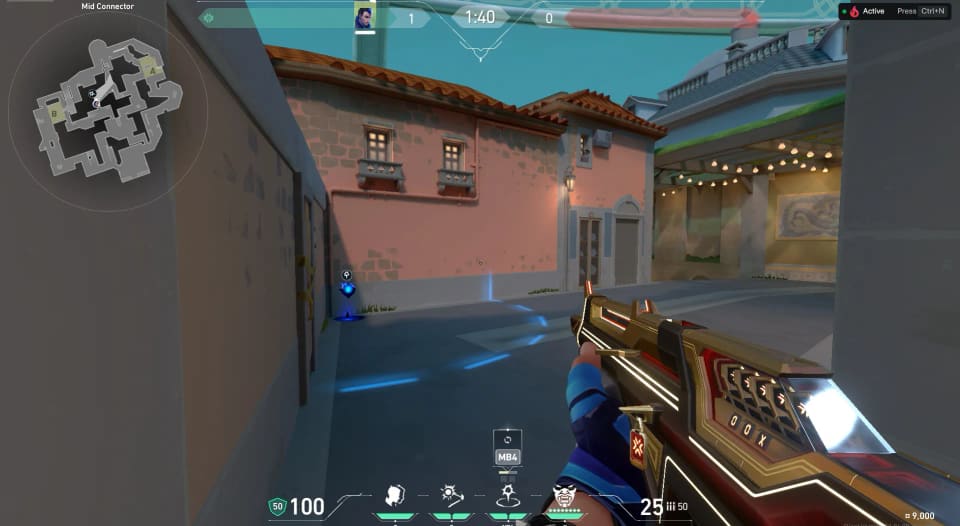
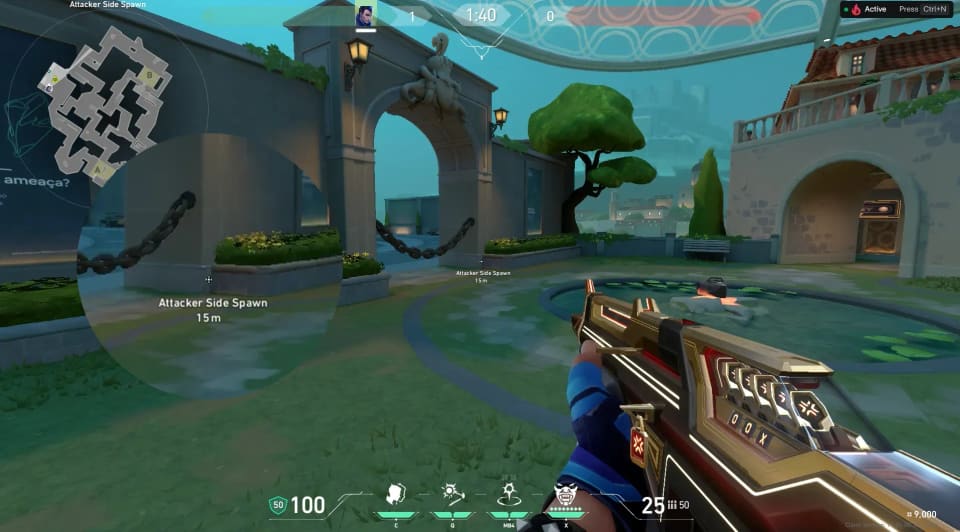
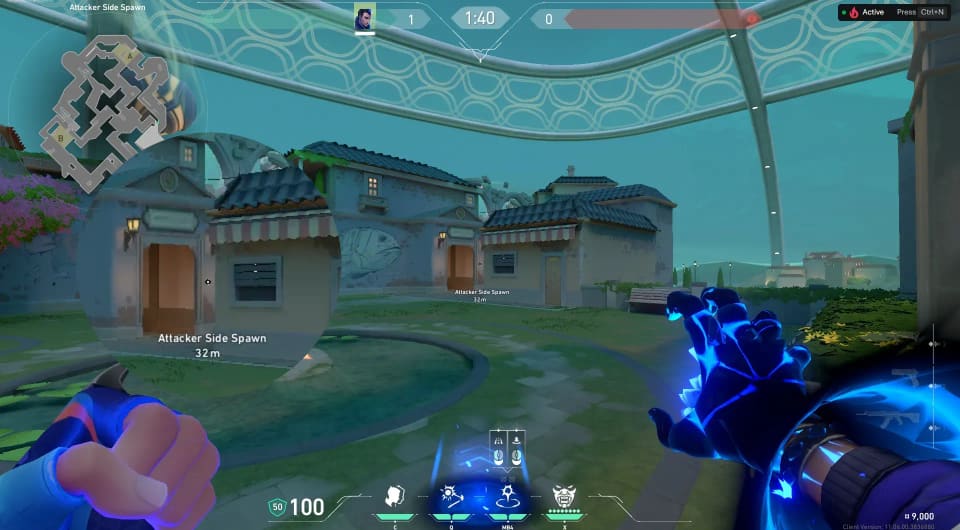
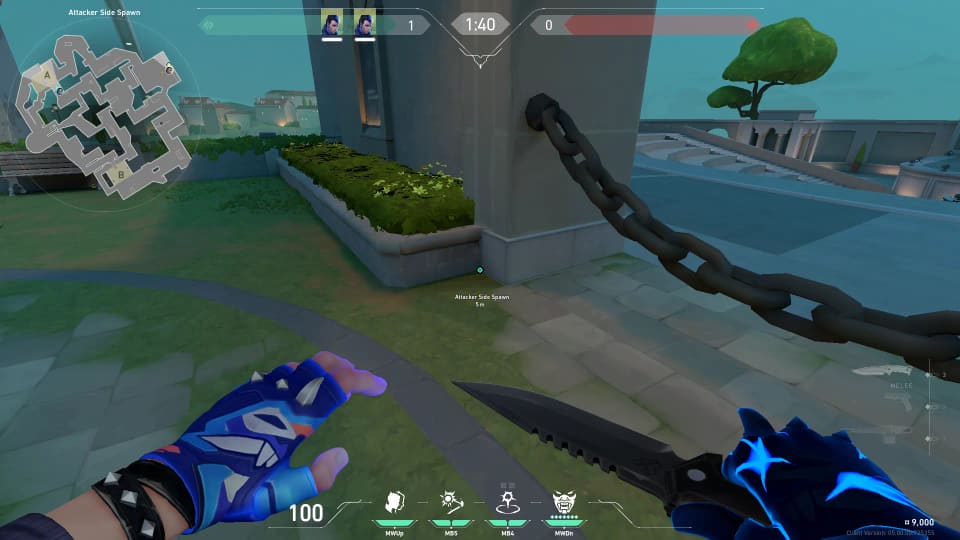
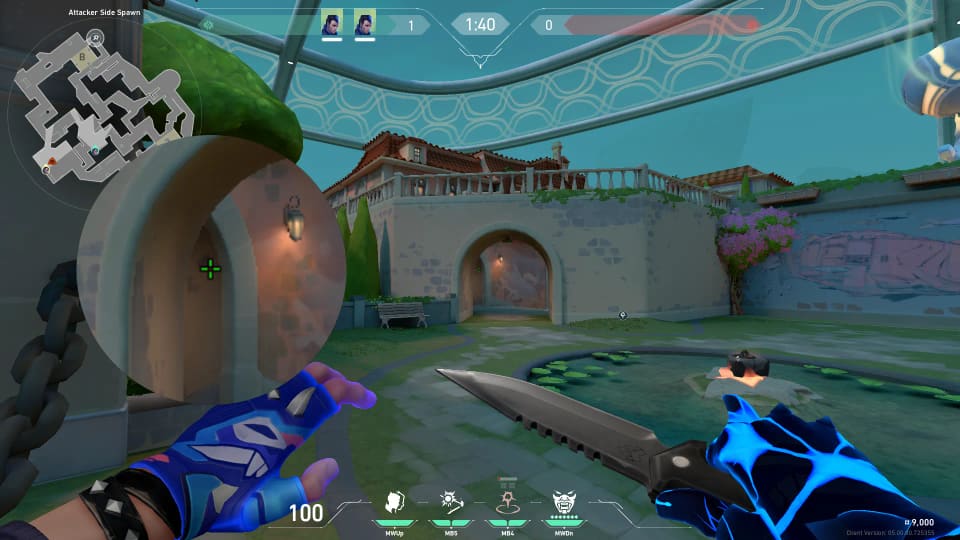
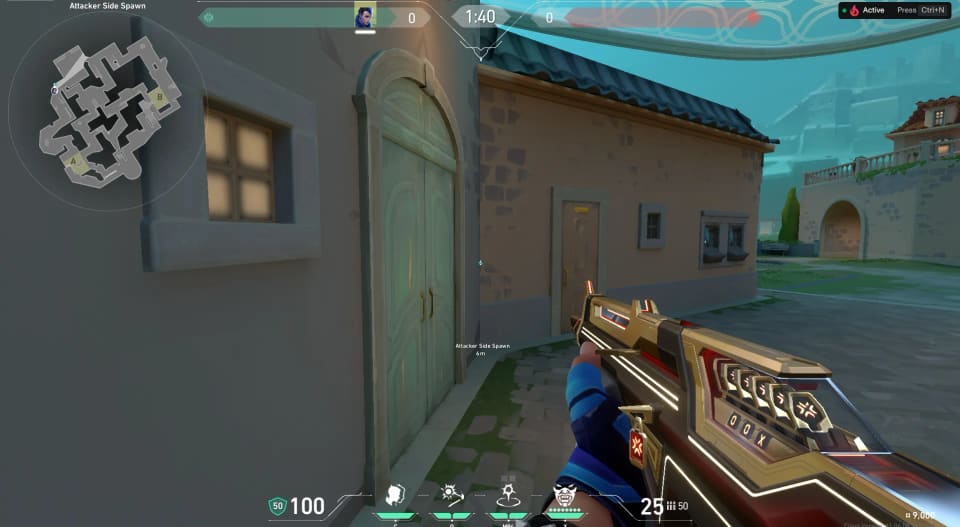
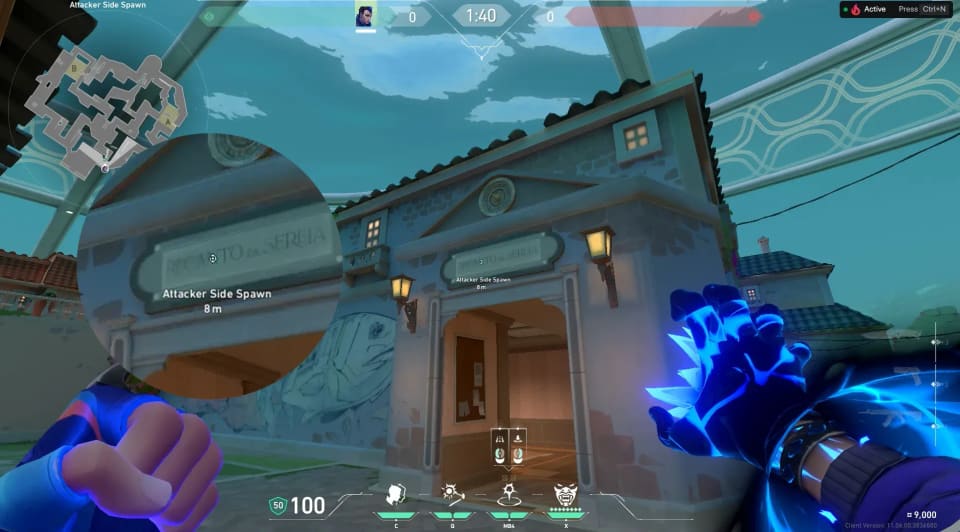
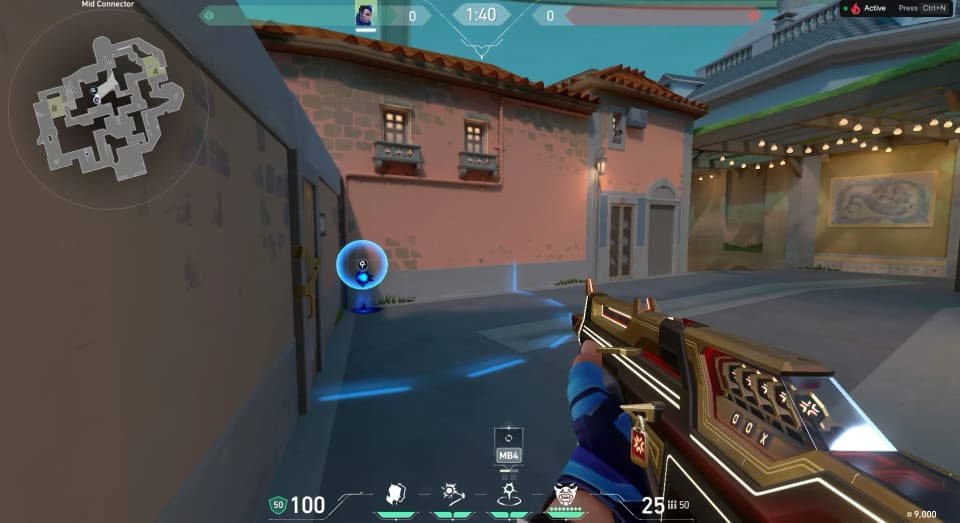
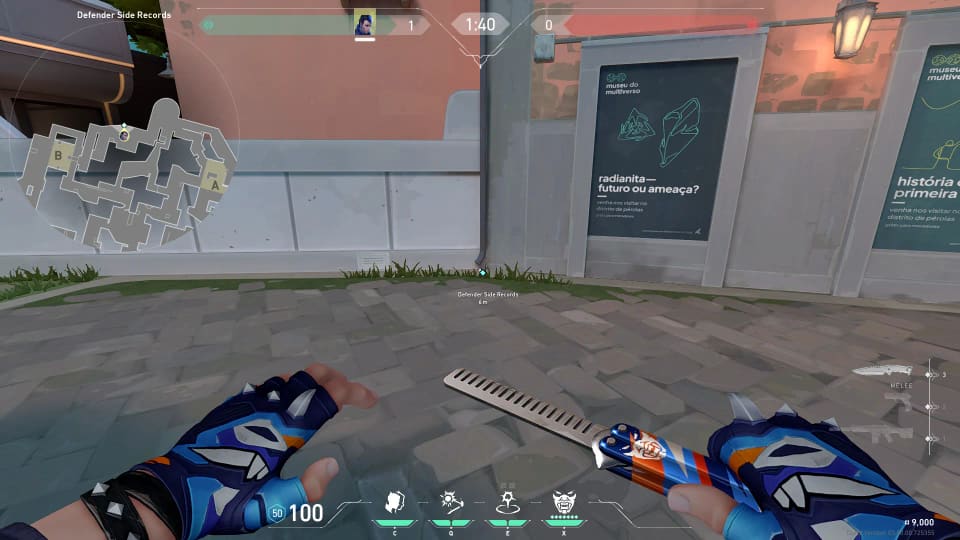
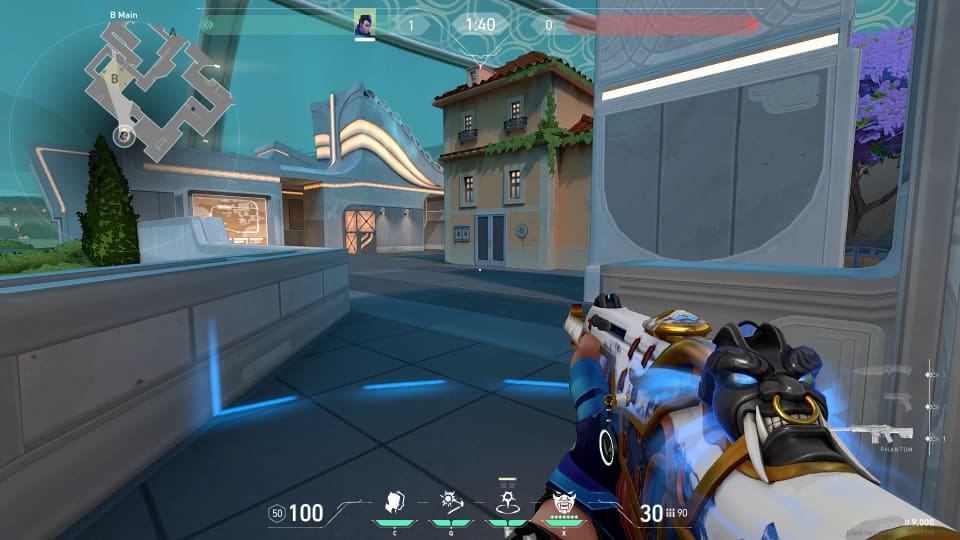
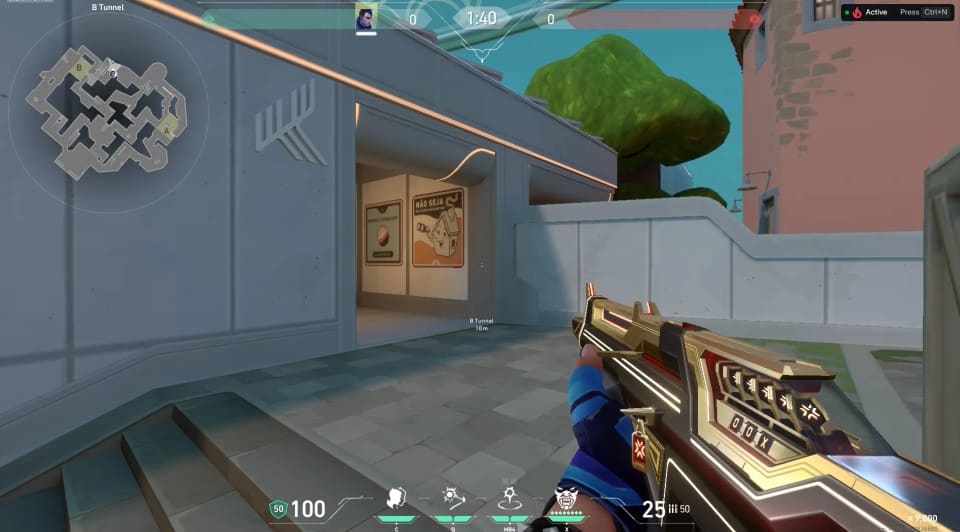
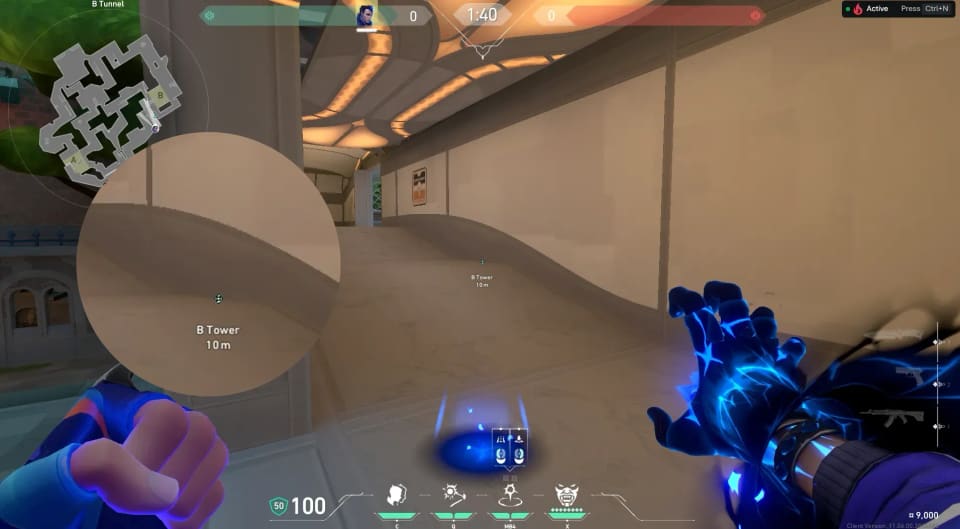
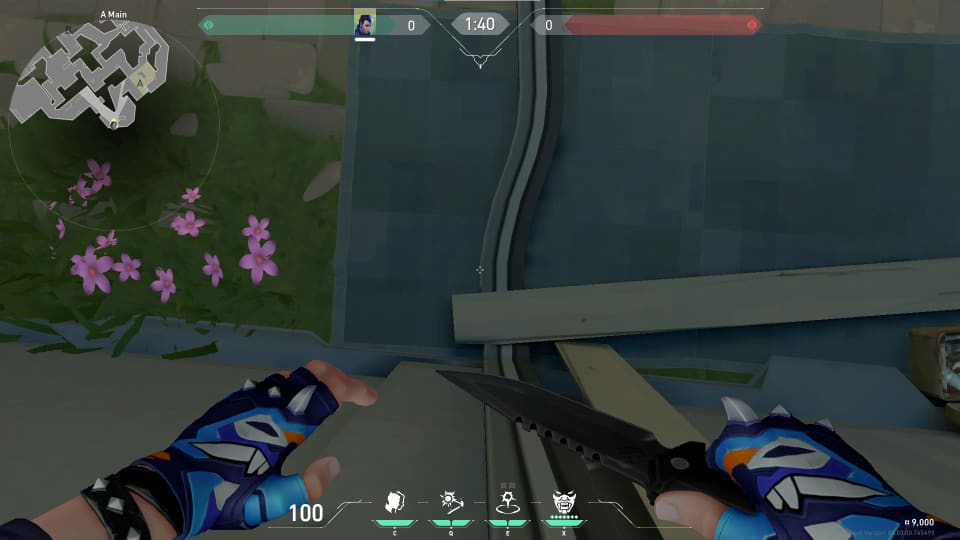
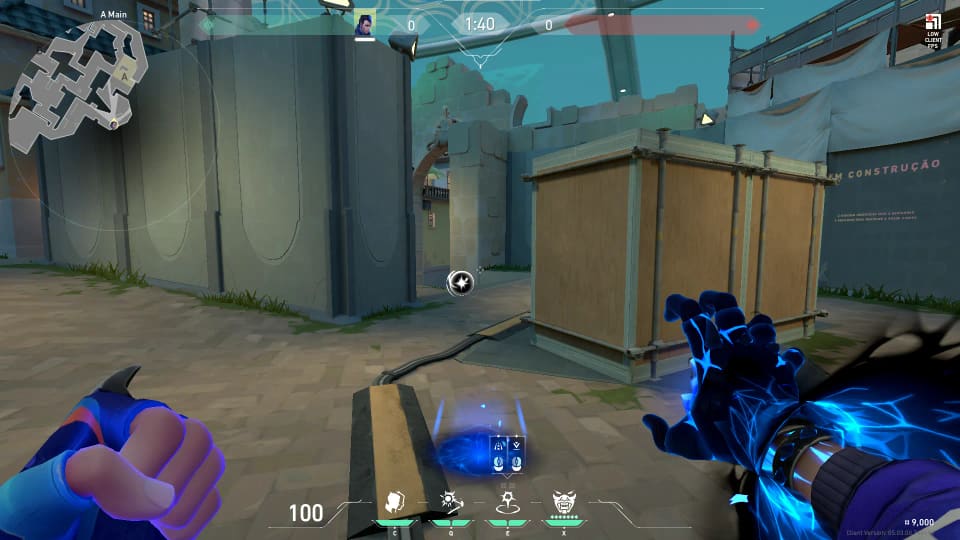
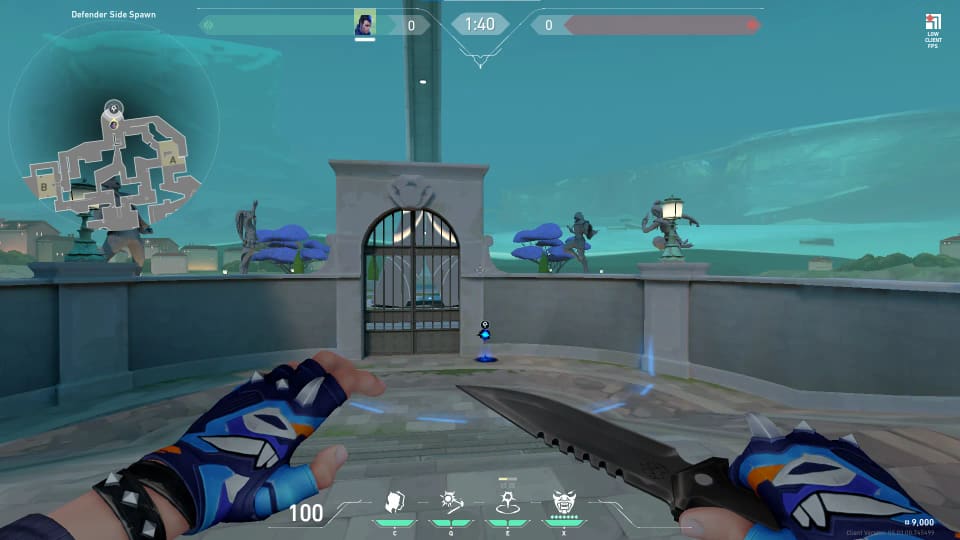
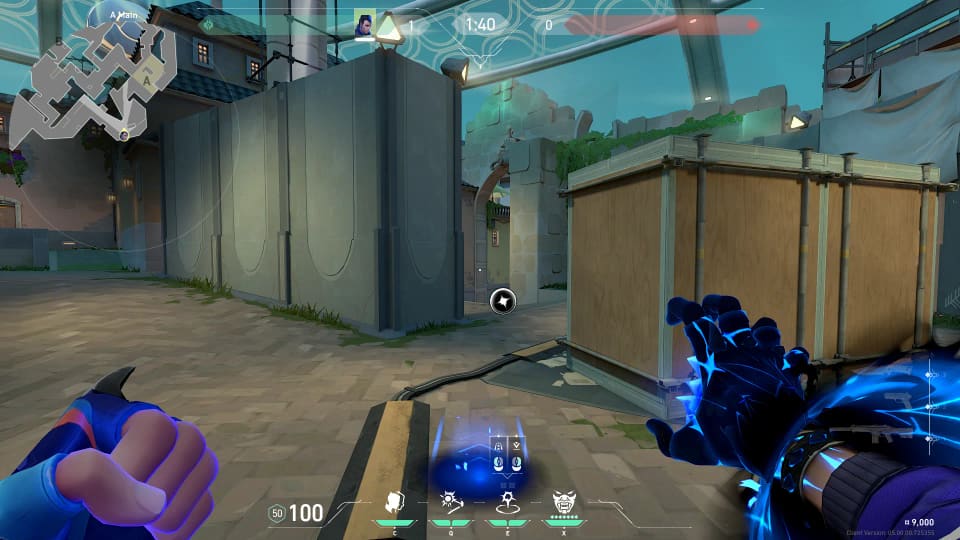
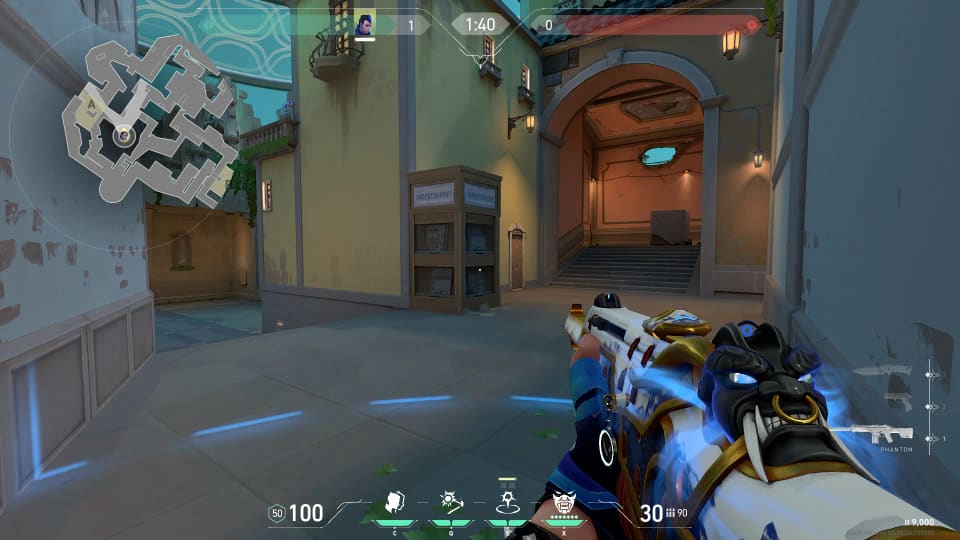
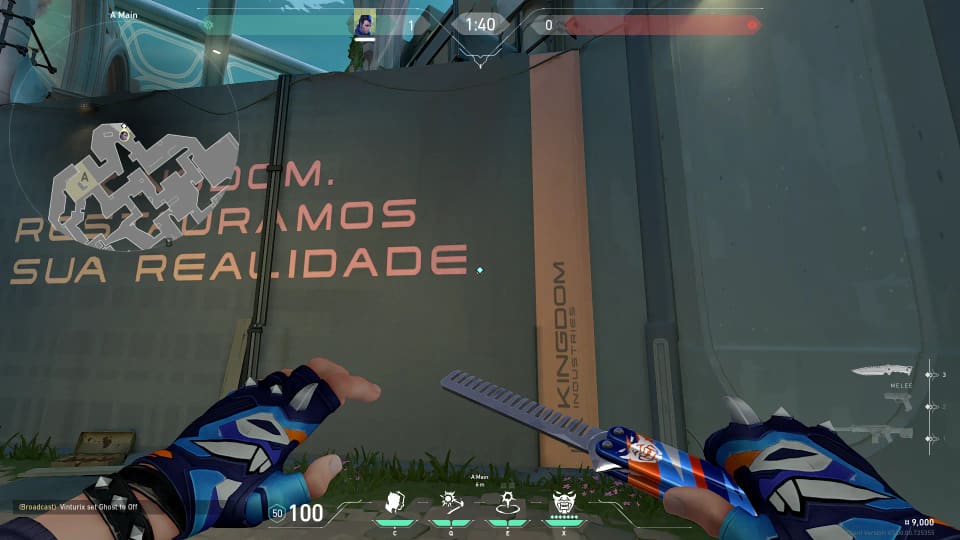
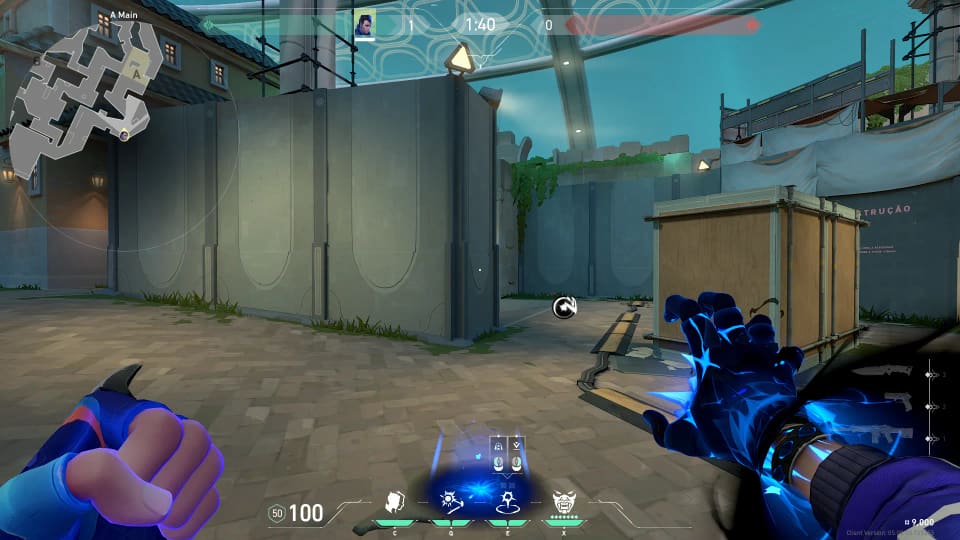
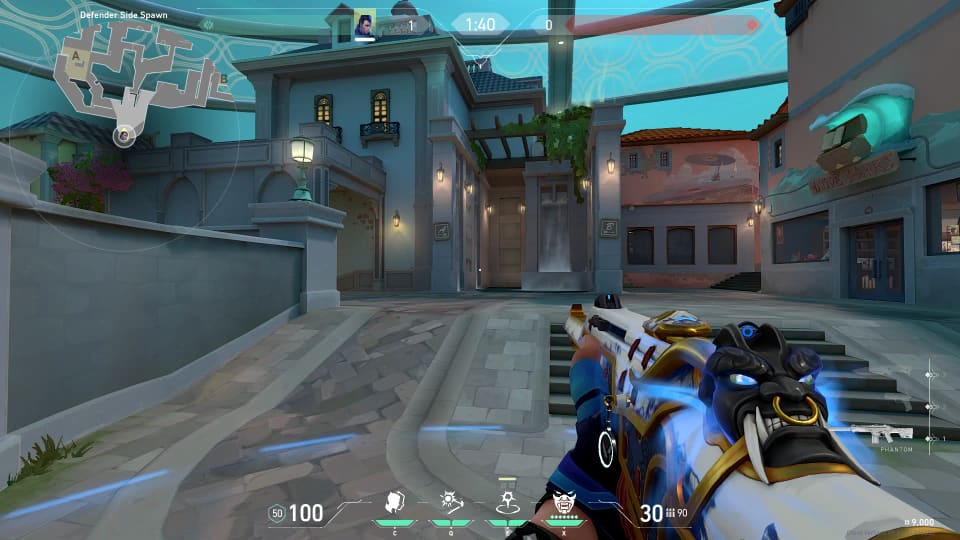
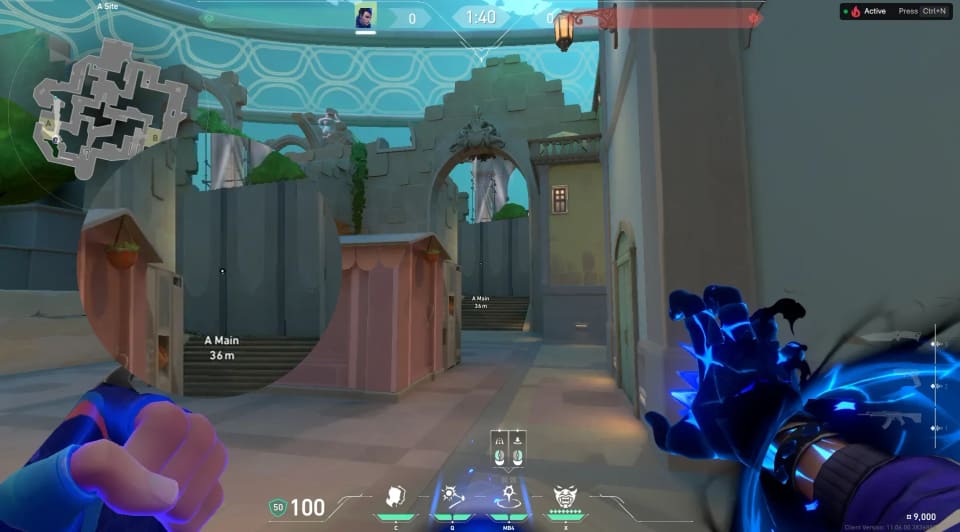
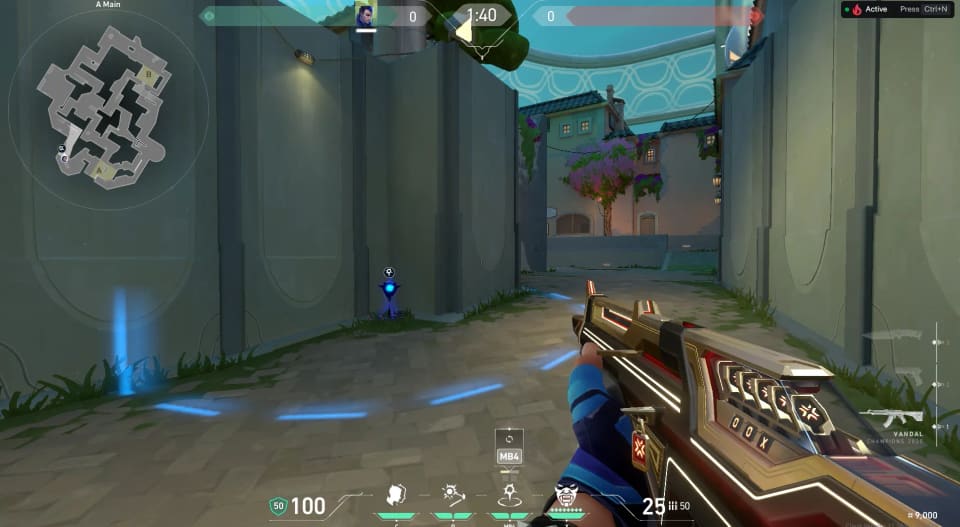
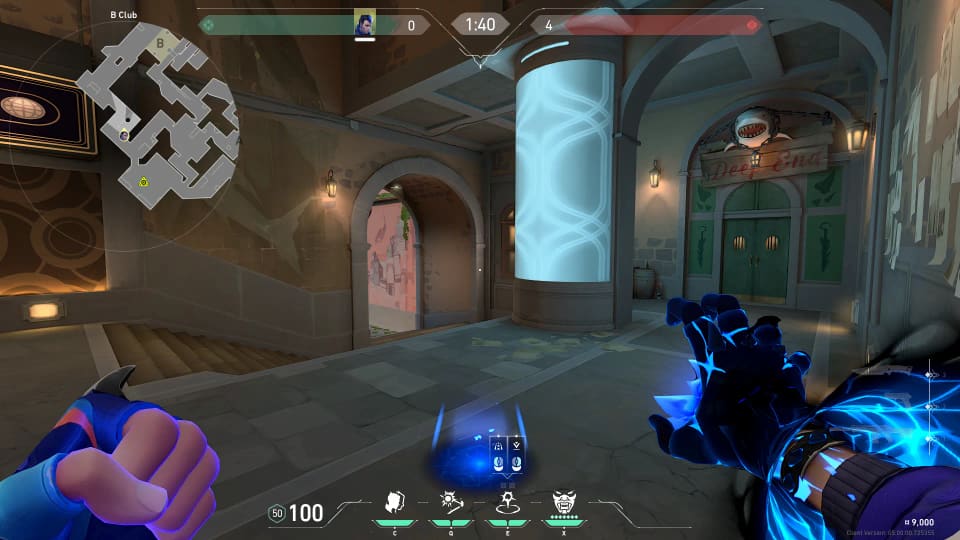
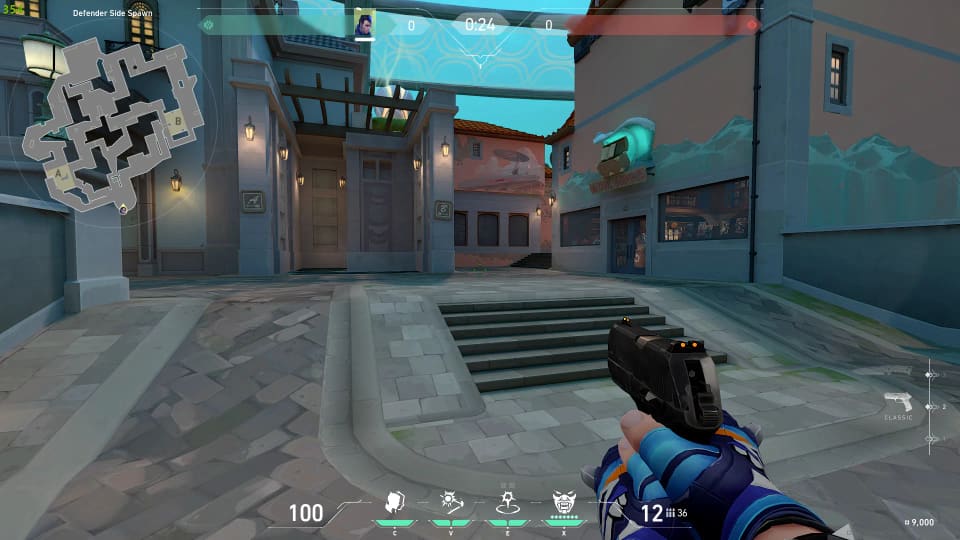
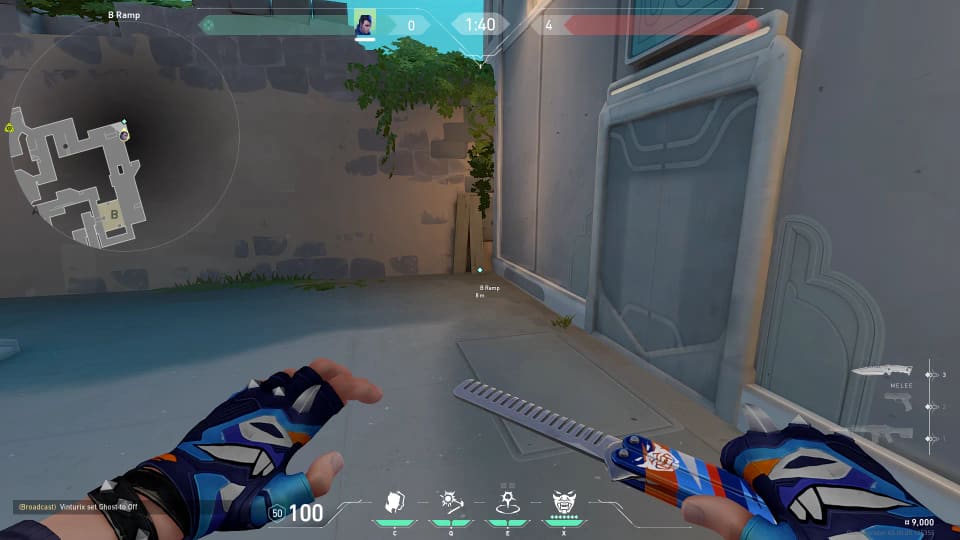
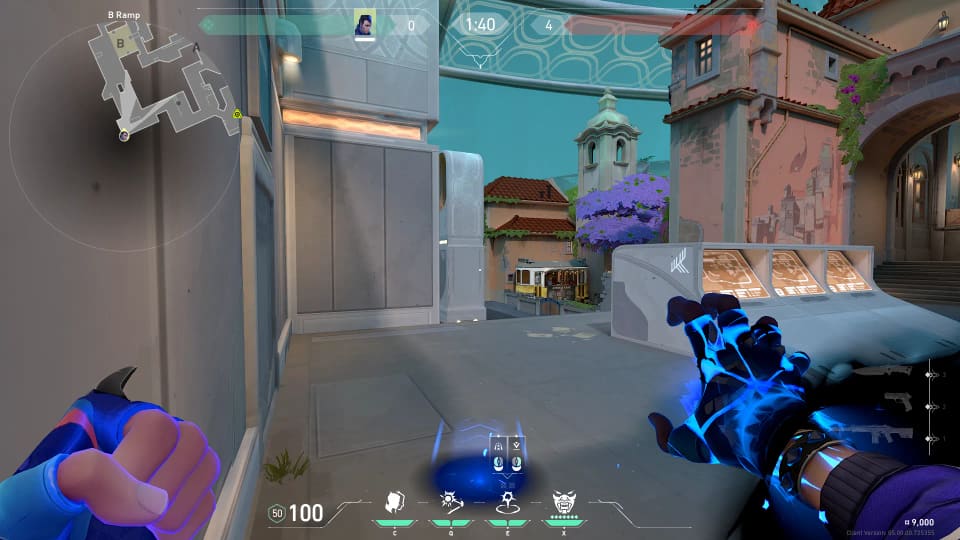
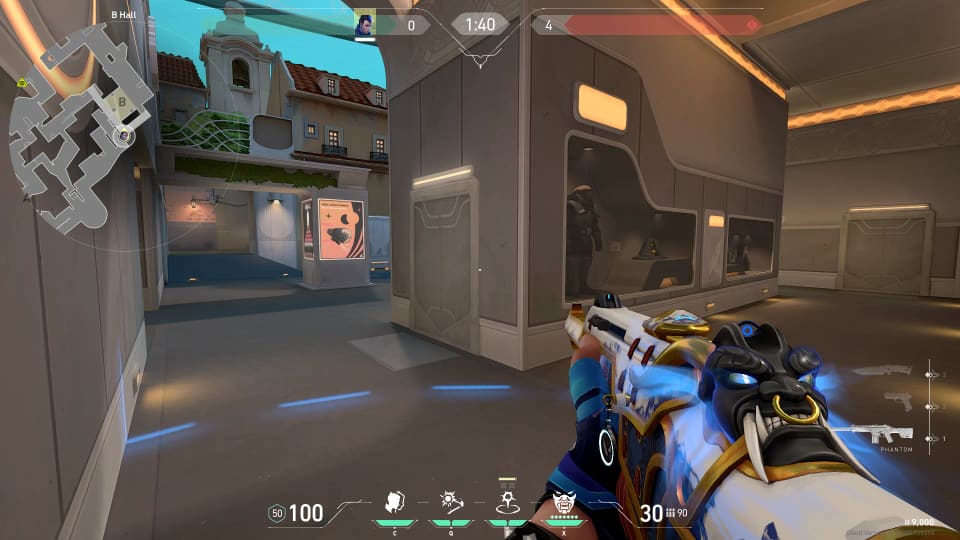
Yoru - Pearl
Gatecrash teleport routes grouped by starting point, with destinations listed together for each position.
Photos are saved locally from LineupsValorant. Map coordinates use VALORANT public map metadata.
0 favorites
No favorites yet.
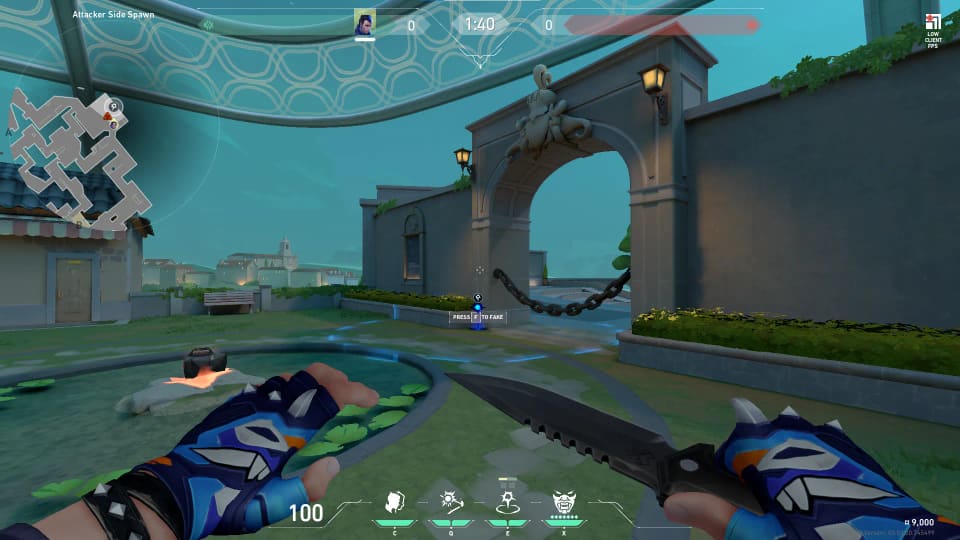
A Site Starts
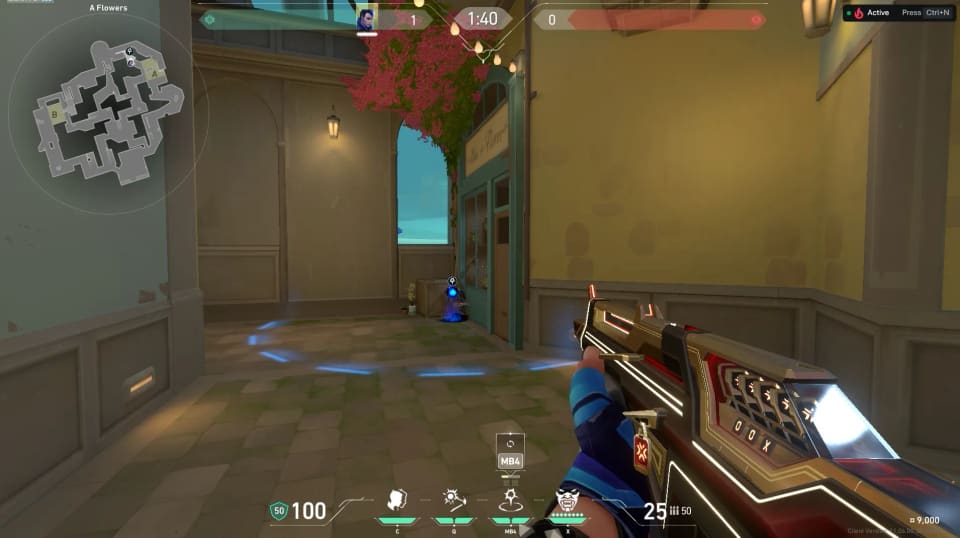
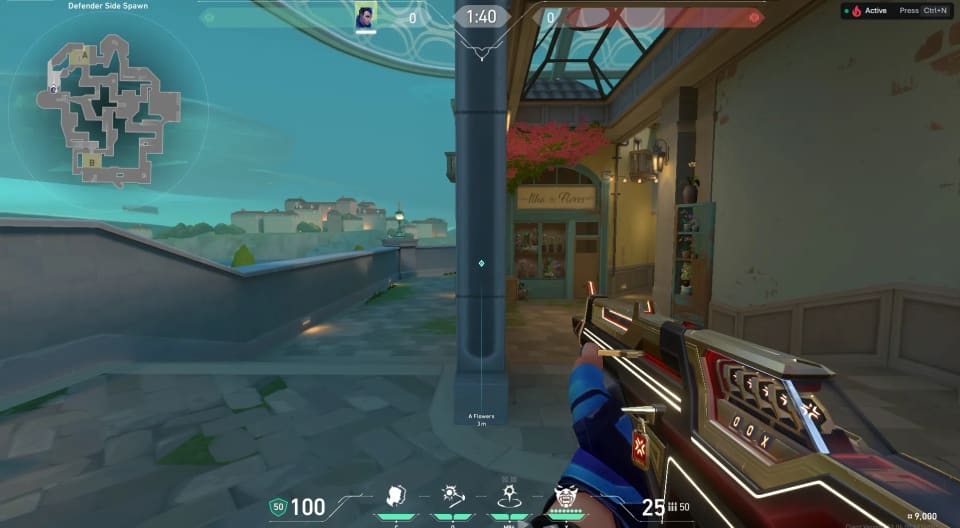
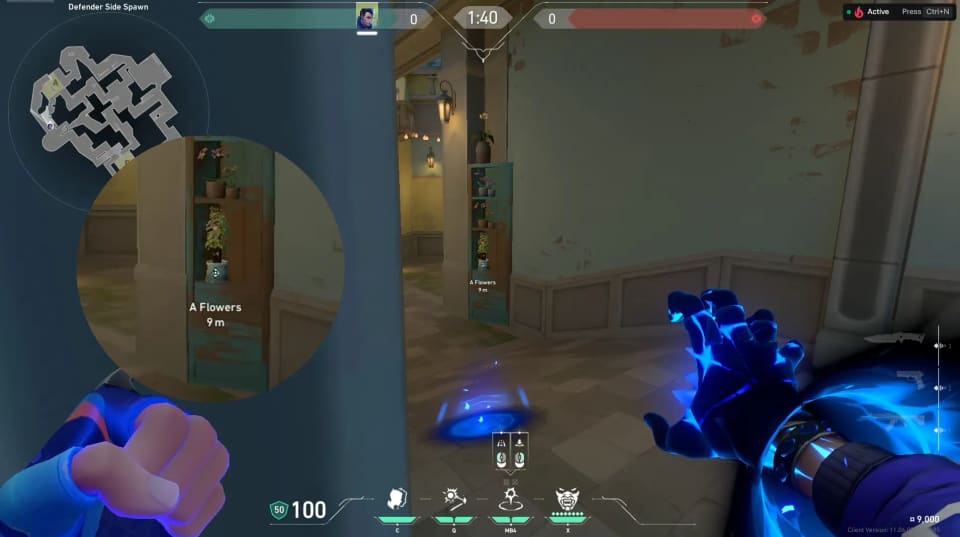
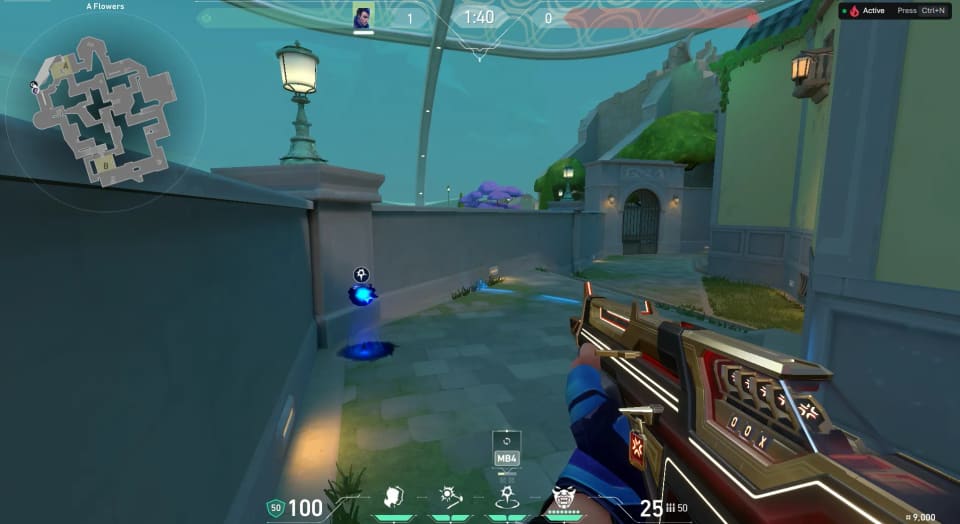
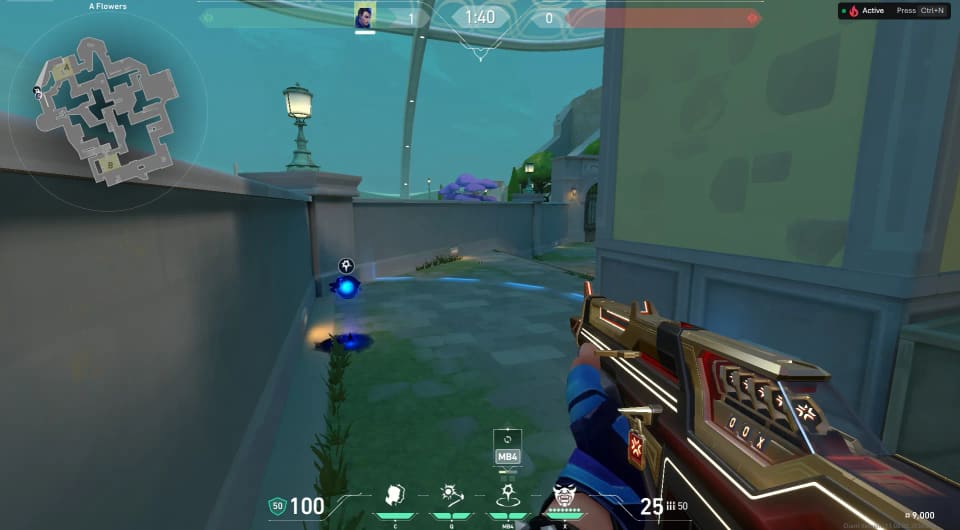
From A Flowers
2 destinations 2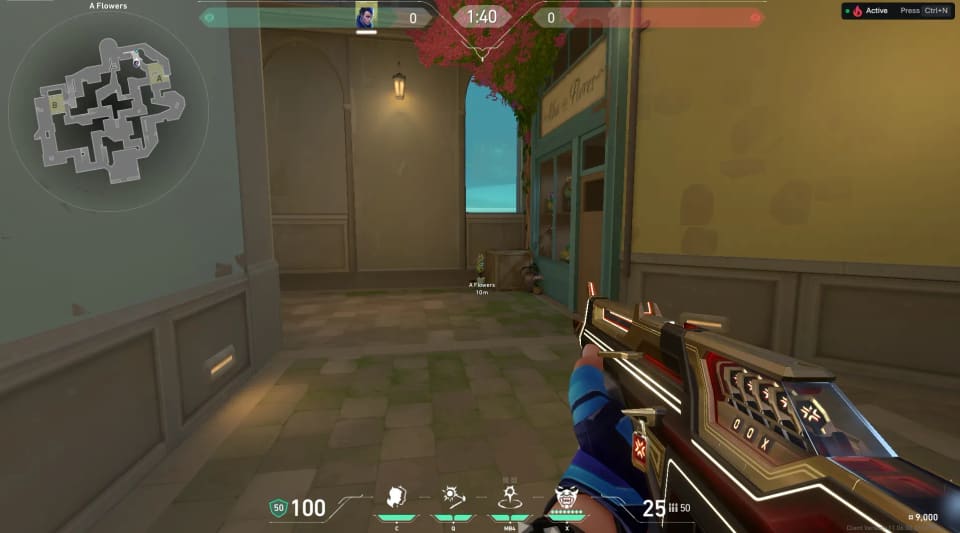
From A Link
1 destination 1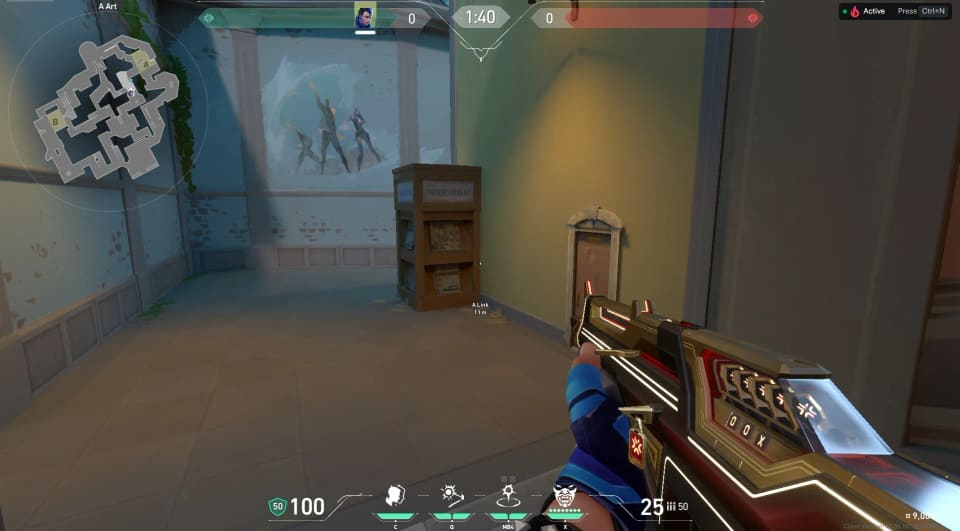

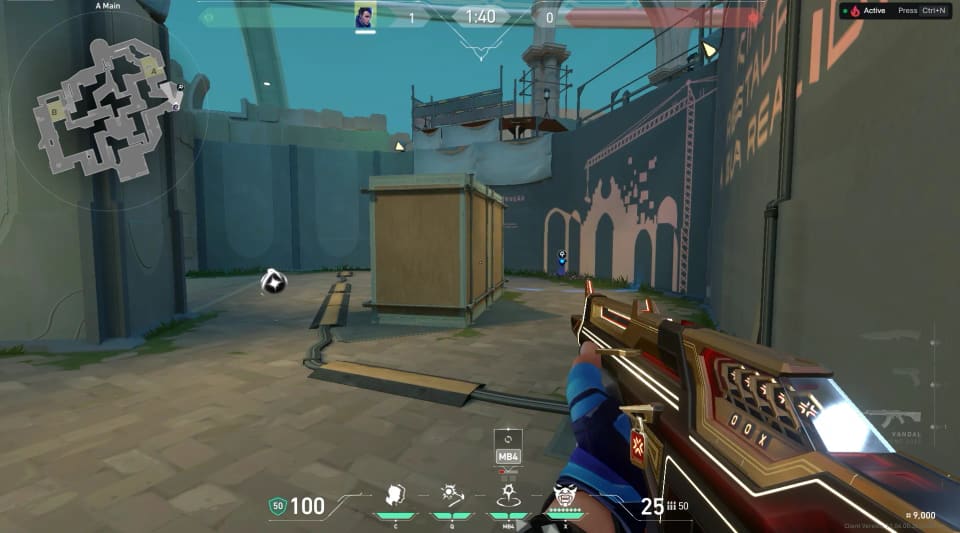
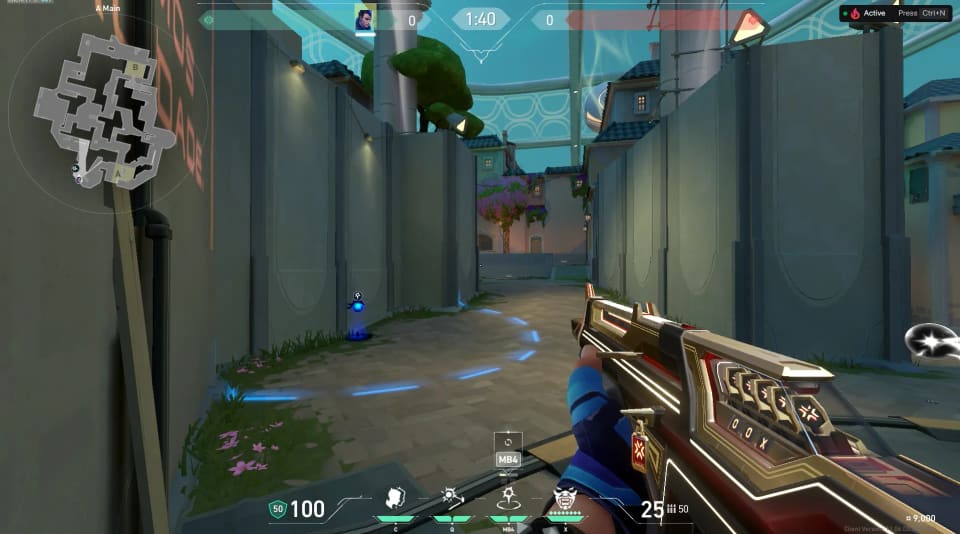
From A Main
3 destinations 3
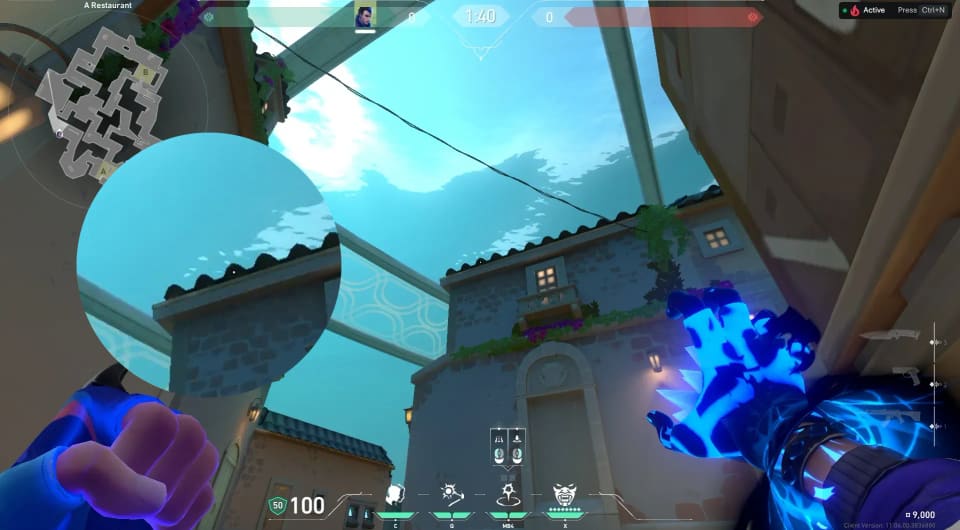
From A Restaurant
1 destination 1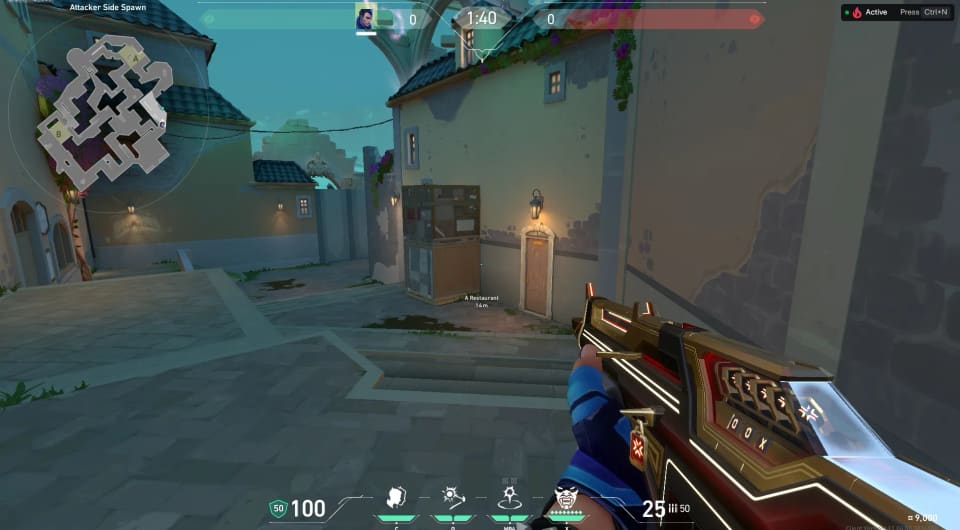
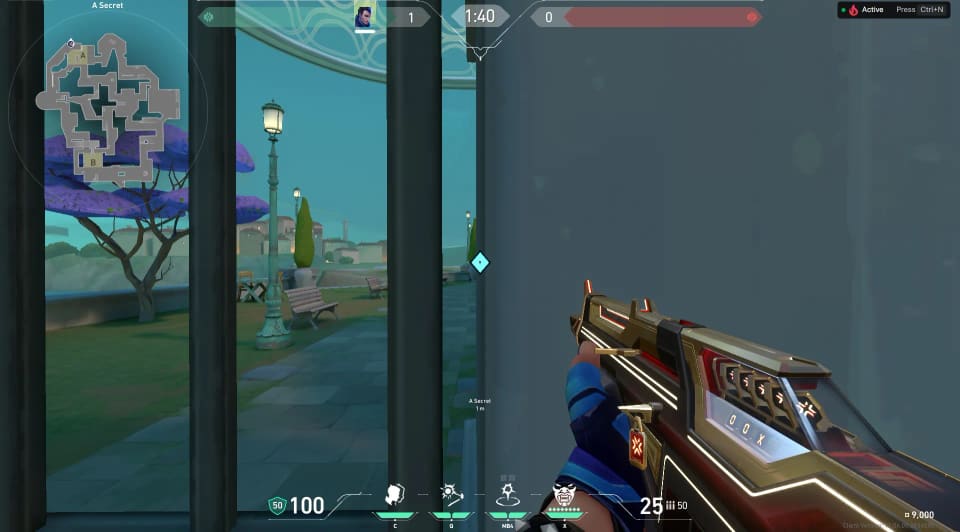
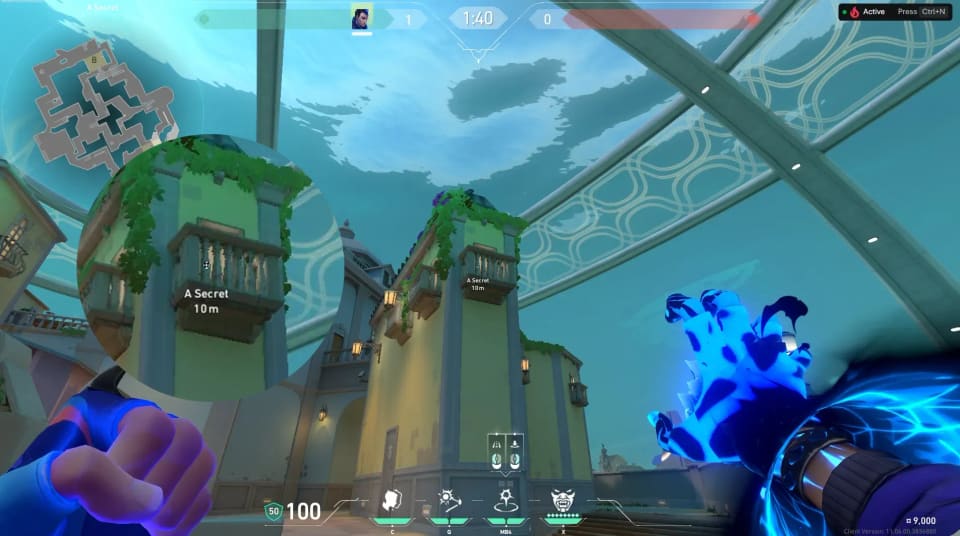
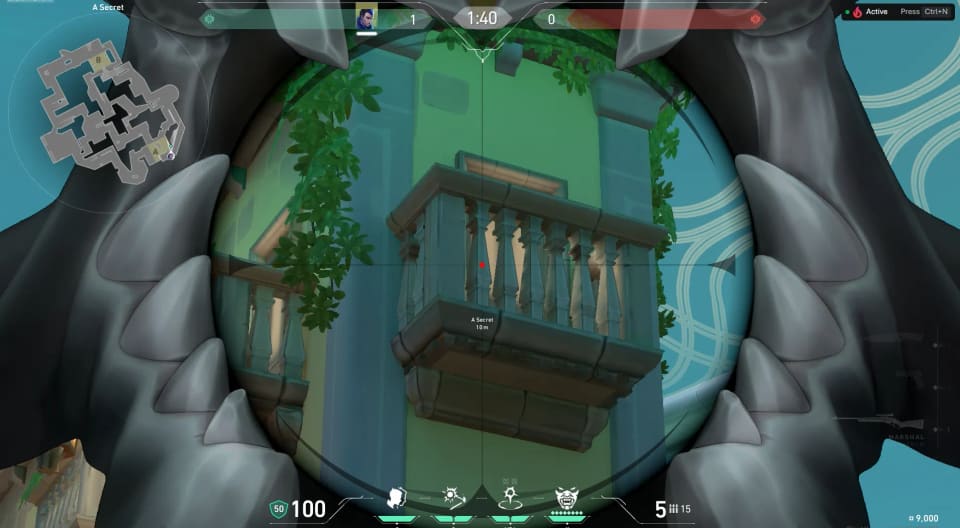
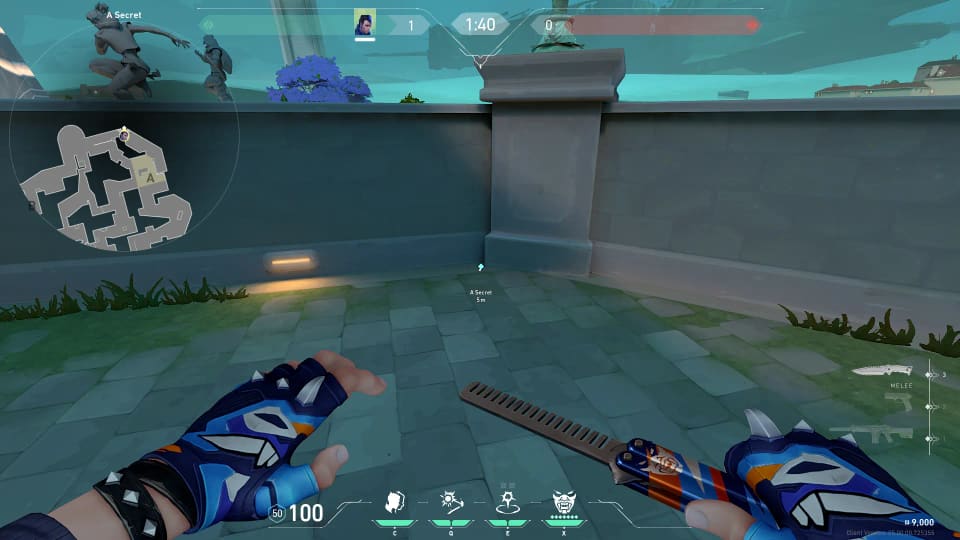
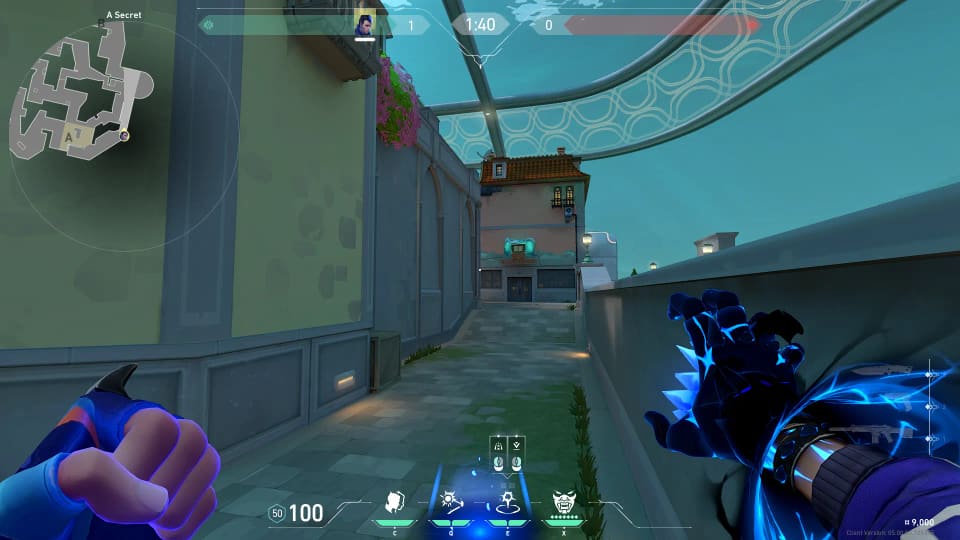
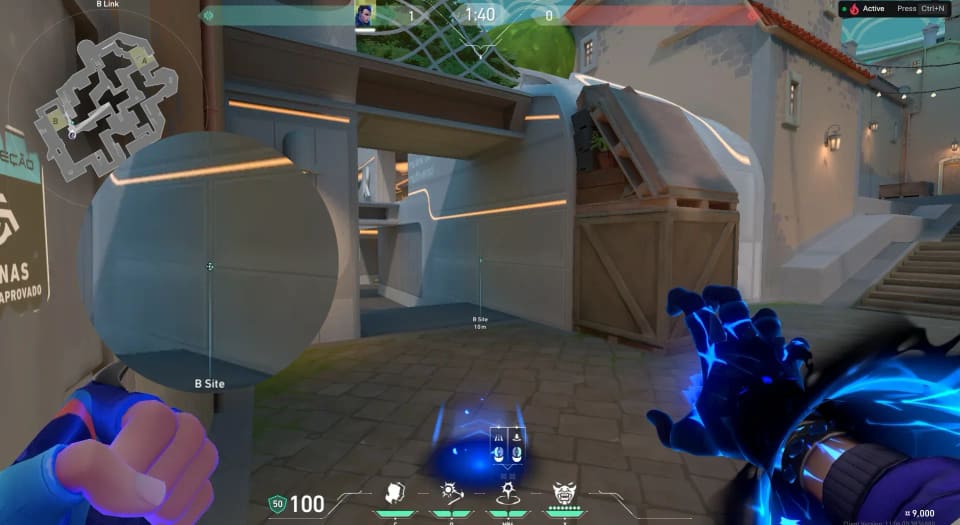
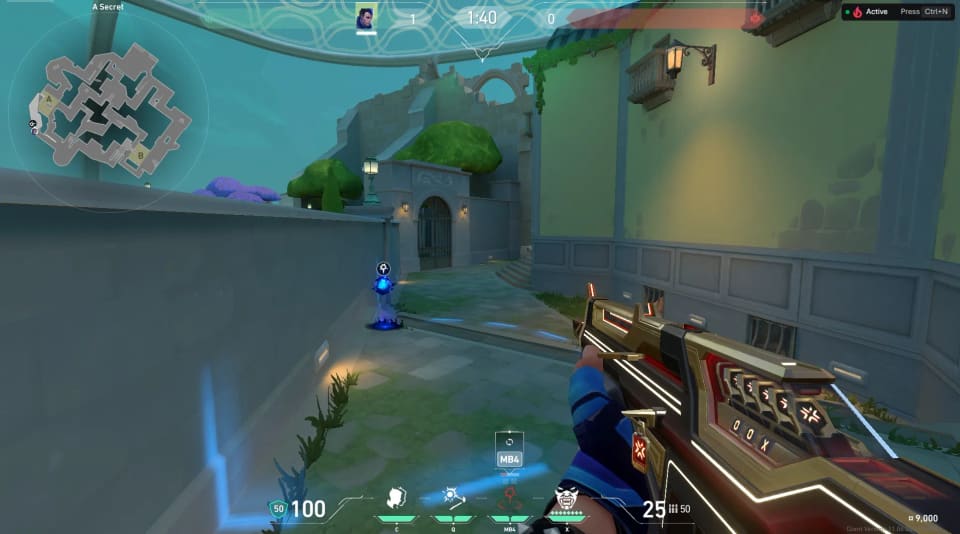
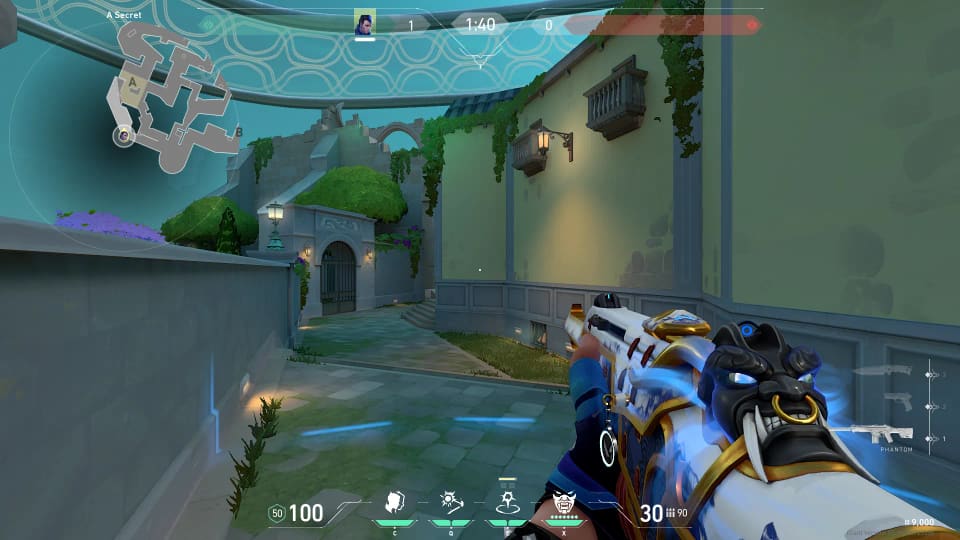
From A Secret
1 destination 2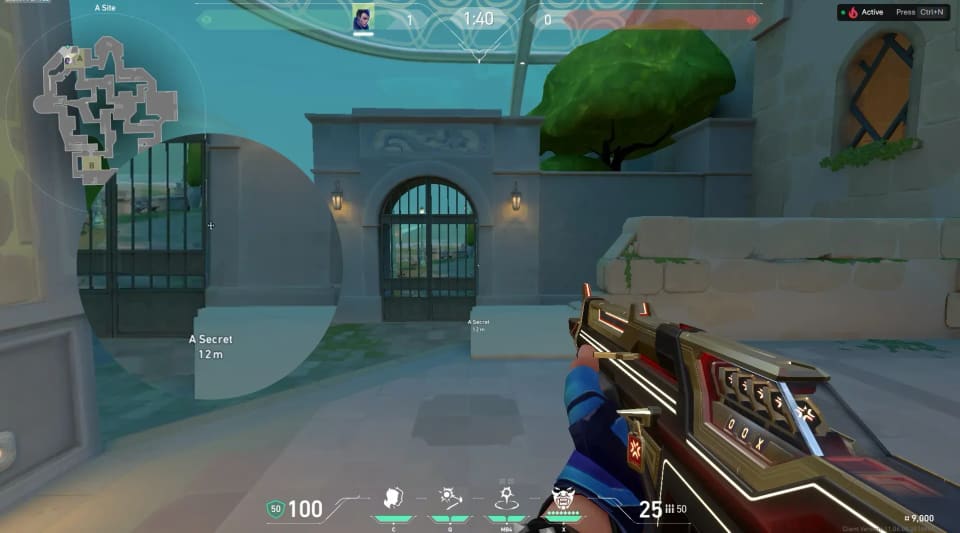
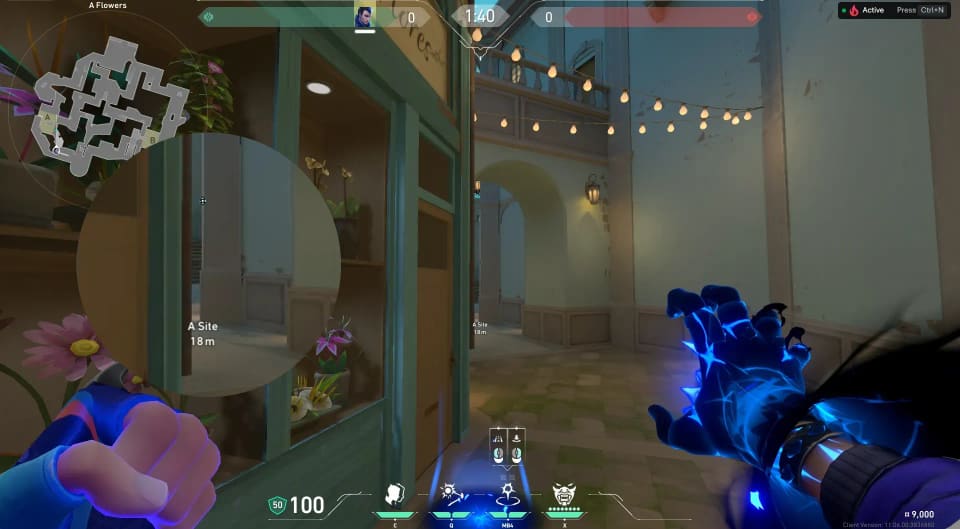
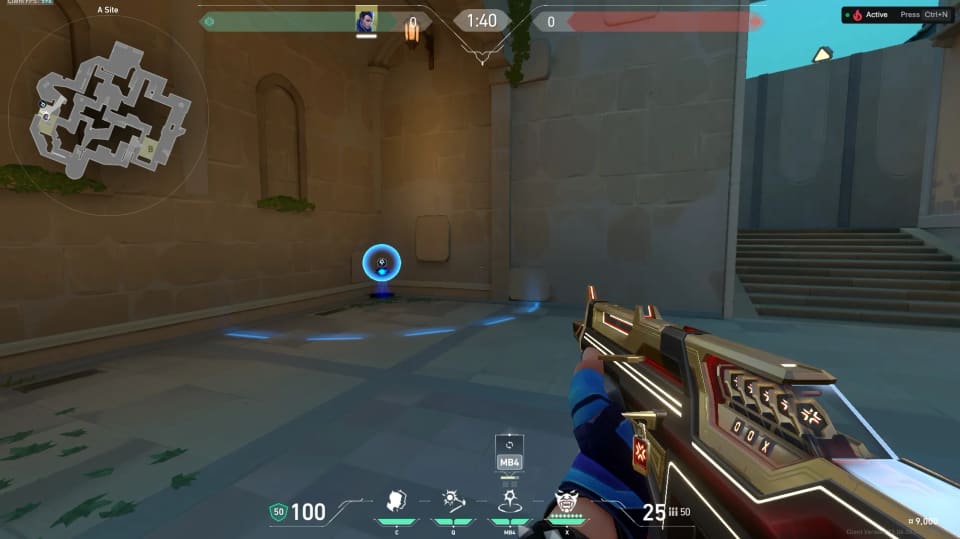
From A Site
1 destination 1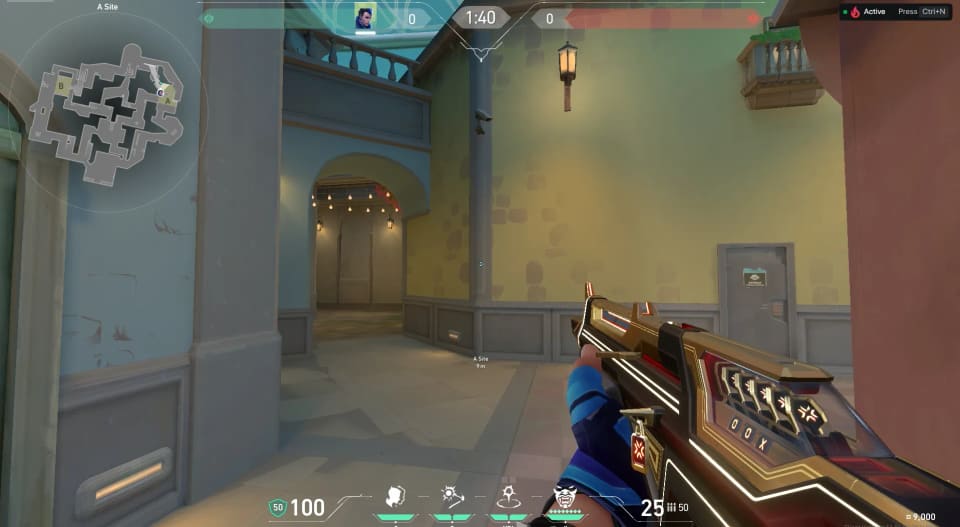
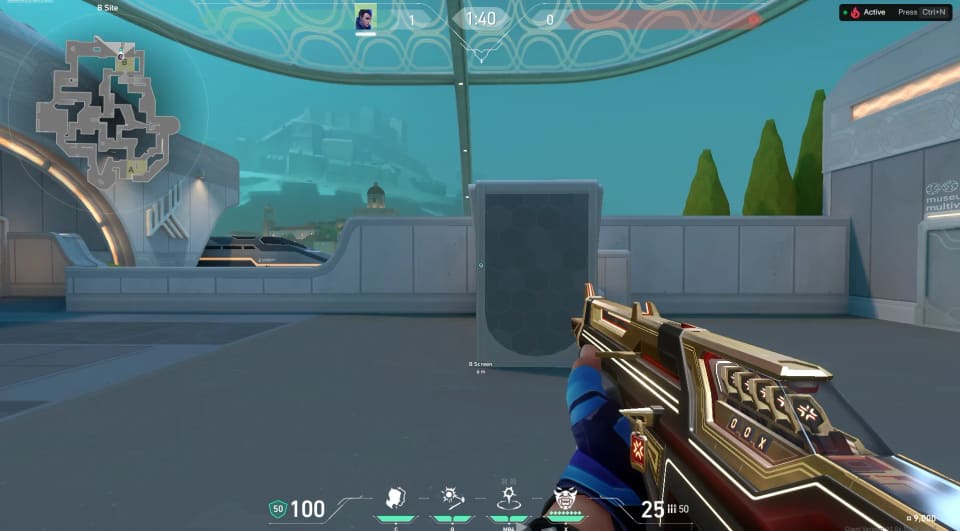
B Site Starts
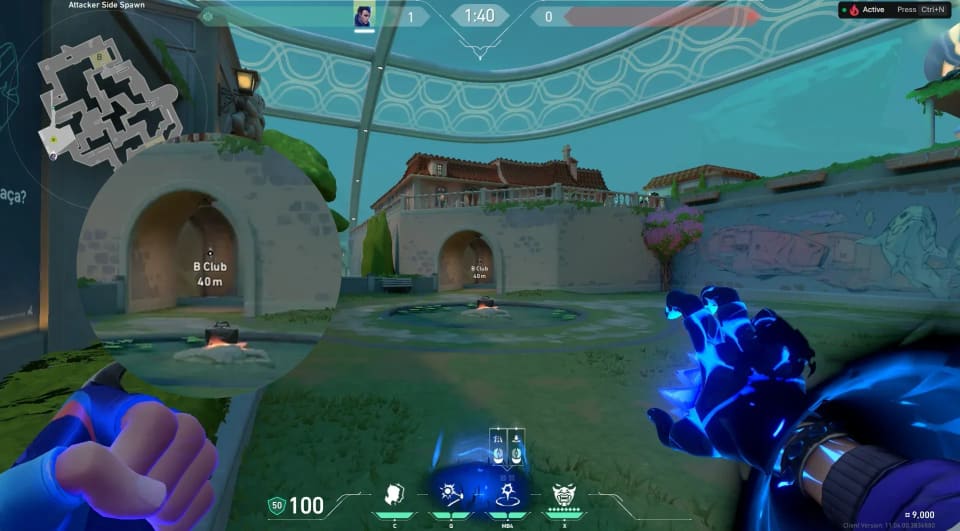
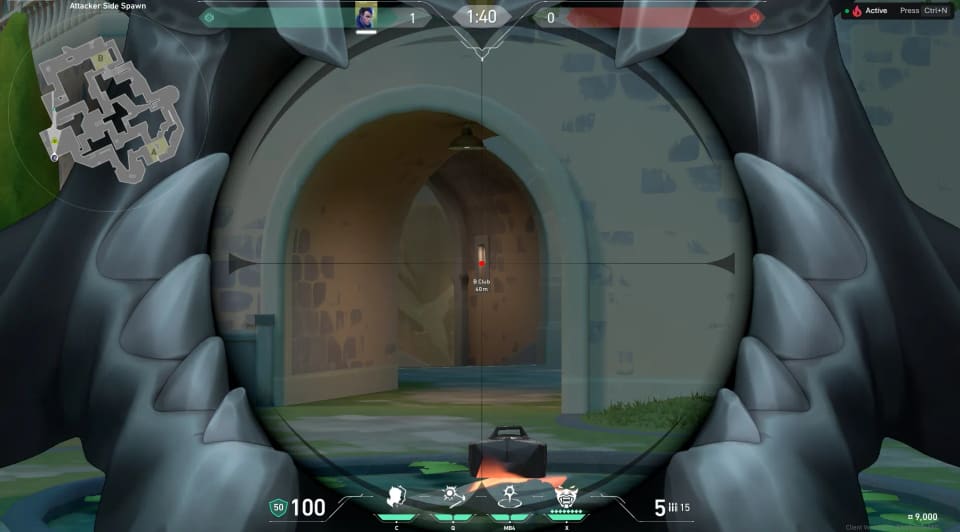
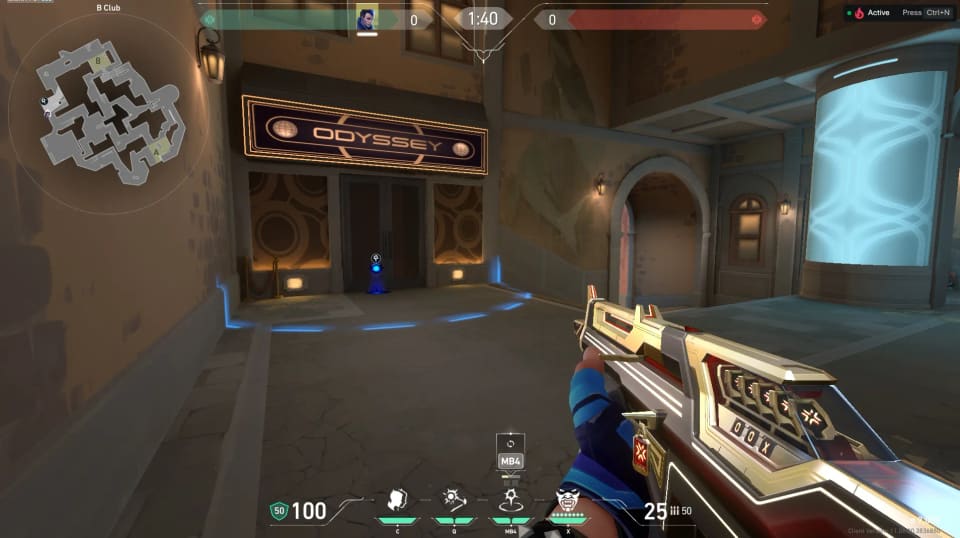
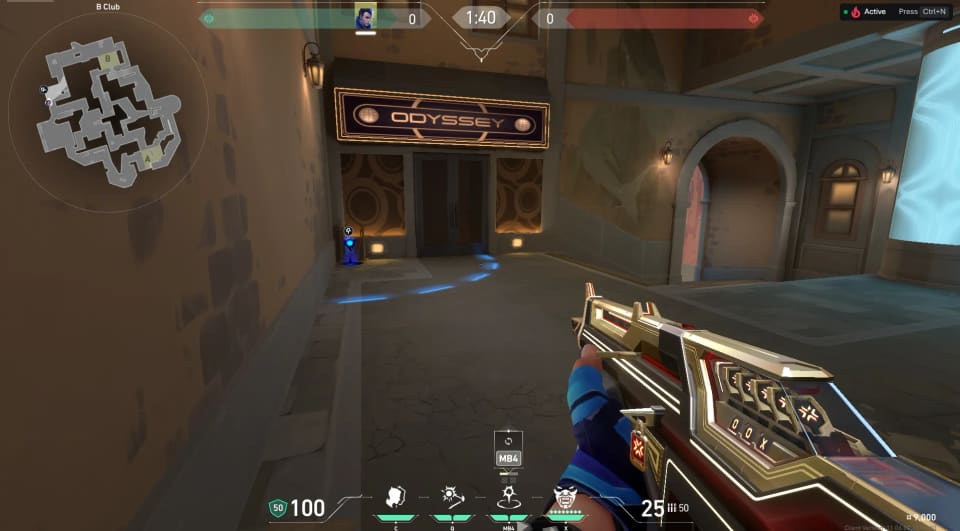
From B Club
1 destination 1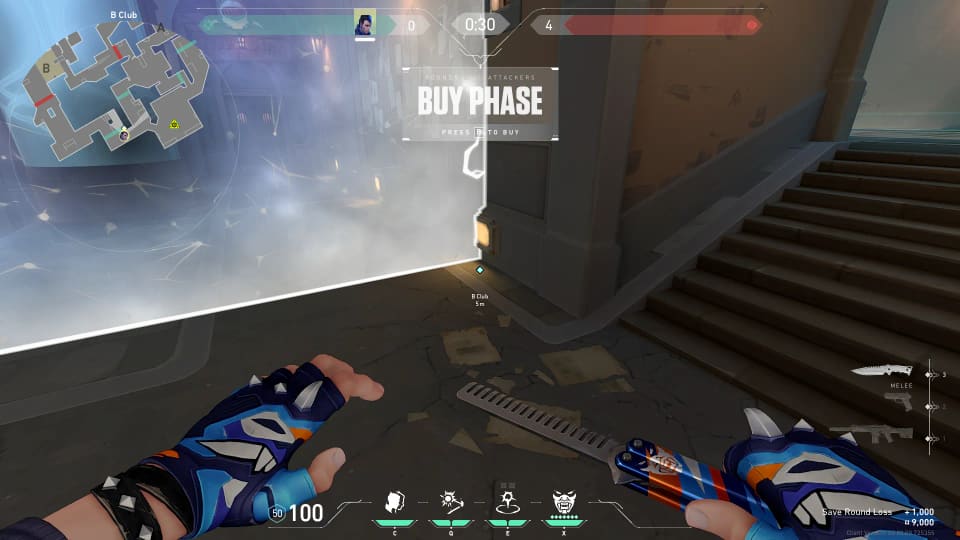

From B Cubby
1 destination 1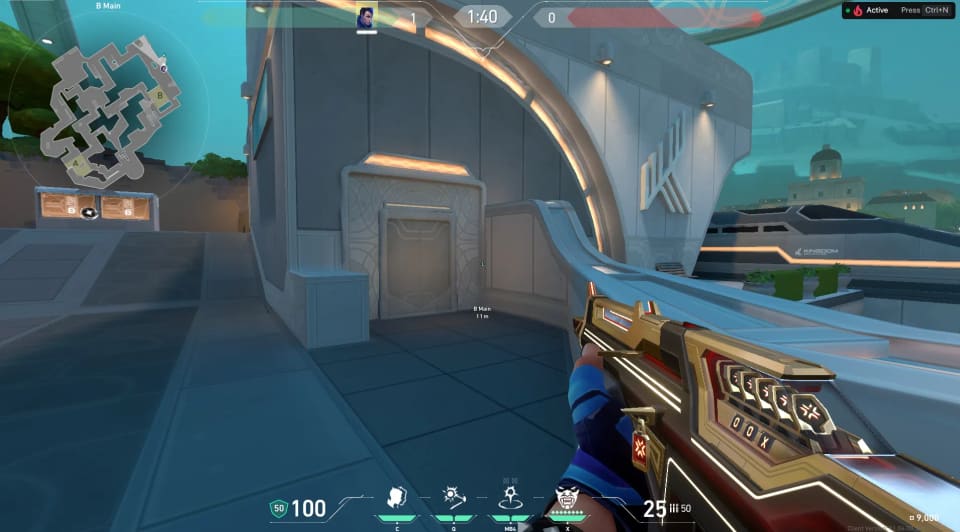
From B Link
1 destination 1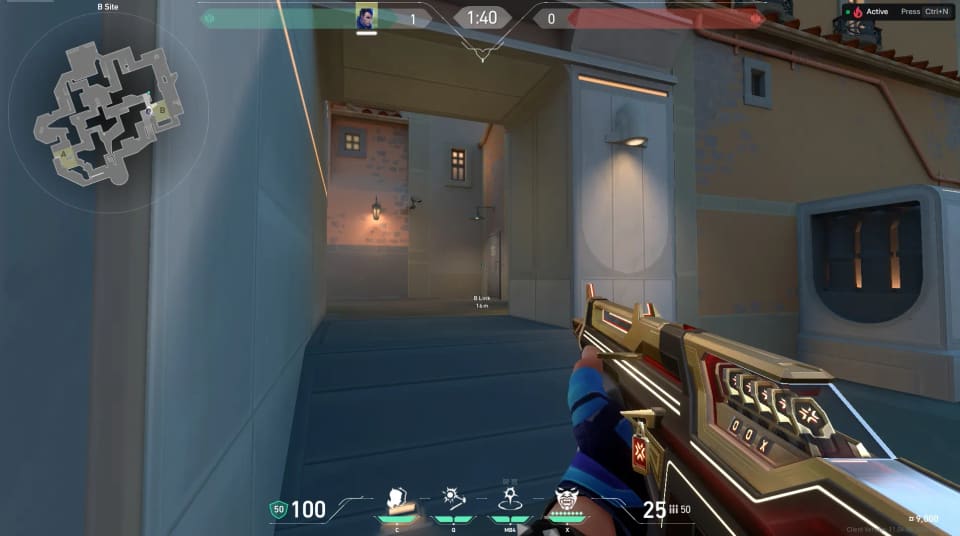
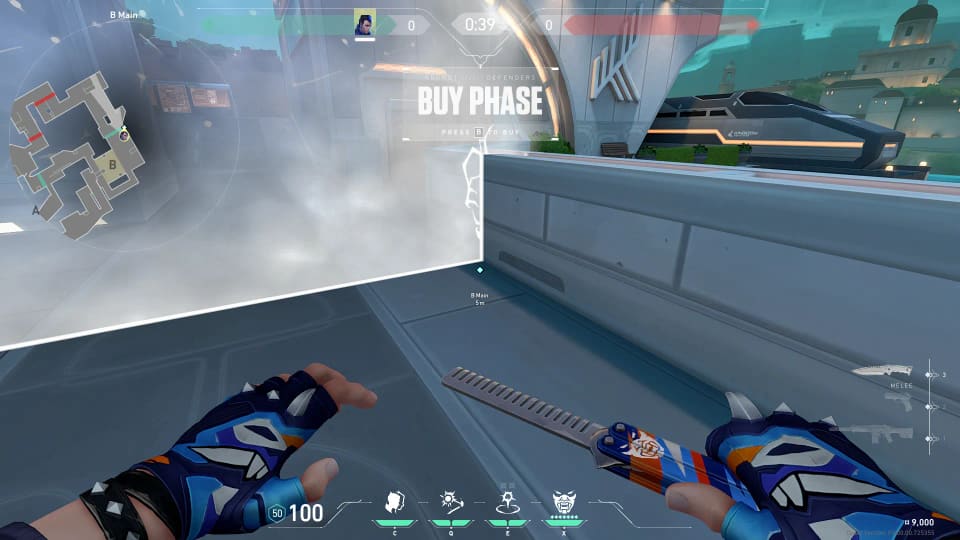
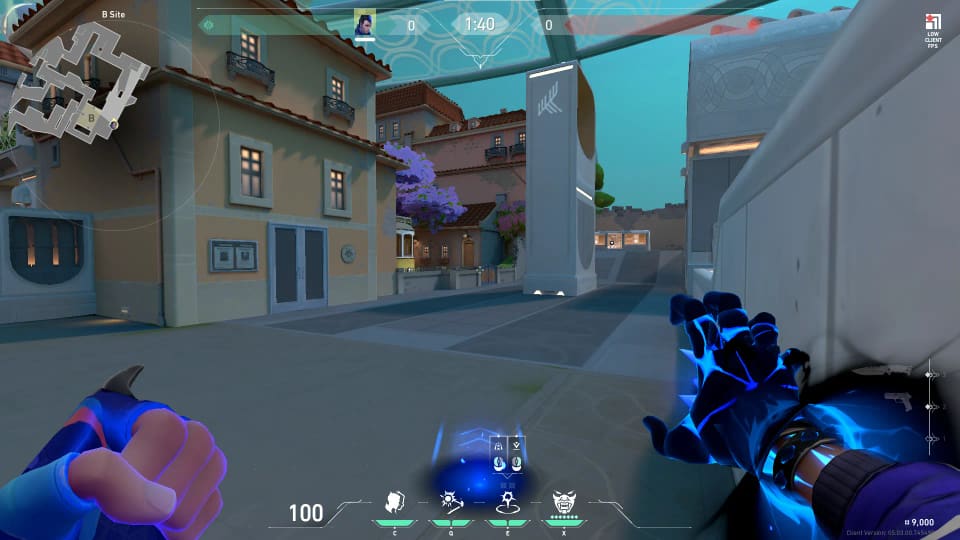
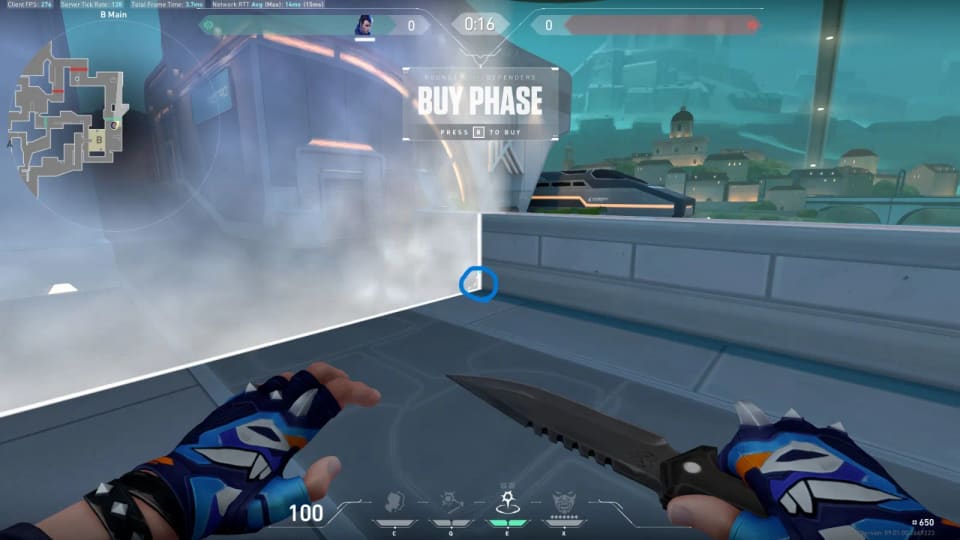
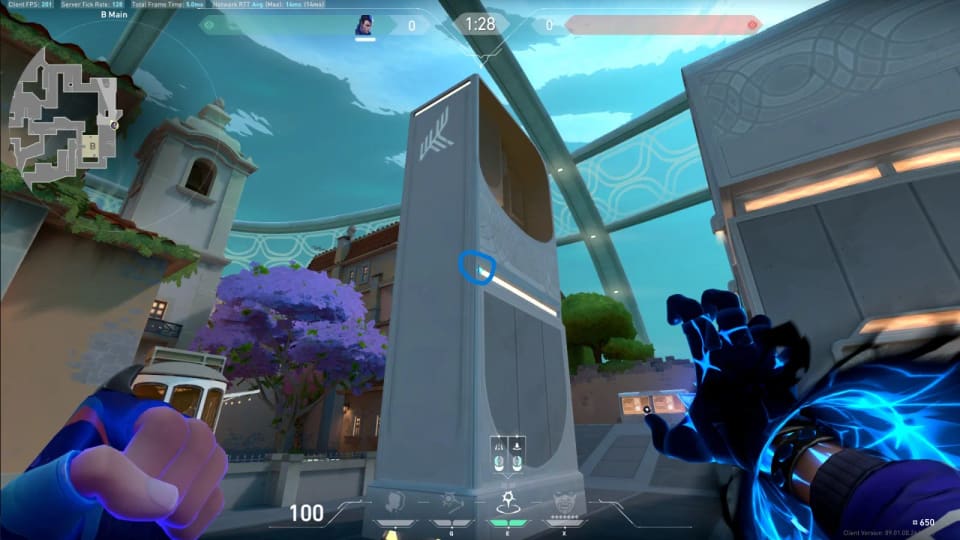
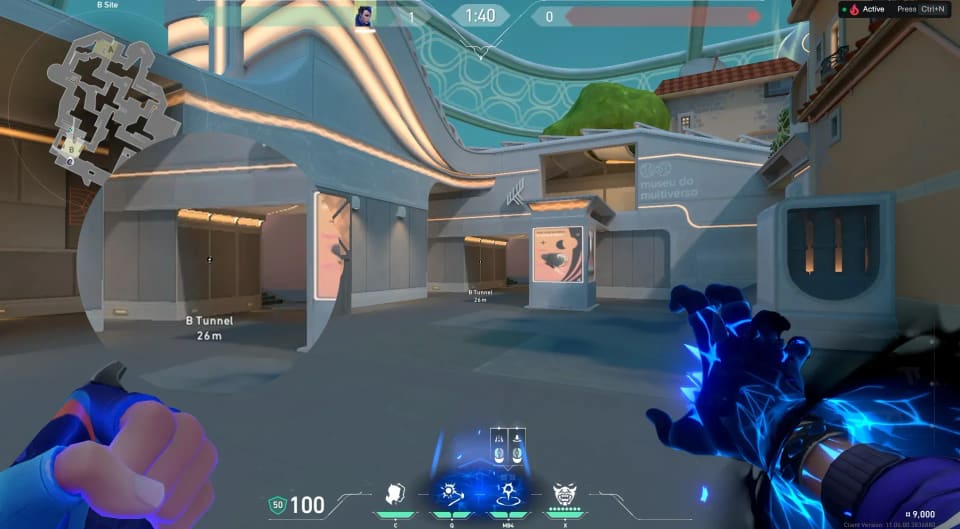
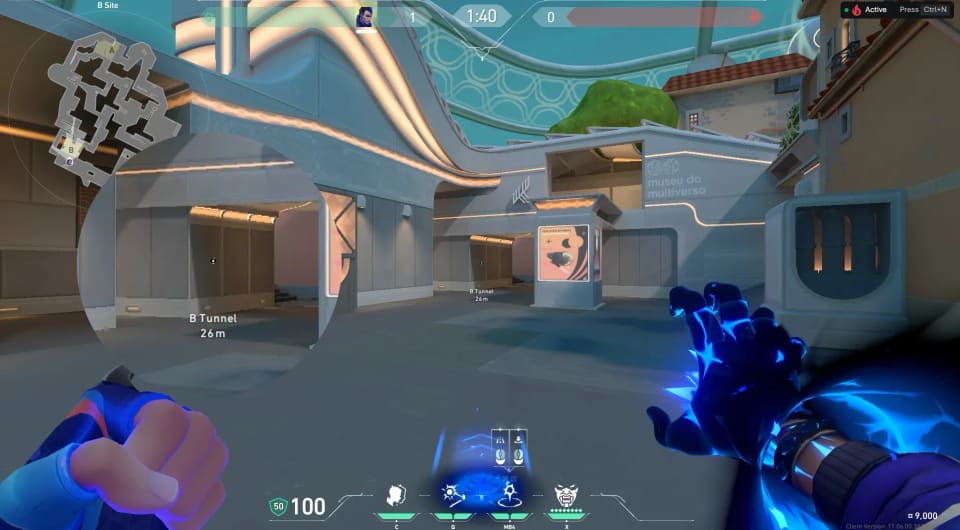
From B Main
2 destinations 4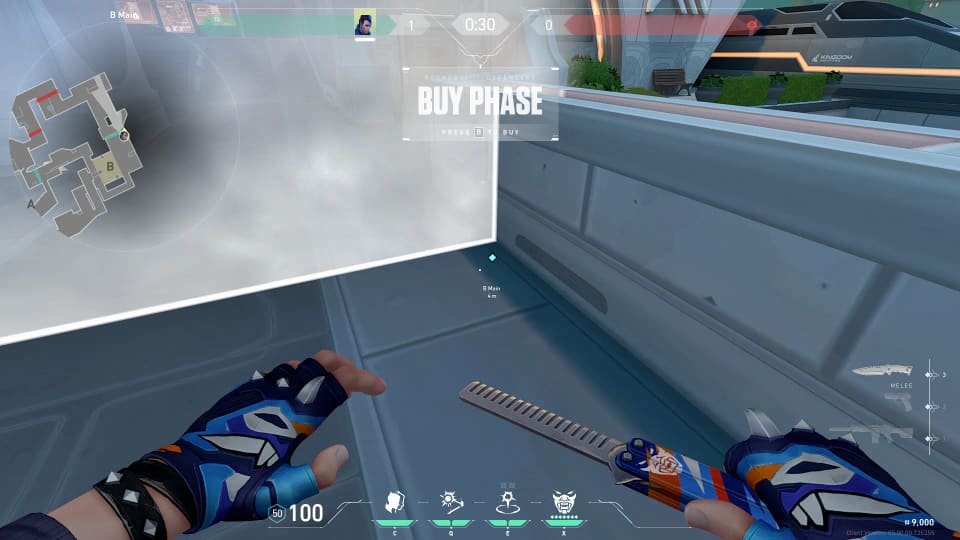


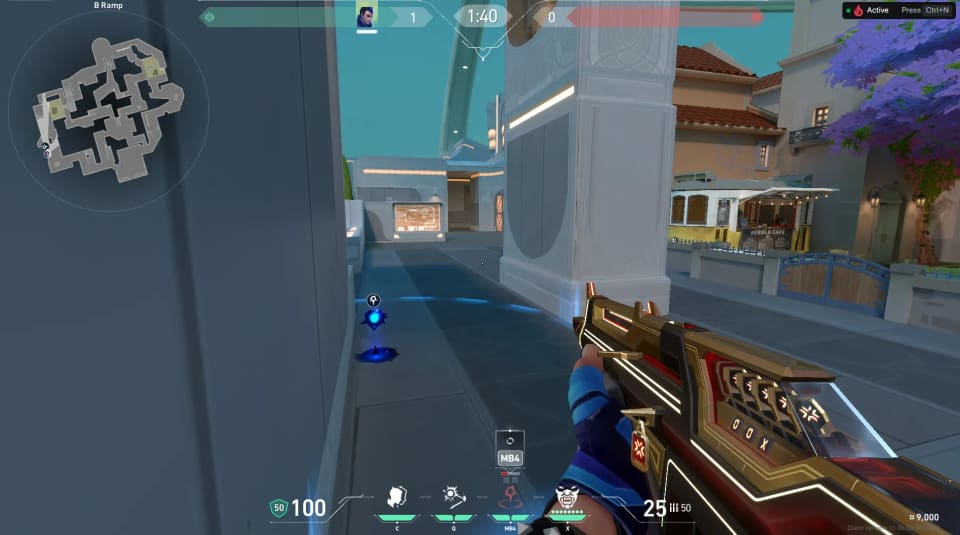
From B Ramp
2 destinations 2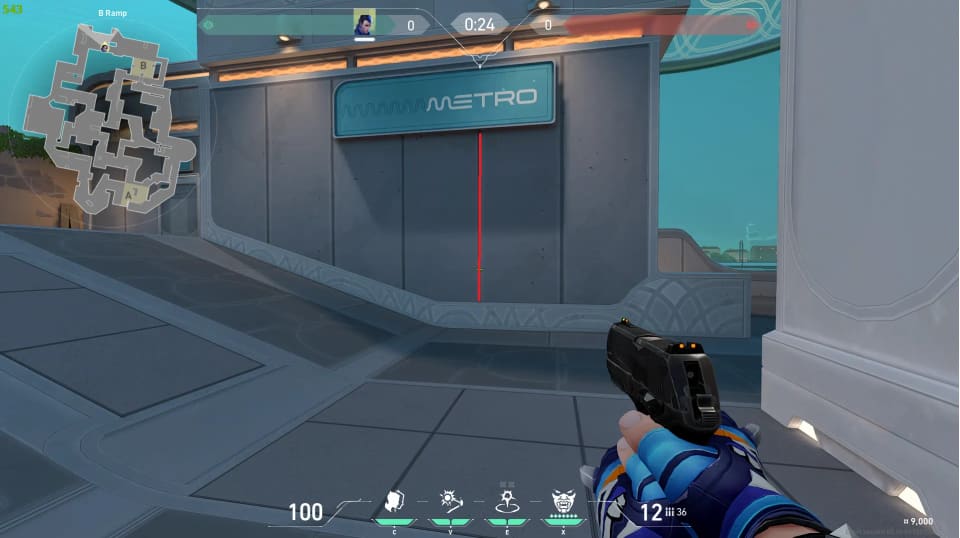
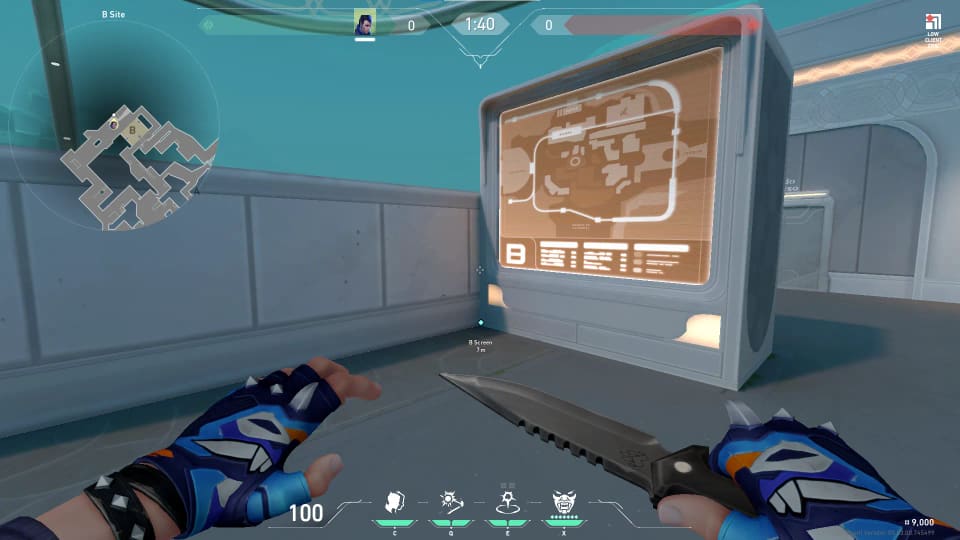
From B Screen
2 destinations 2
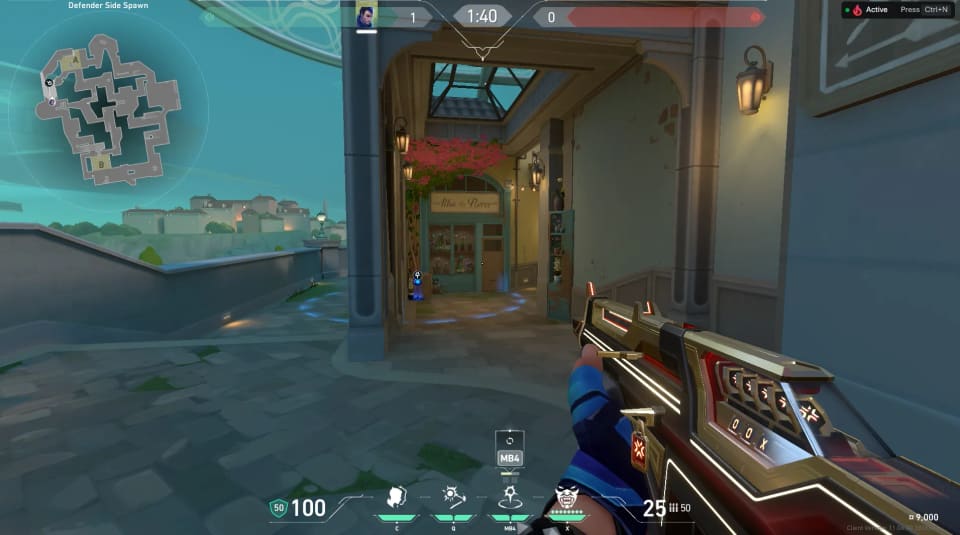

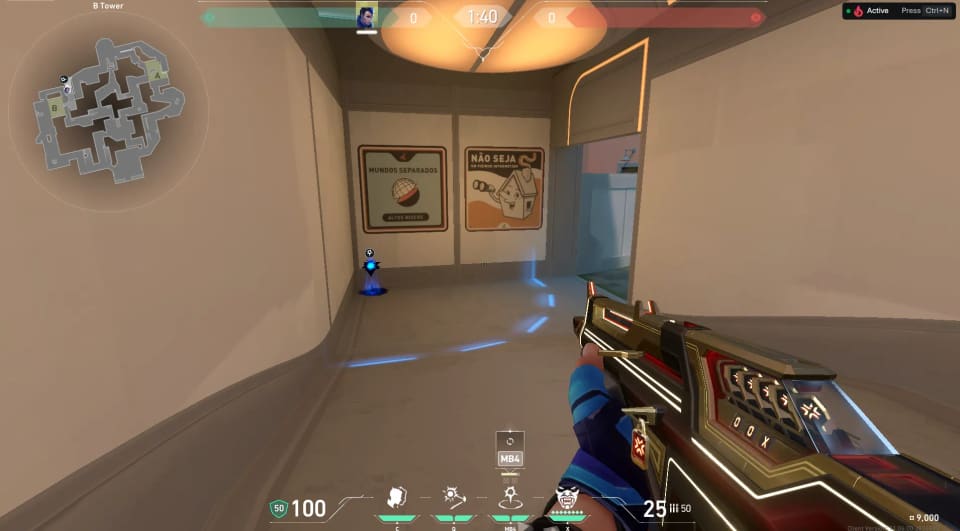
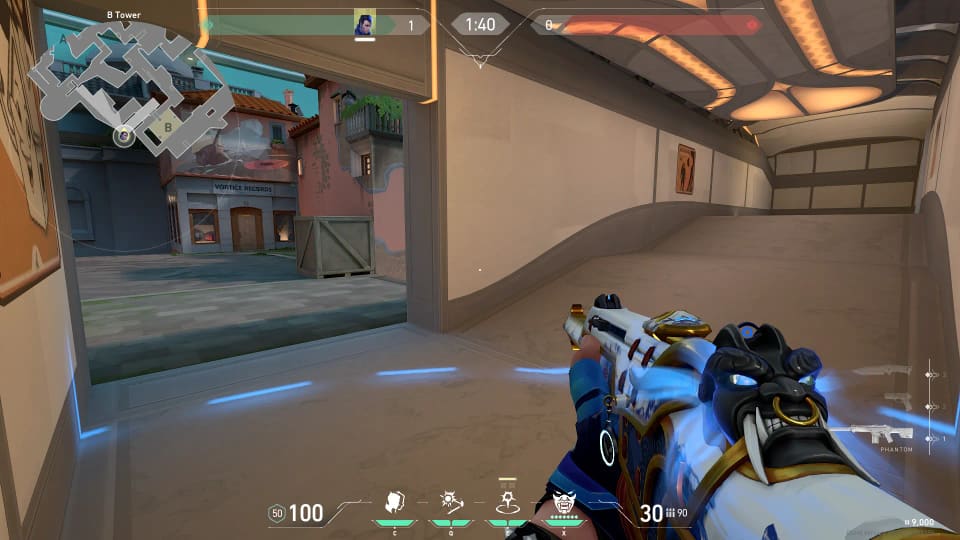
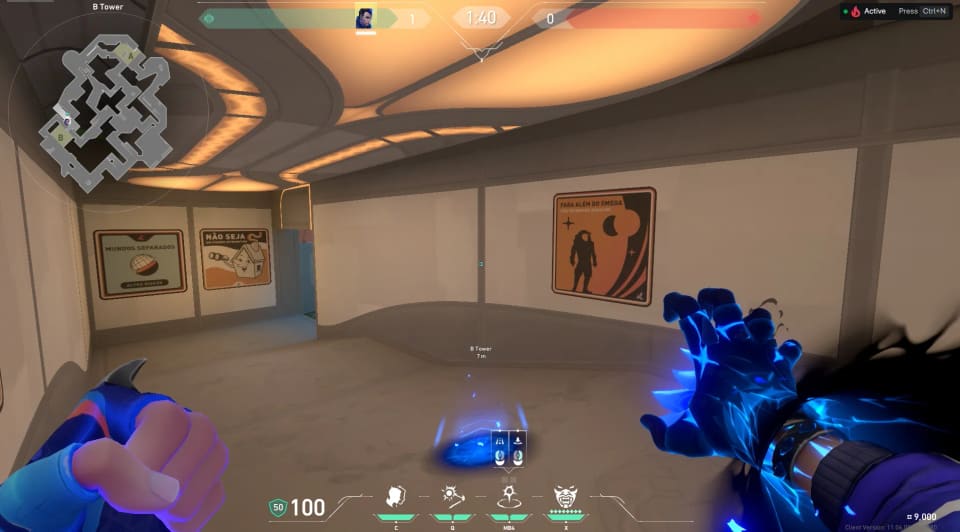
From B Tower
1 destination 1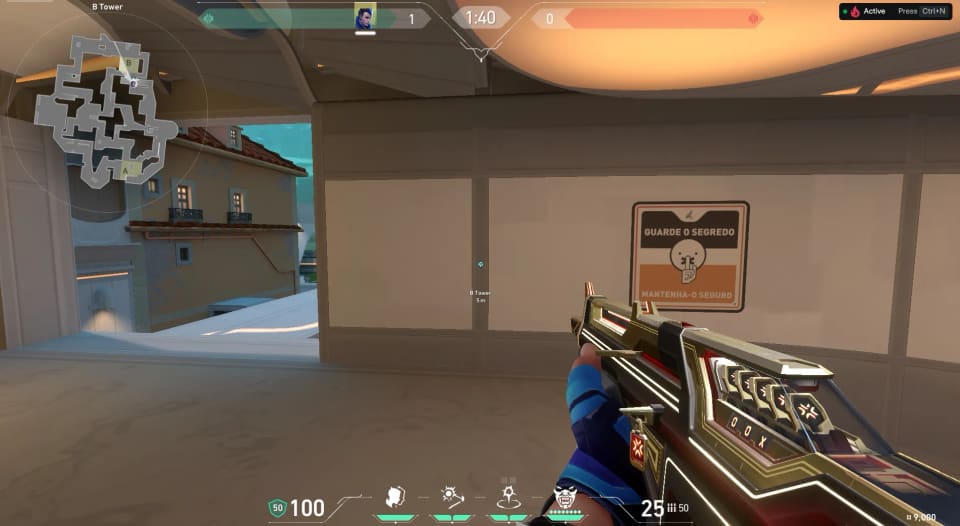
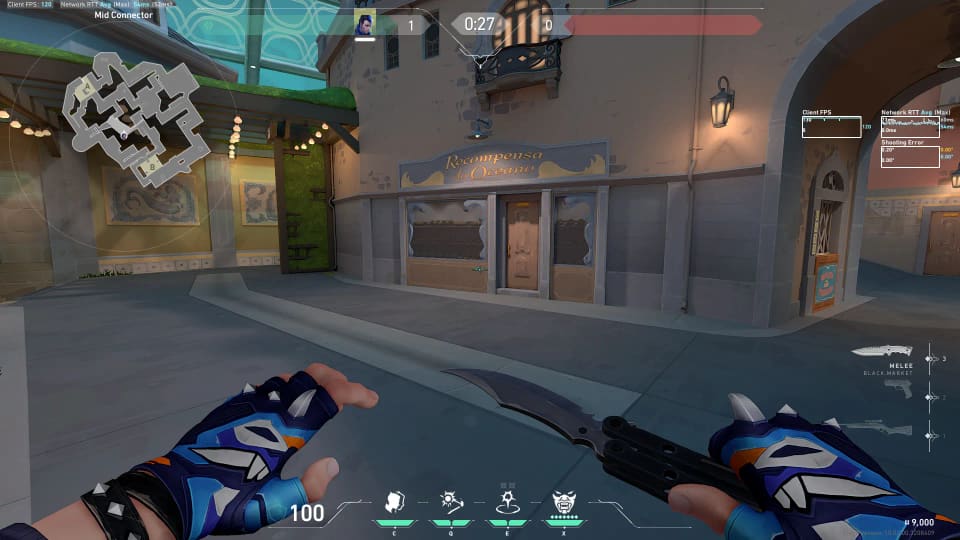
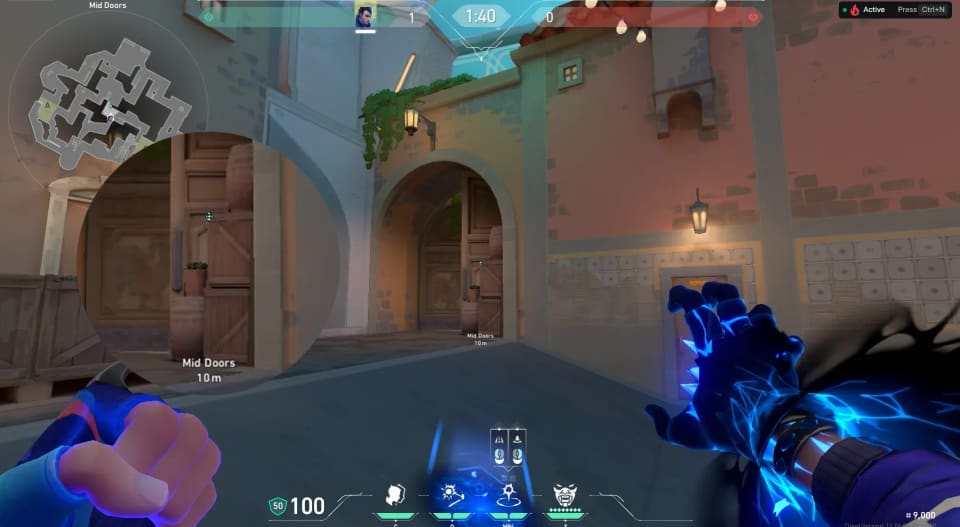
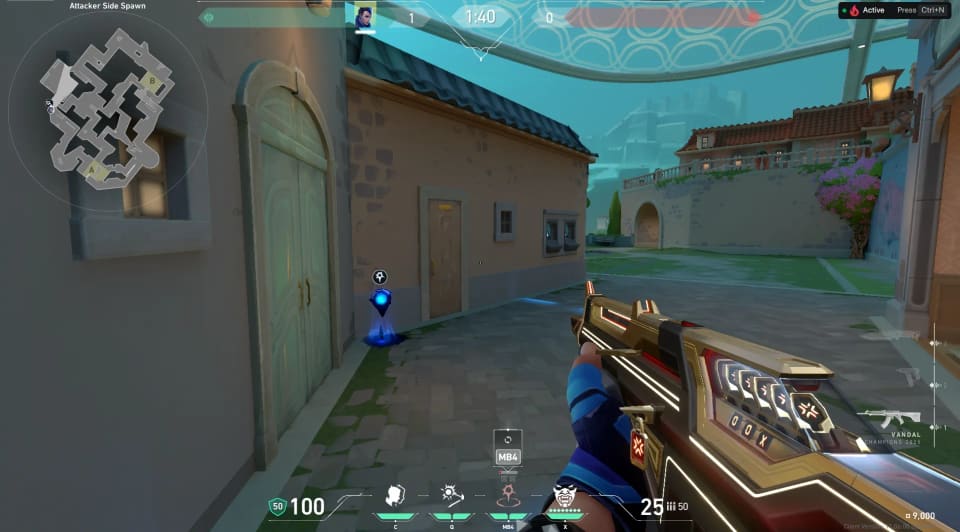
Mid Starts
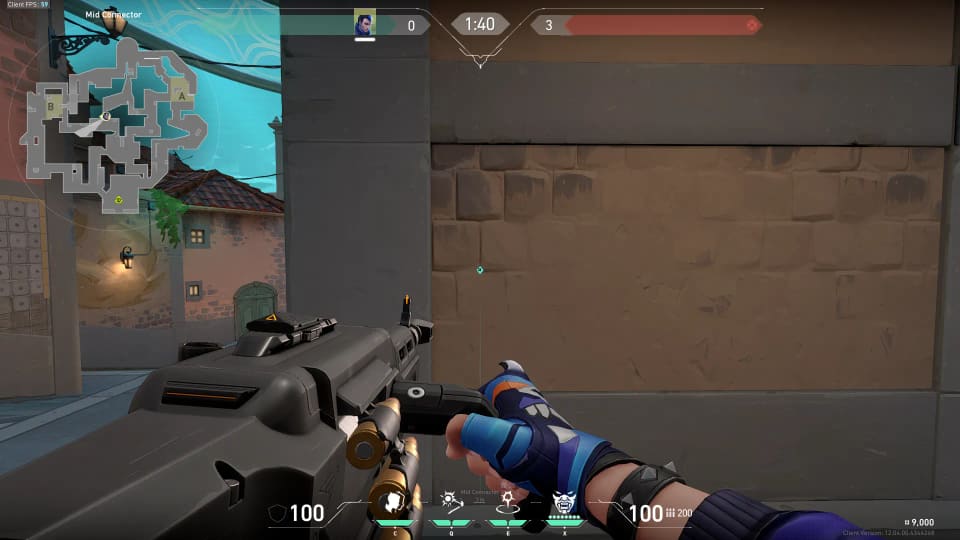
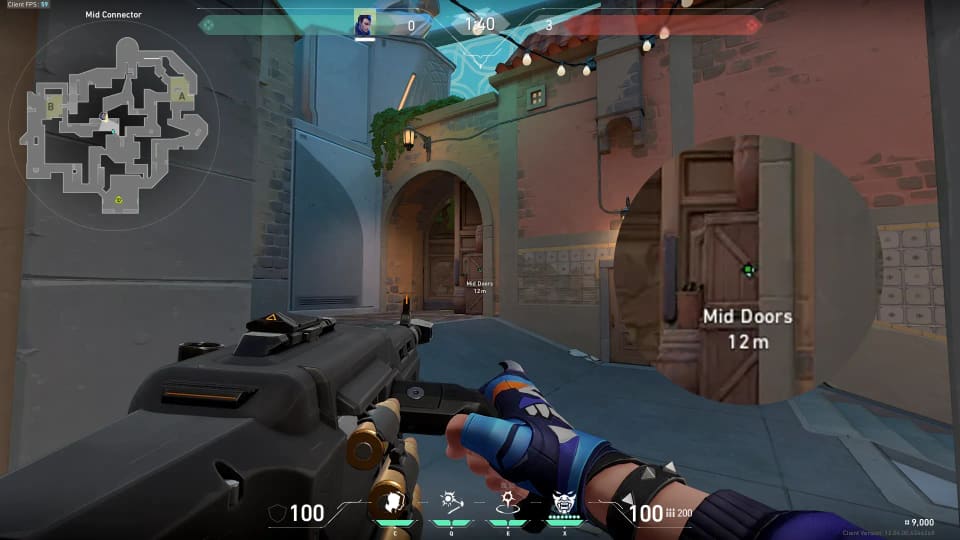
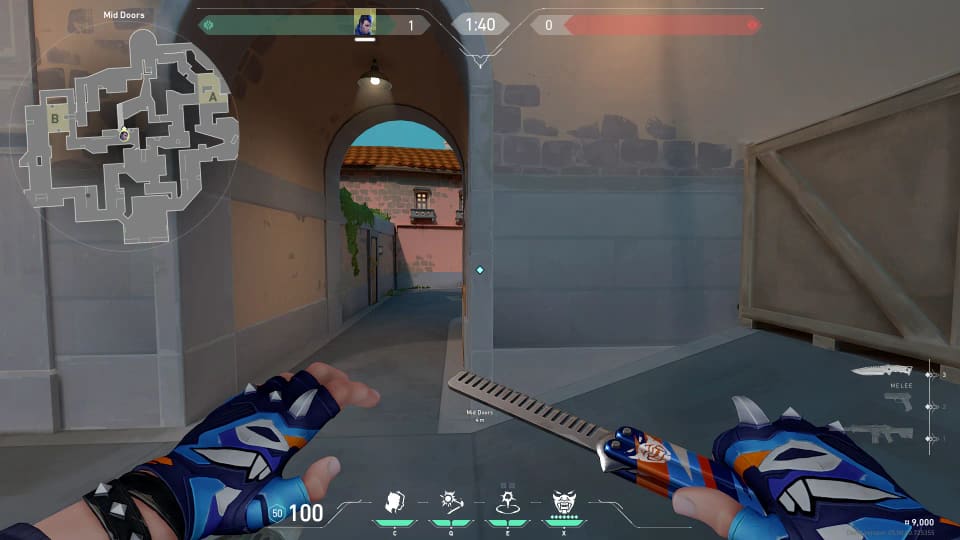
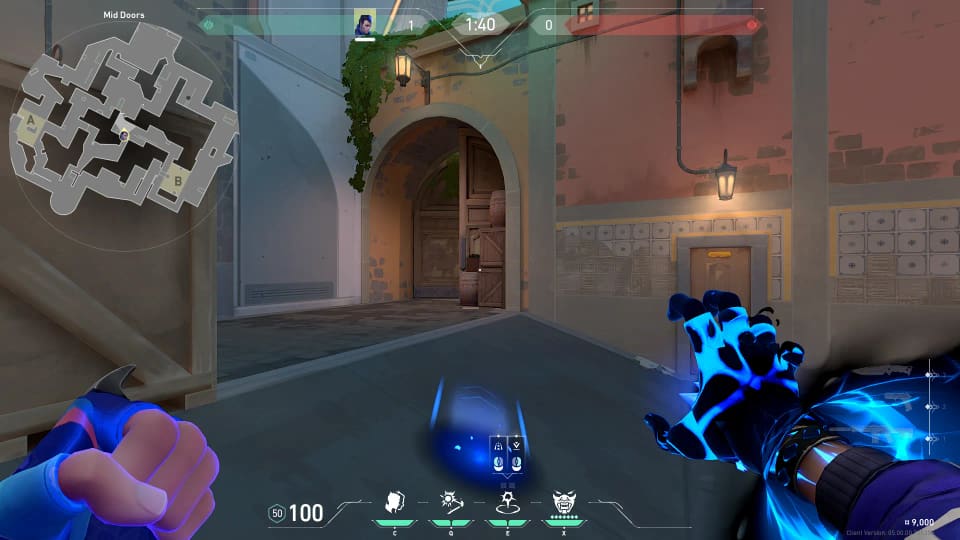
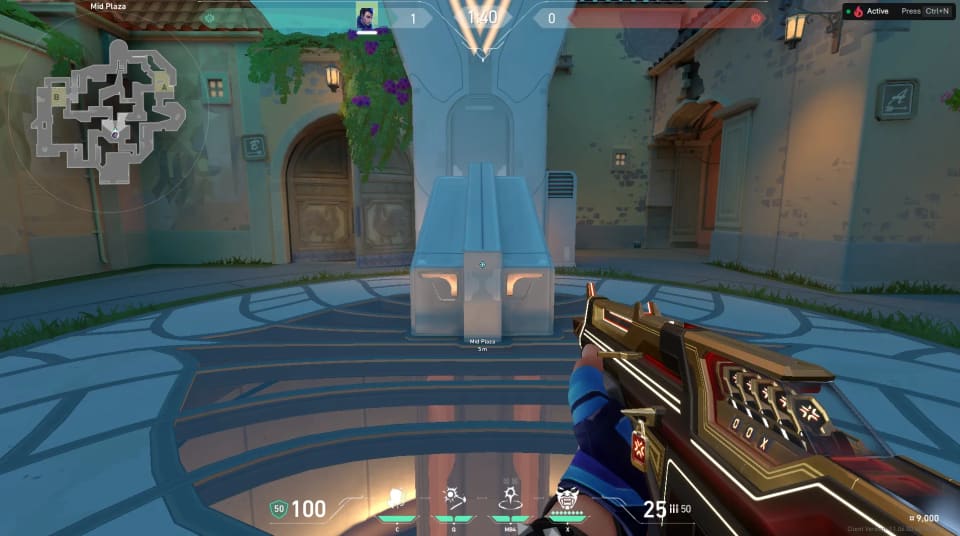
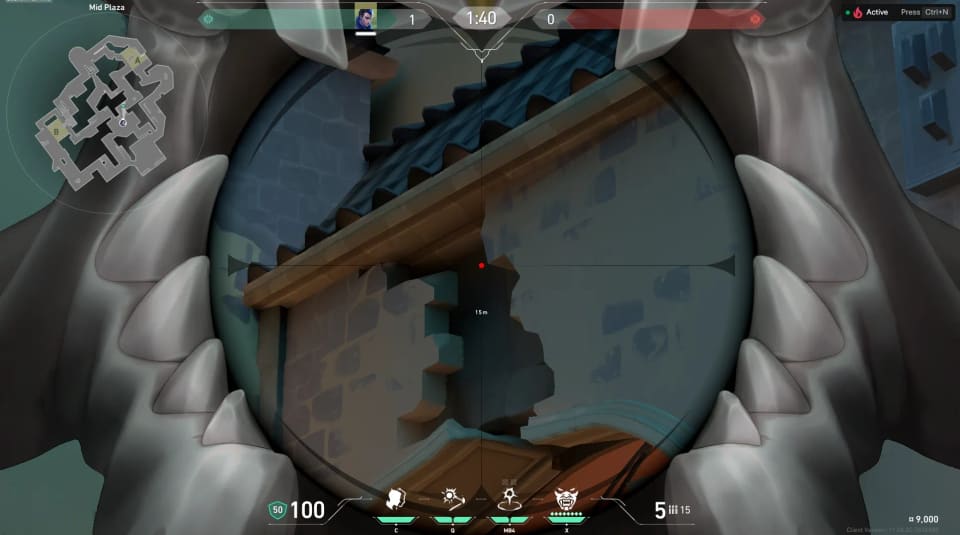
From Mid Connector
2 destinations 2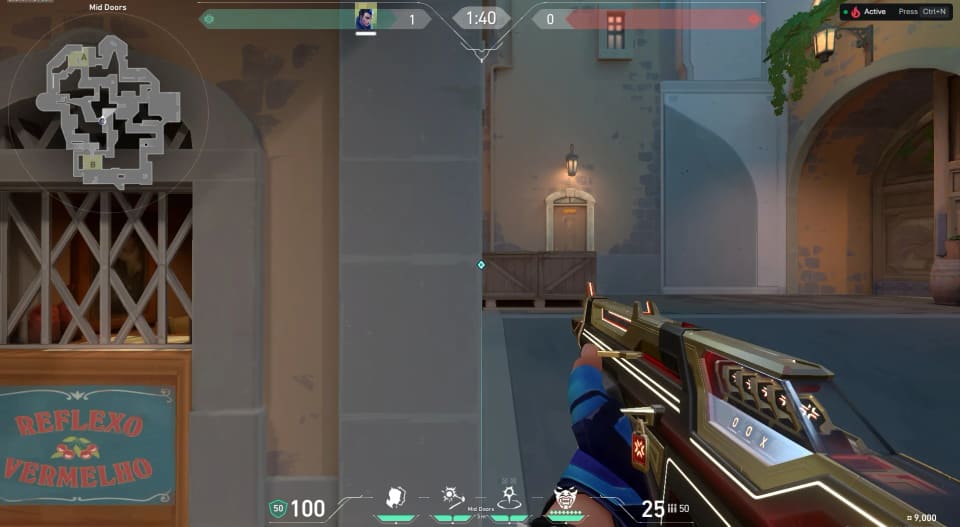
#2
To Mid Shop
Gravity Well + Nova Pulse + Nebula_Dissipate + Cosmic Divide + Rolling Thunder + Fault Line + Aftershock + Flashpoint + Incendiary + Sky Smoke + Orbital Strike + Rendezvous + Trademark + Meddle + Trapwire + Cyber Cage + Spycam + Barrier Mesh + Sonic Sensor + GravNet + Annihilation + Prowler + Seize + Haunt + Nightfall + Dizzy + Wingman + Mosh Pit + Thrash + Storm Surge + Frag_Ment + Flash_Drive + Zero_Point + Alarmbot + Nanoswarm + Turret + Lockdown + Relay Bolt + Fast Lane + Shrouded Step + Paranoia + Dark Cover + Hot Hands + Boom Bot + Paint Shells + Slow Orb + Guiding Light + Barrier Orb + Owl Drone + Shock Bolt + Recon Bolt + Hunters Fury + Stealth Drone + Special Delivery + Guided Salvo + Armageddon + Interceptor + Chokehold + Snake Bite + Poison Cloud + Toxic Screen + Vipers Pit + Razorvine + Shear + Arc Rose + Saturate + Lightspeed + Refract + Convergent Paths + Fakeout + Blindside + Gatecrash
source