No favorites yet.
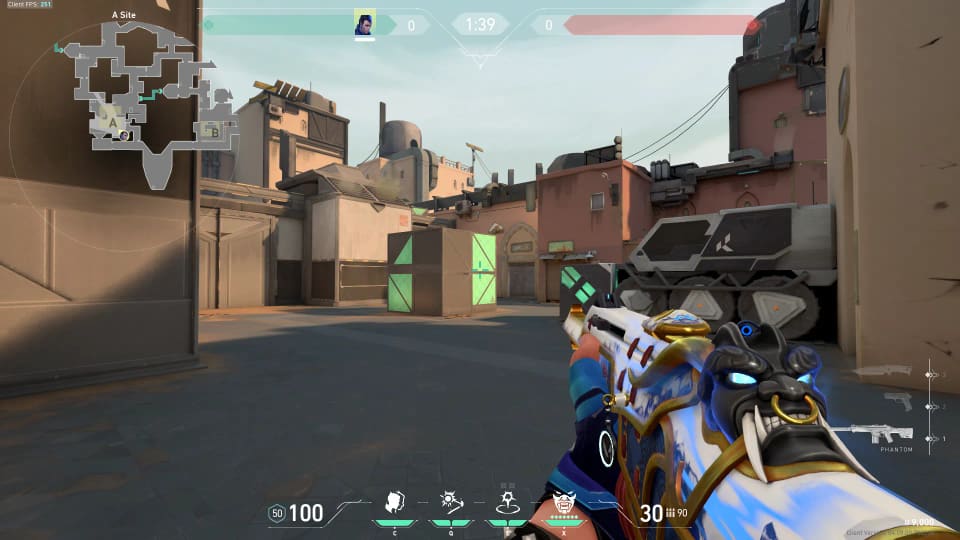
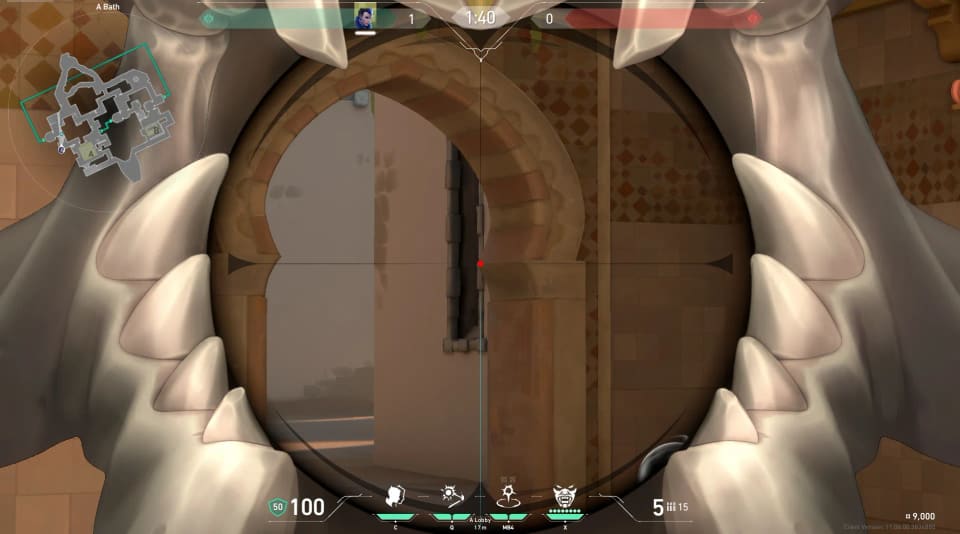
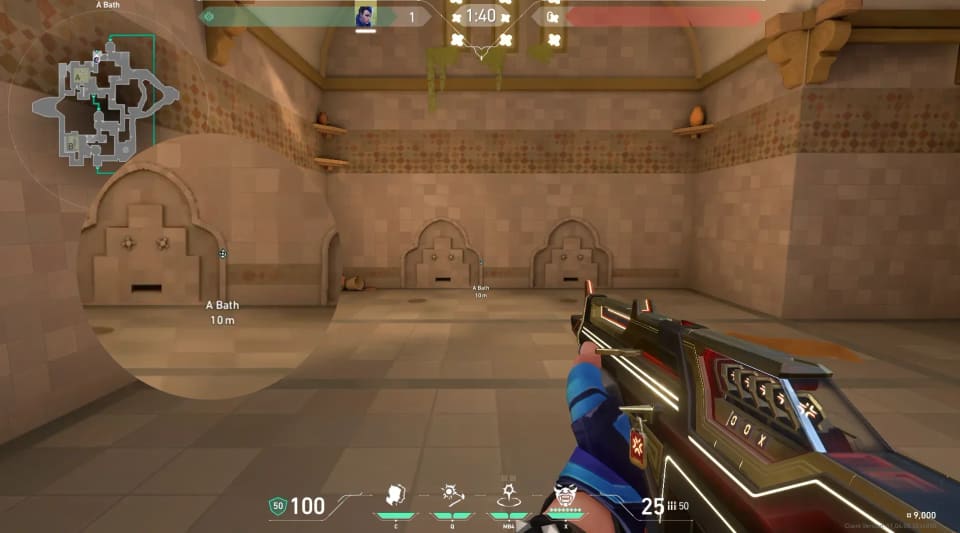
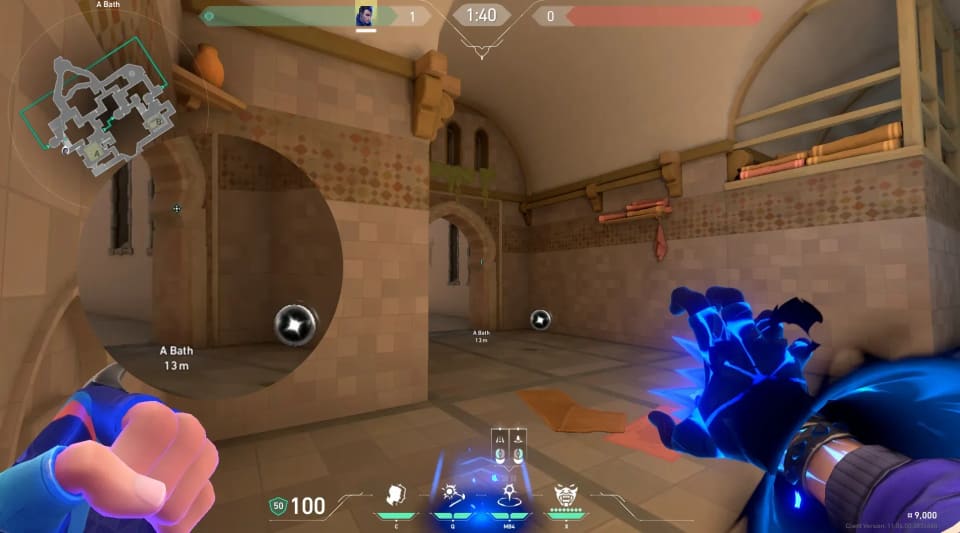
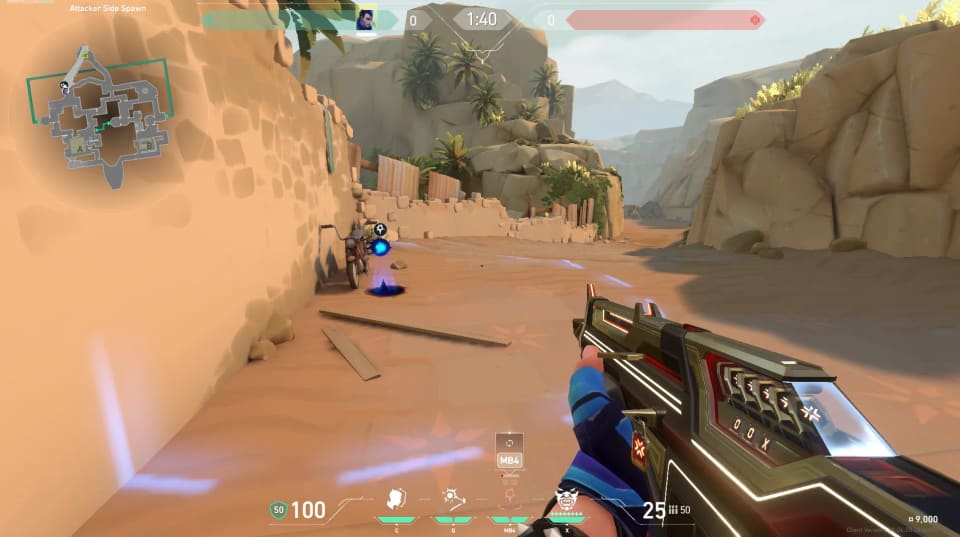
A Site Starts
From A Cubby
3 destinations
3
#1
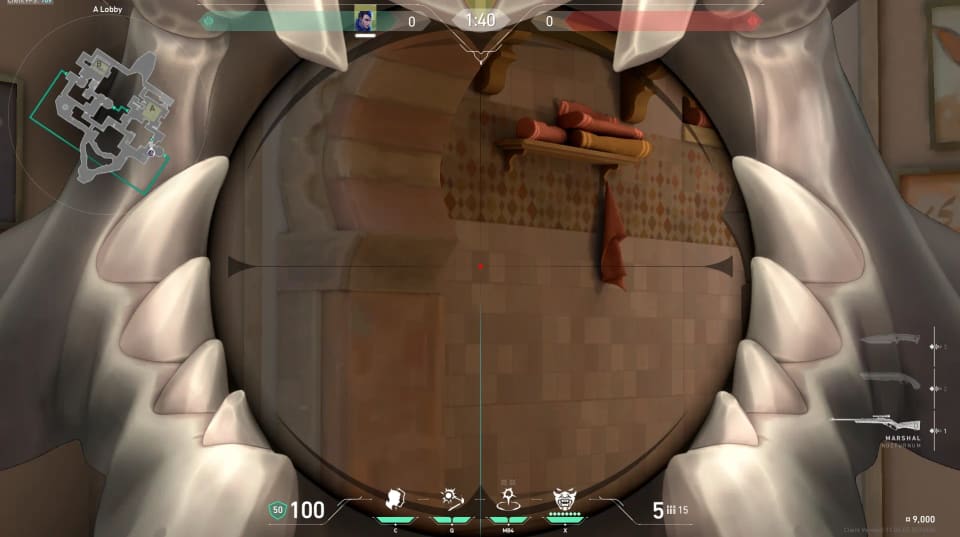
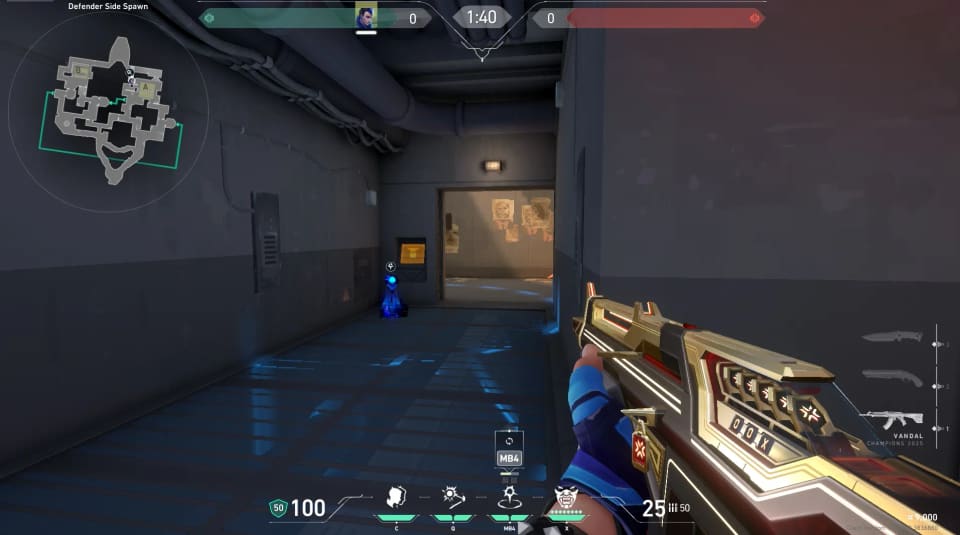
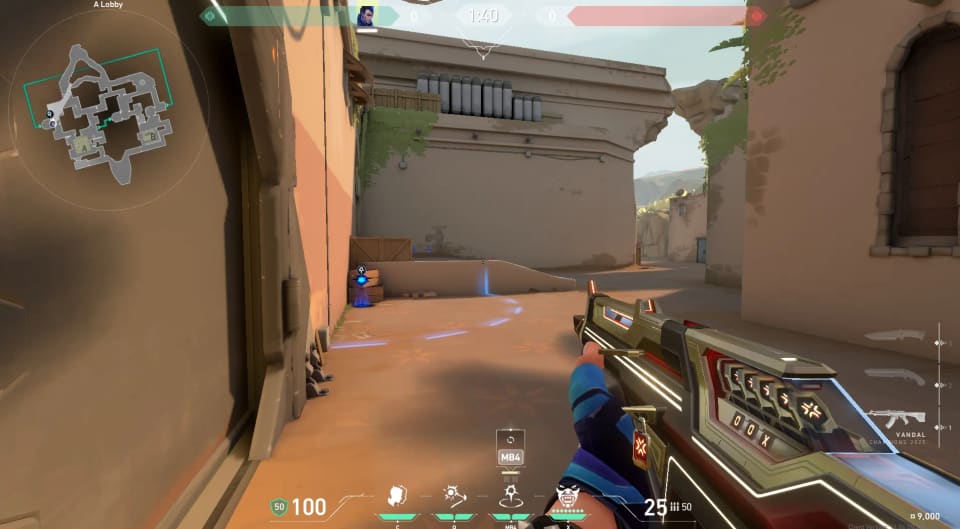
To A Lobby
Gatecrash
source
#2
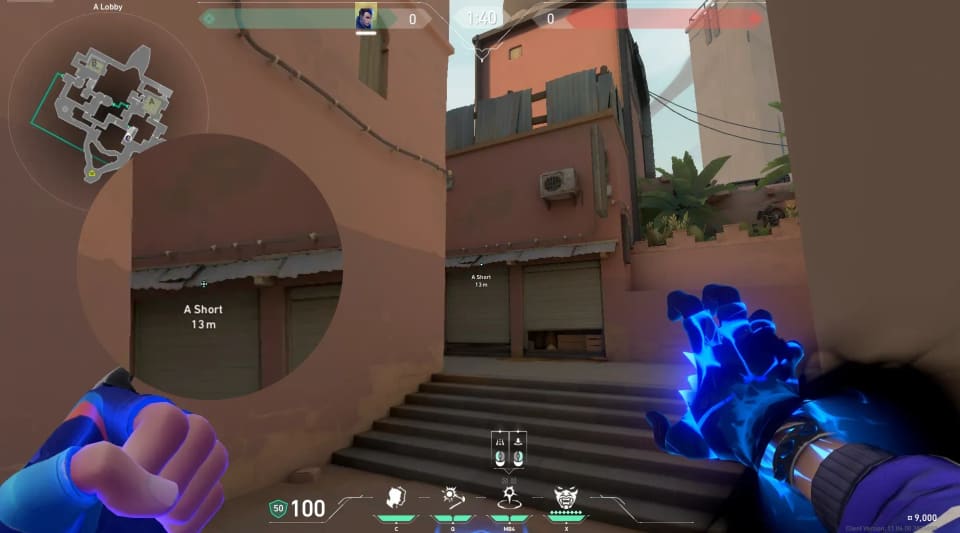
To A Short
Gatecrash
source
#3
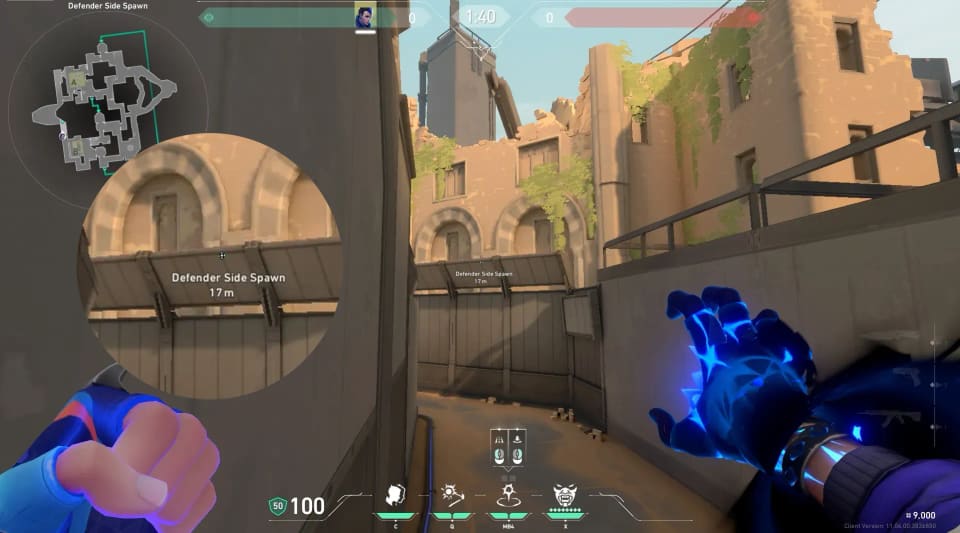
To Attackers
Gatecrash
source
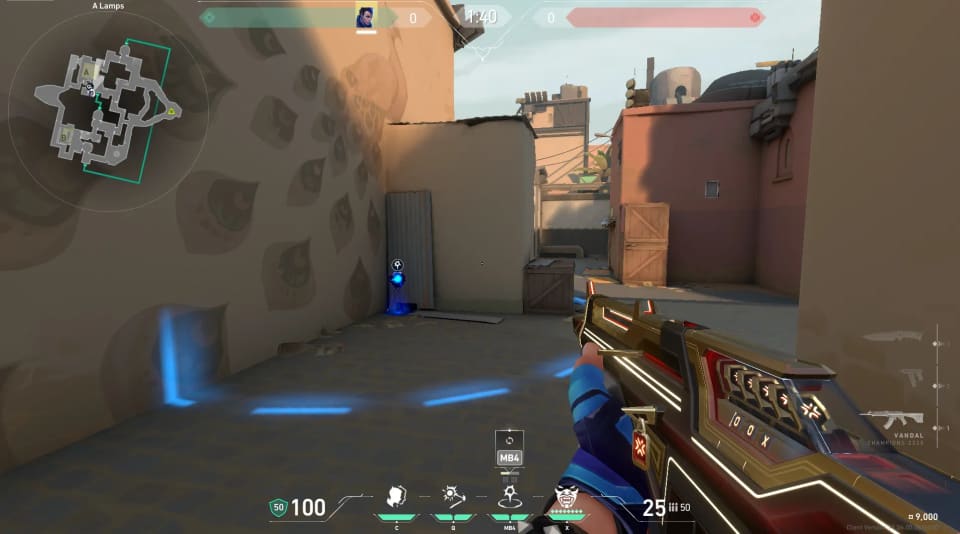
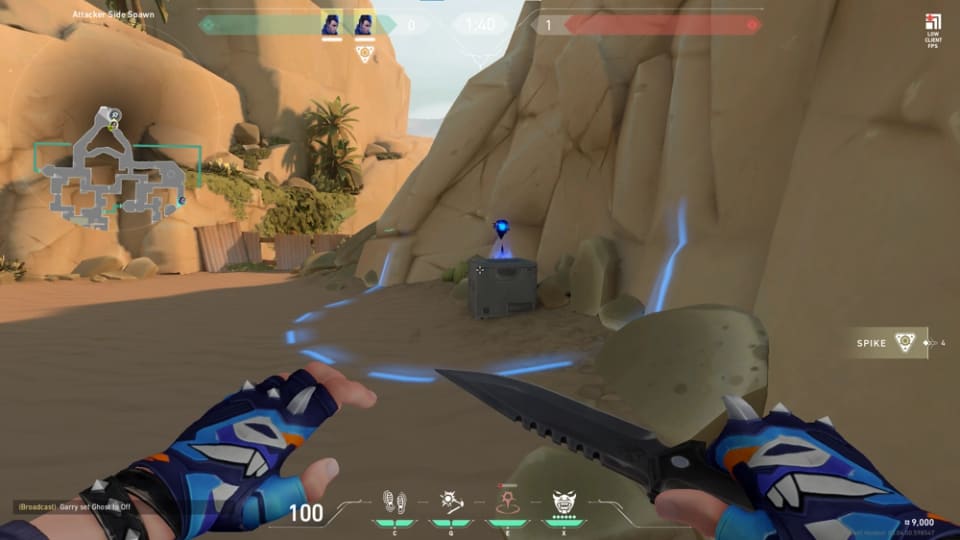
From A Lamps
1 destination
1
#1
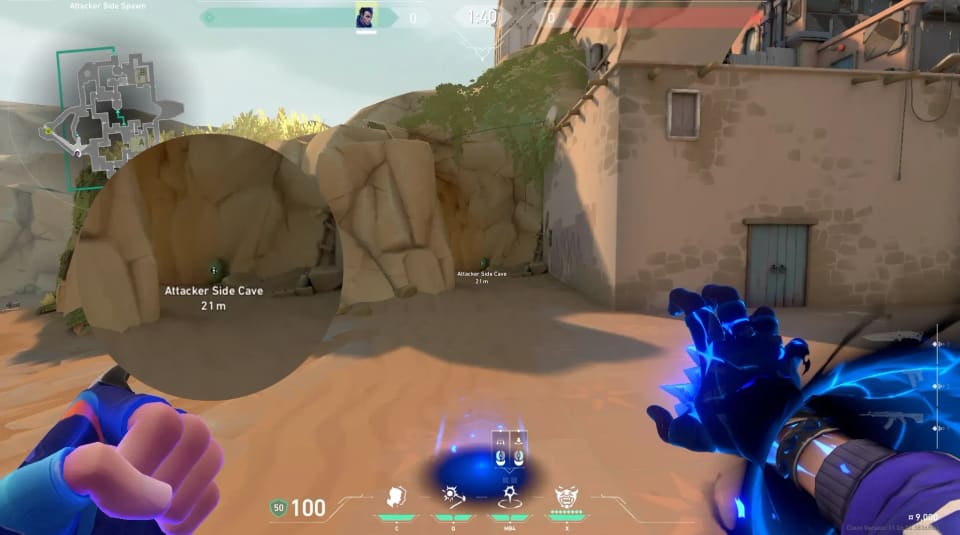
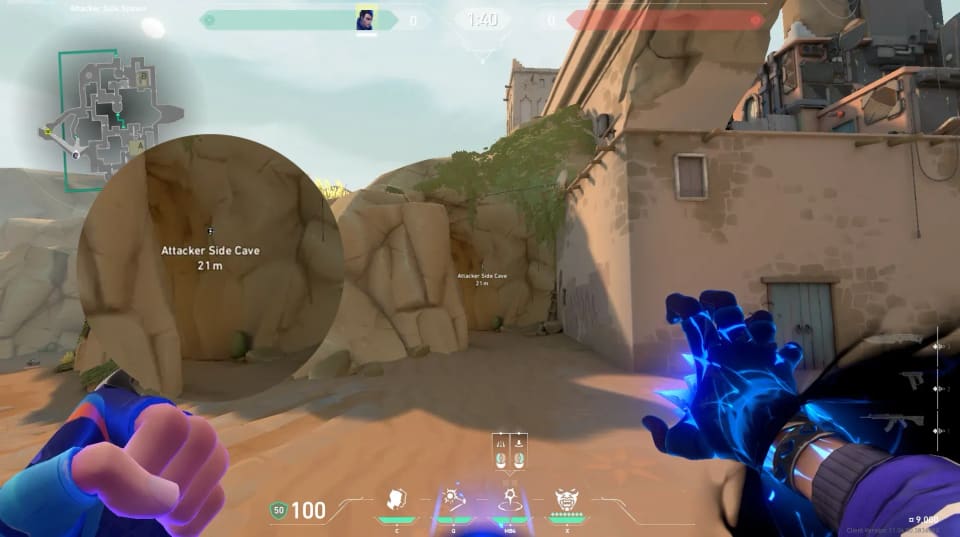
To Attackers
Gatecrash
source
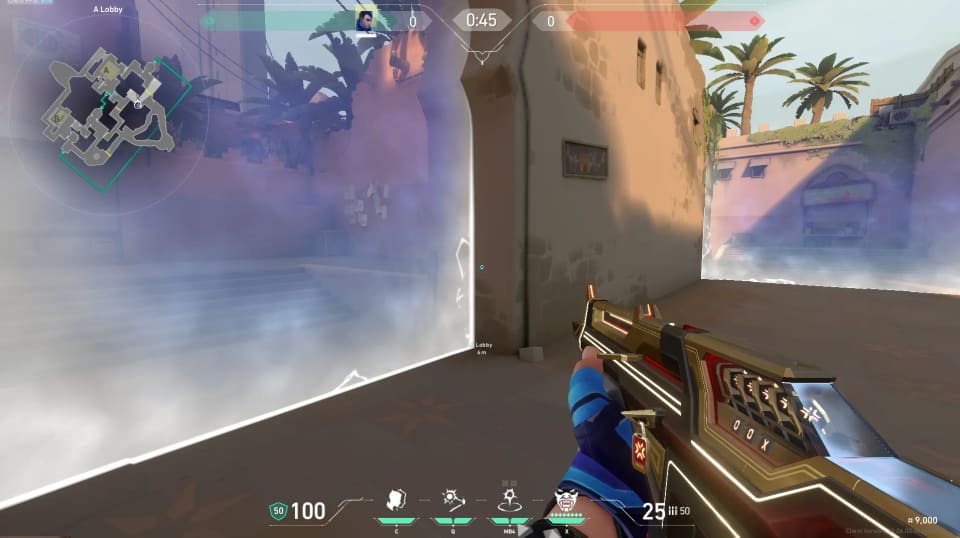
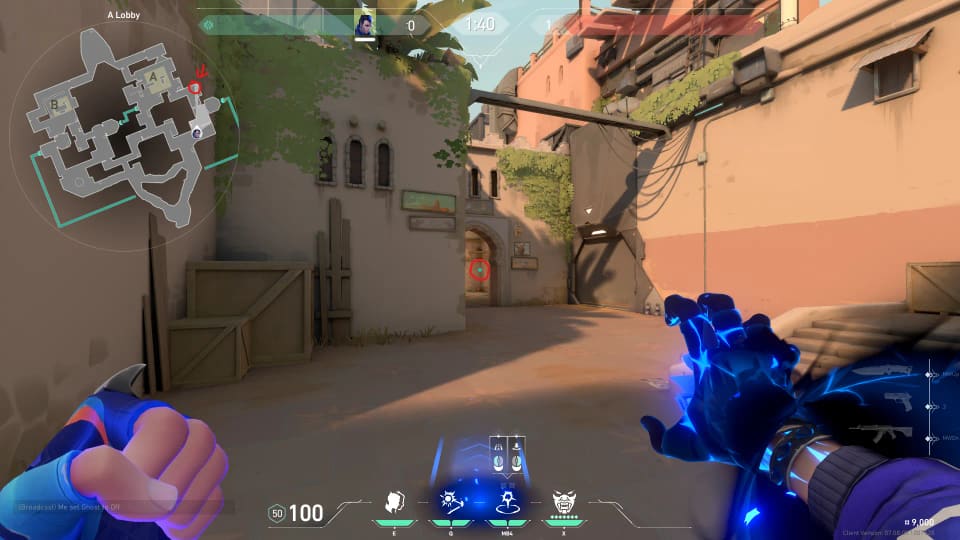
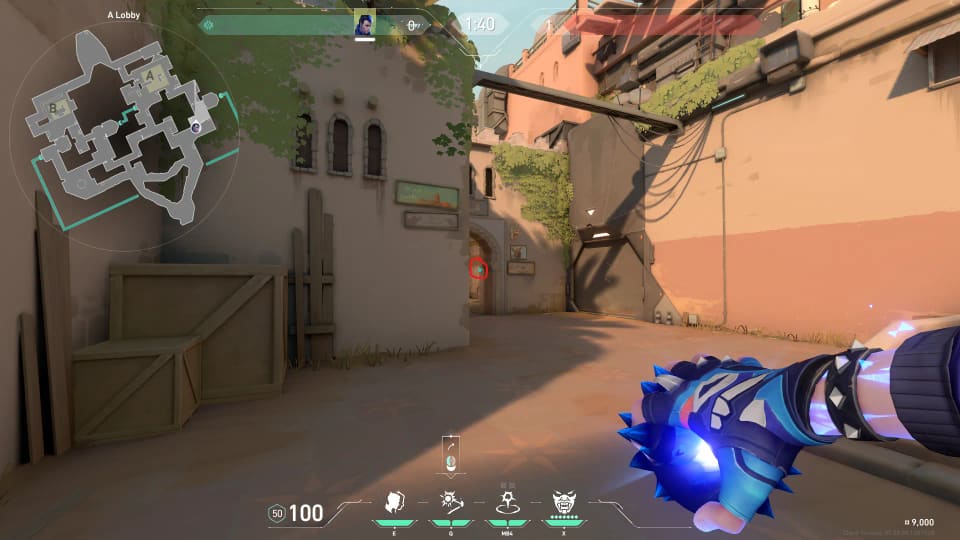
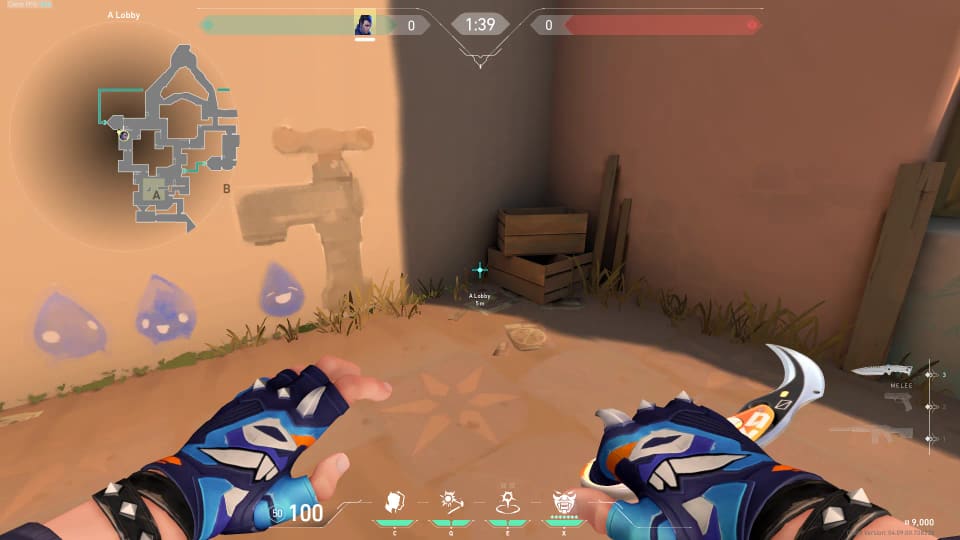
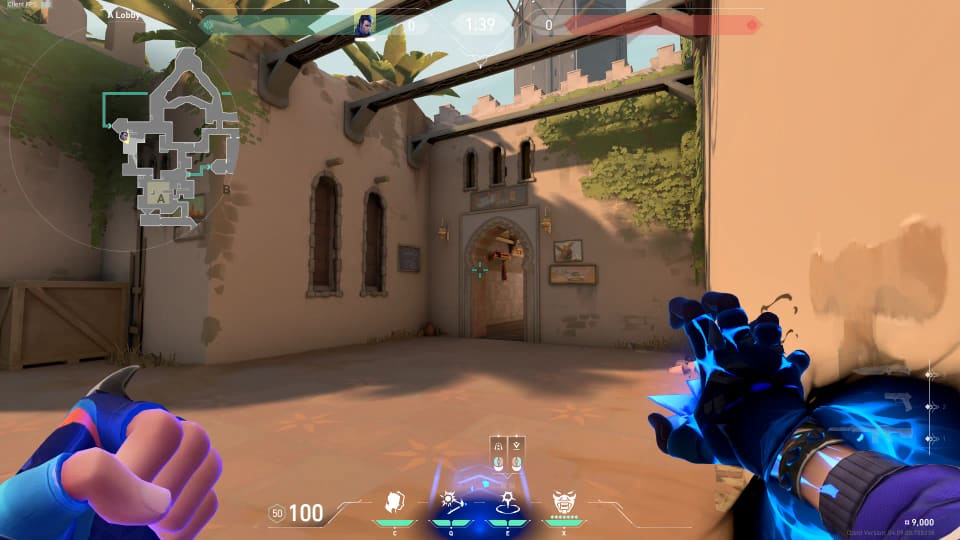
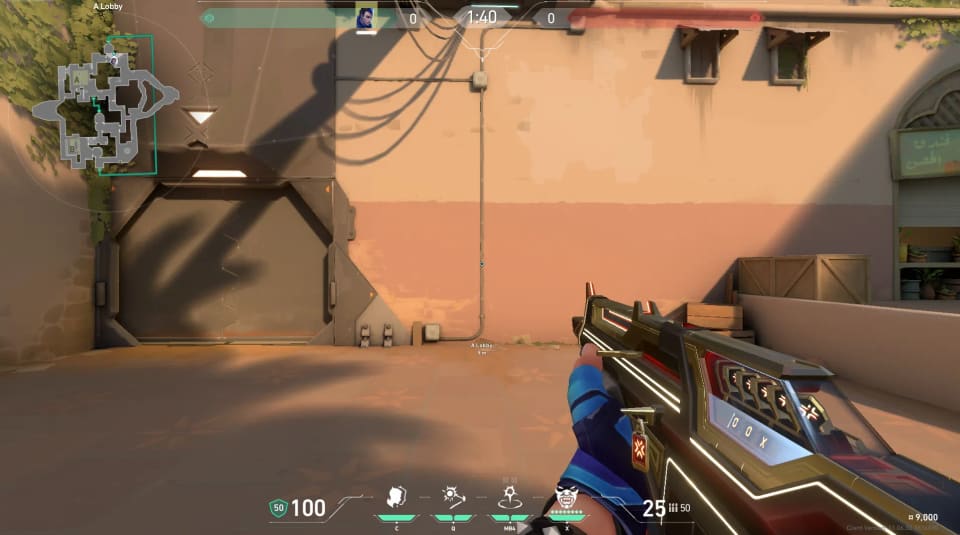
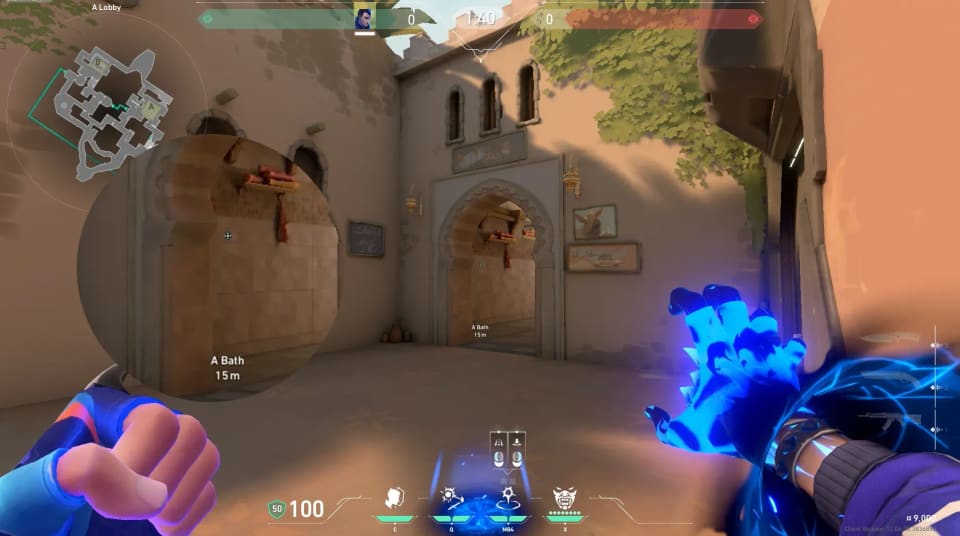
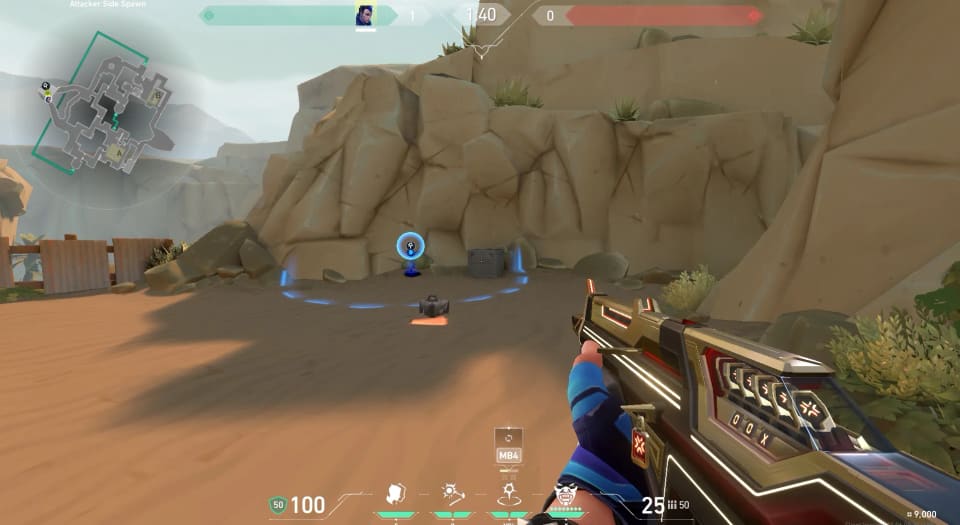
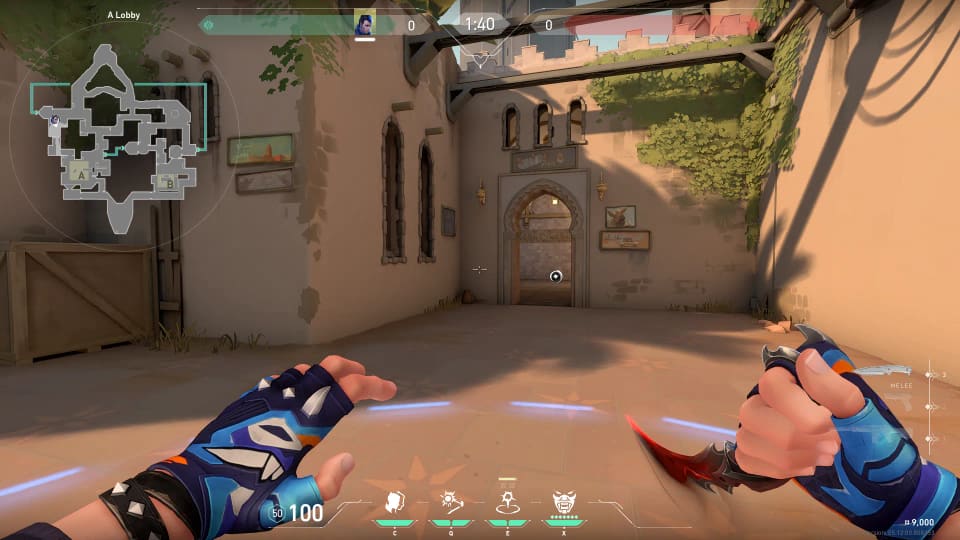
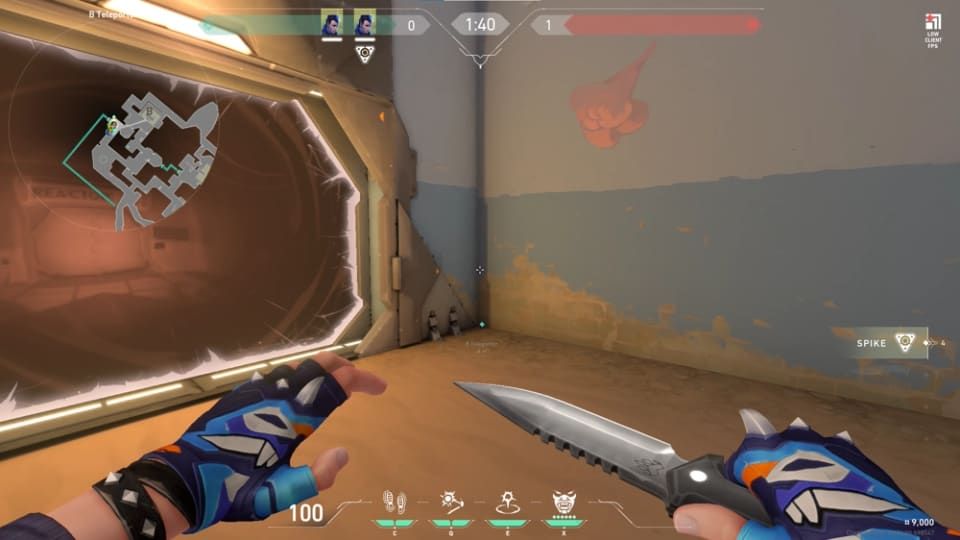
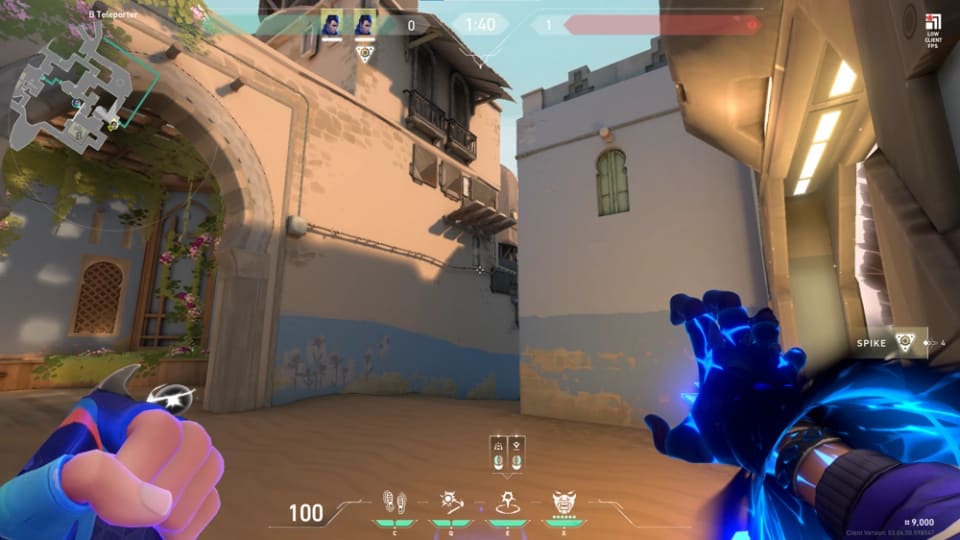
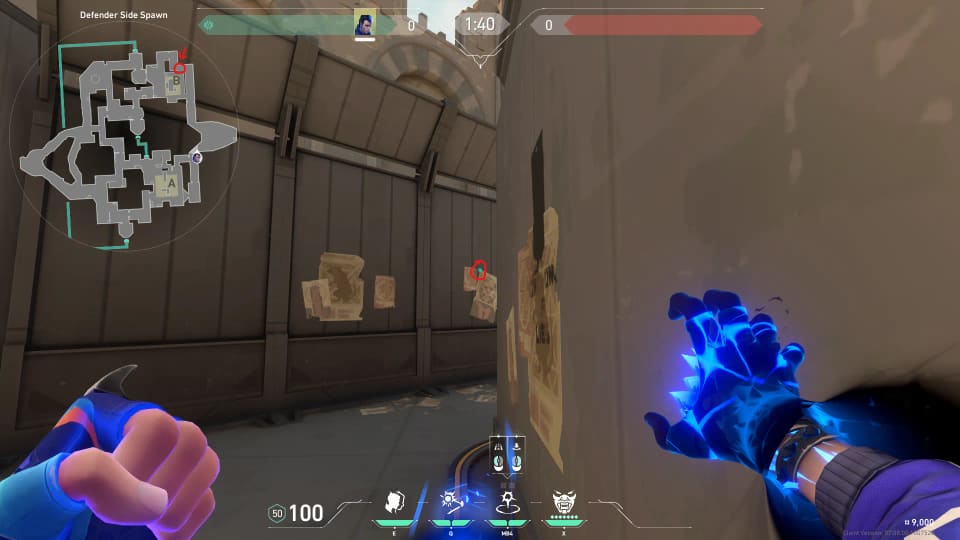
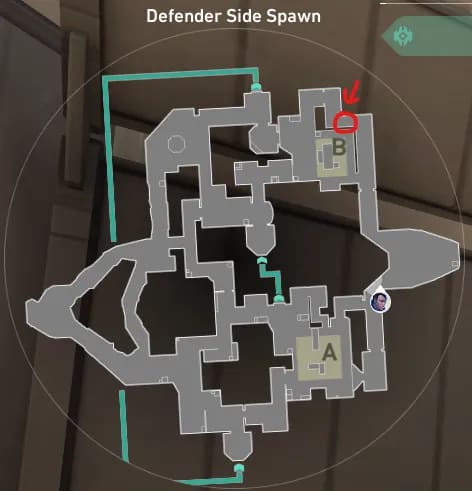
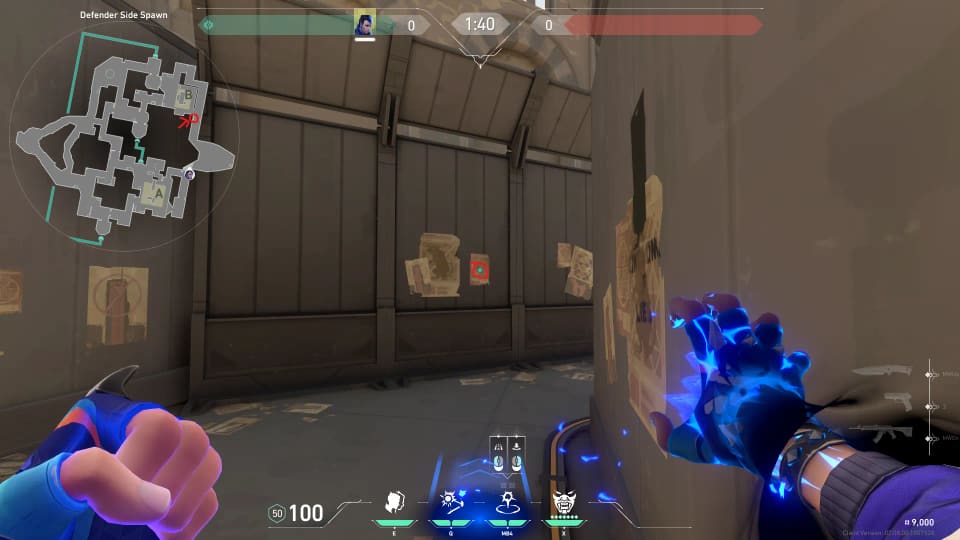
From A Lobby
5 destinations
7
#1
To A Lamps
Gatecrash
source
#2
To A Lamps
Gatecrash
source
#3
To A Lamps
Gatecrash
source
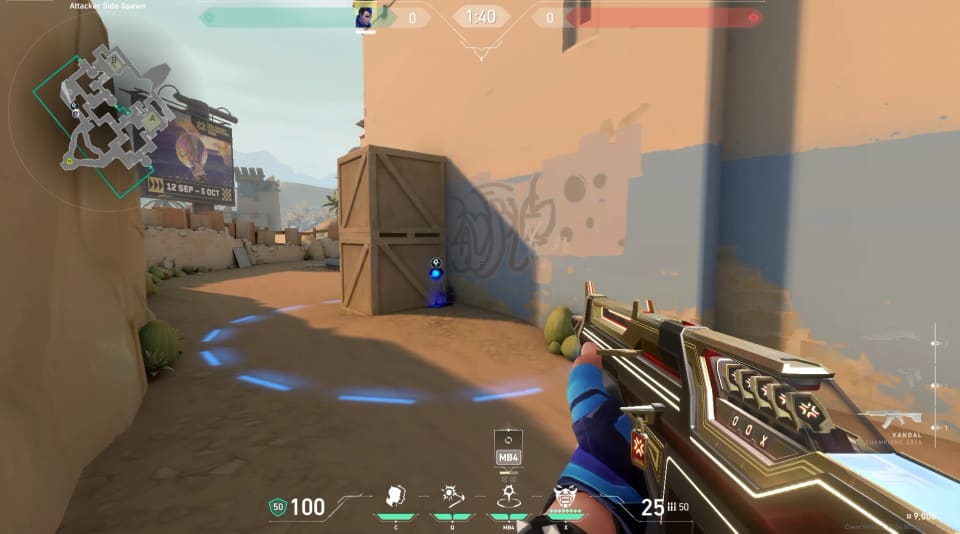
#4
To A Showers
Gatecrash + Blindside
source
#5
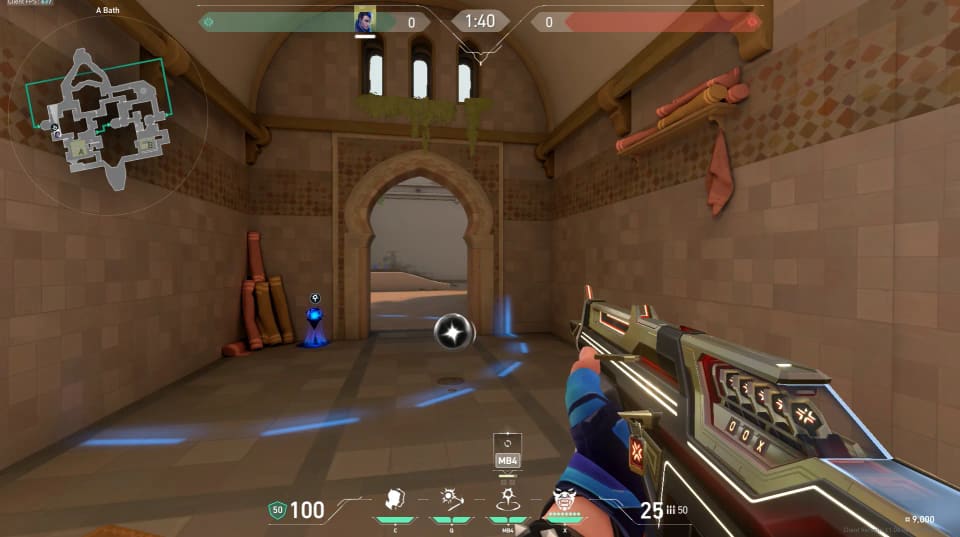
To A Site
Gatecrash
source
#6
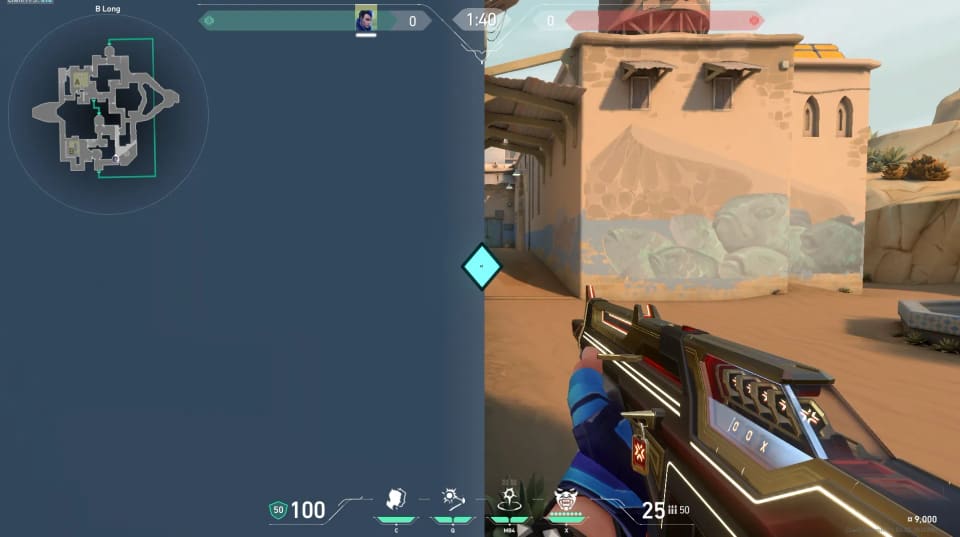
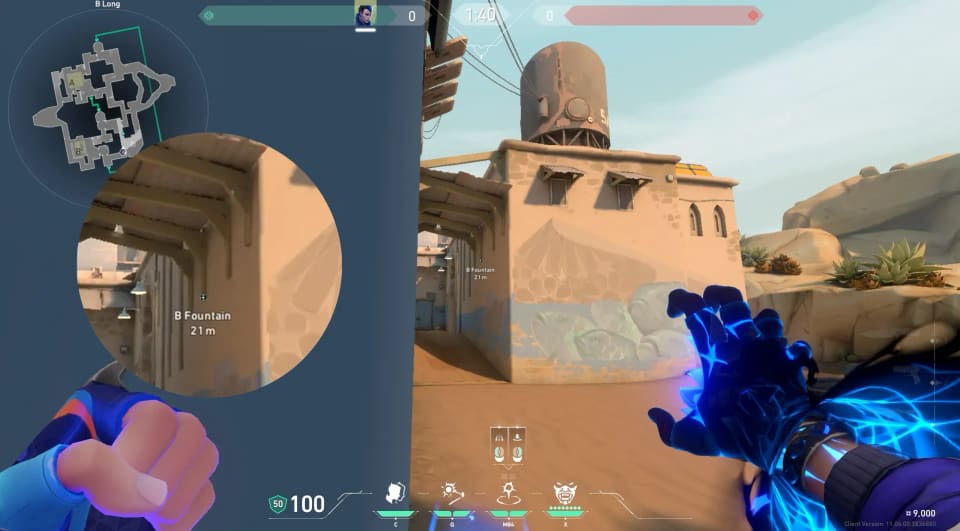
To A Vents
Gatecrash
source
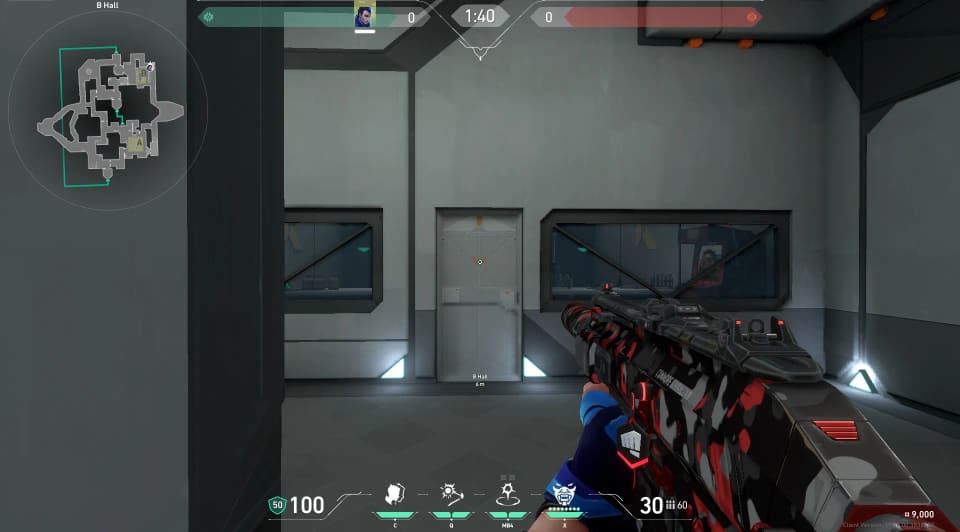
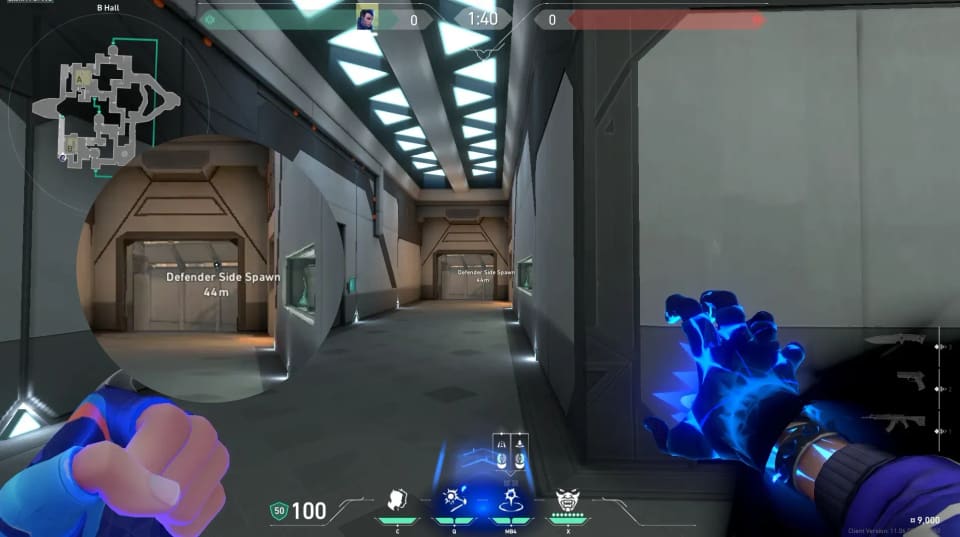
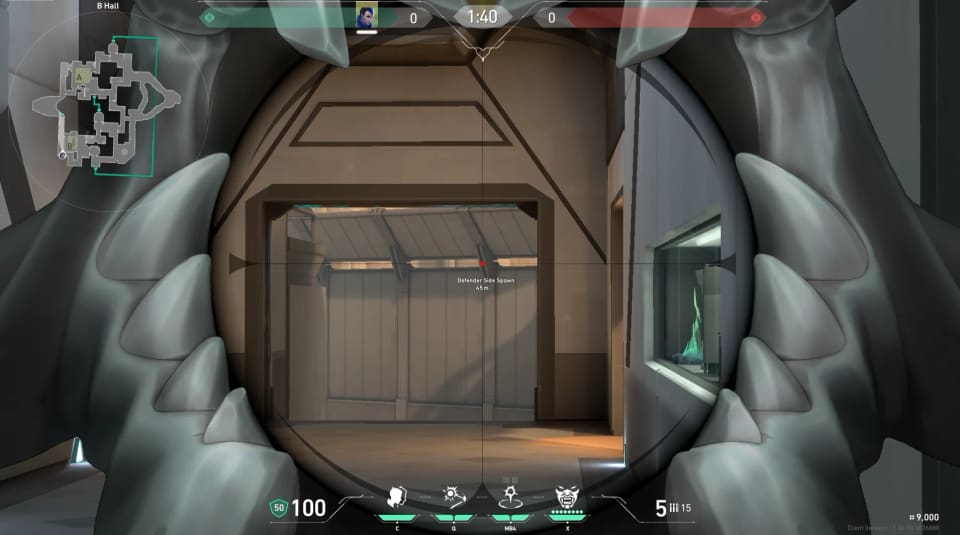
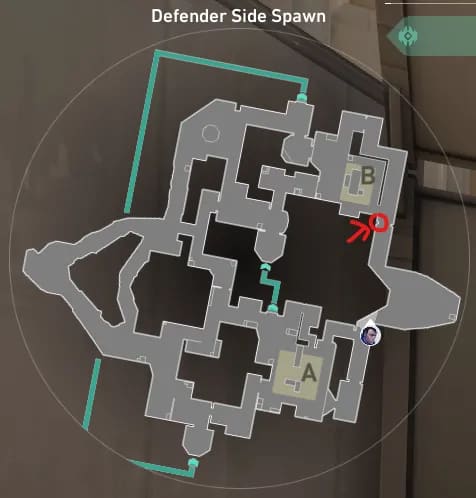
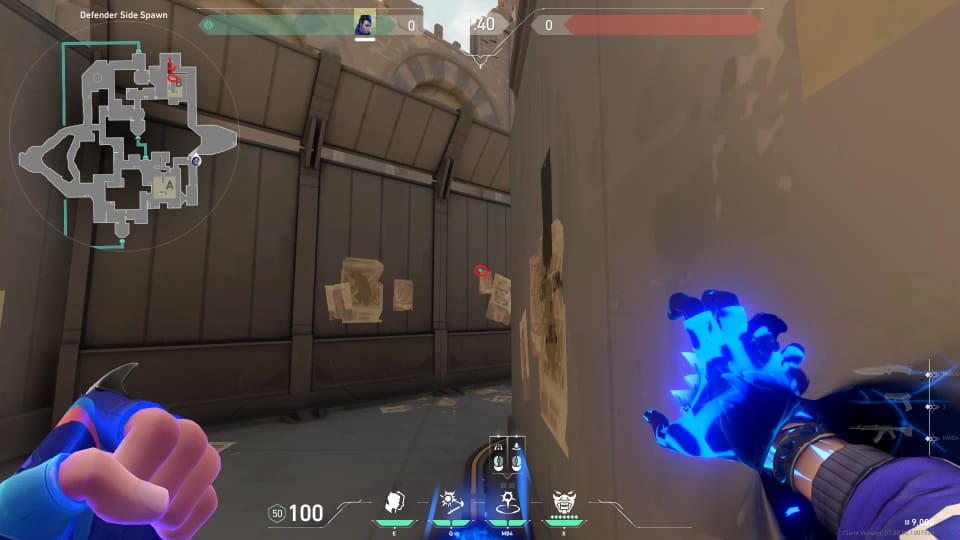
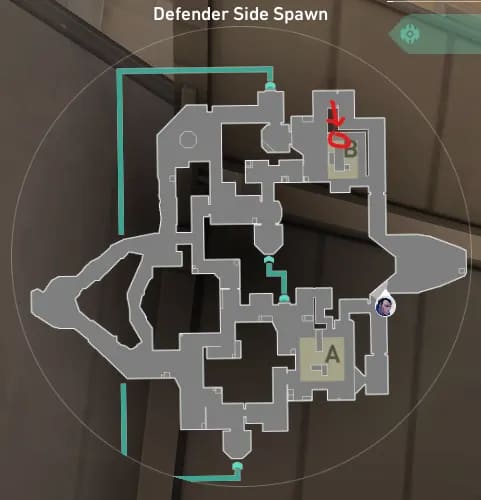
#7
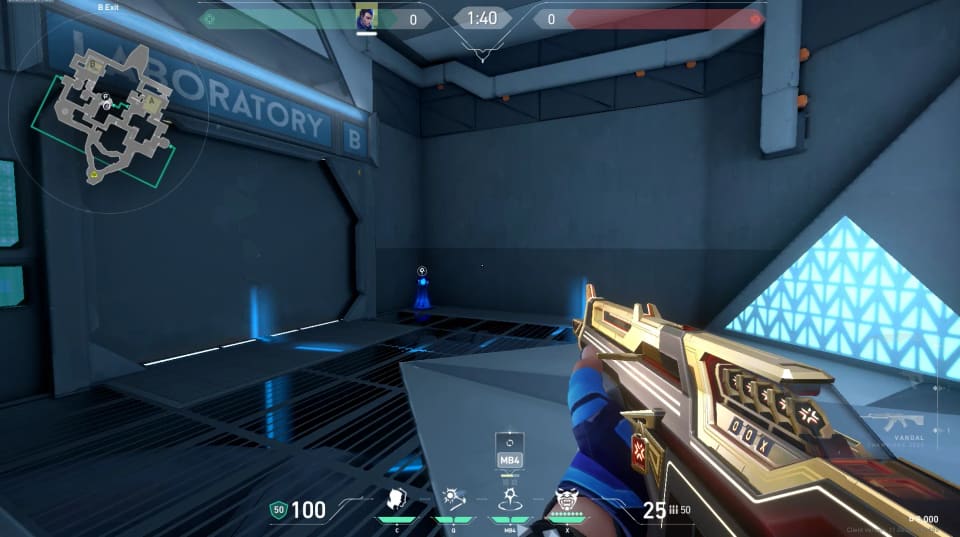
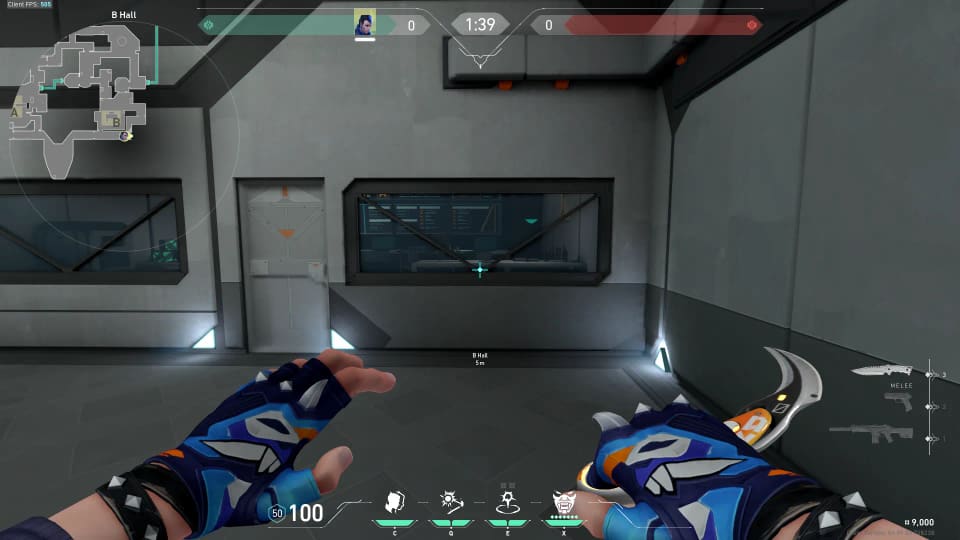
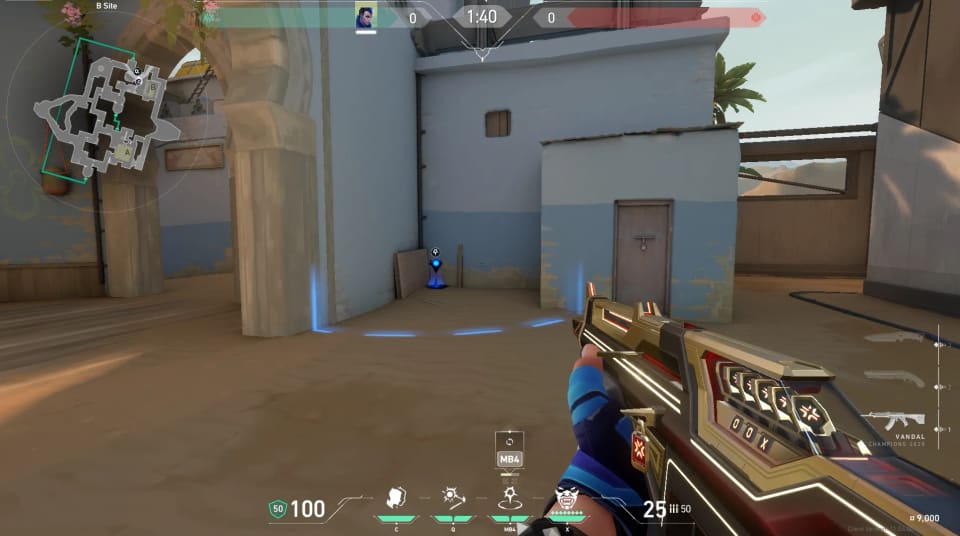
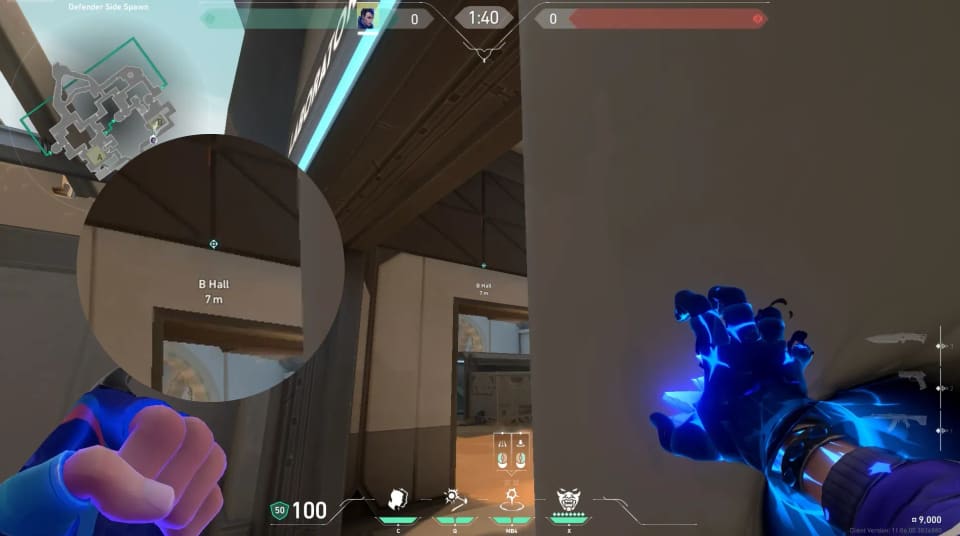
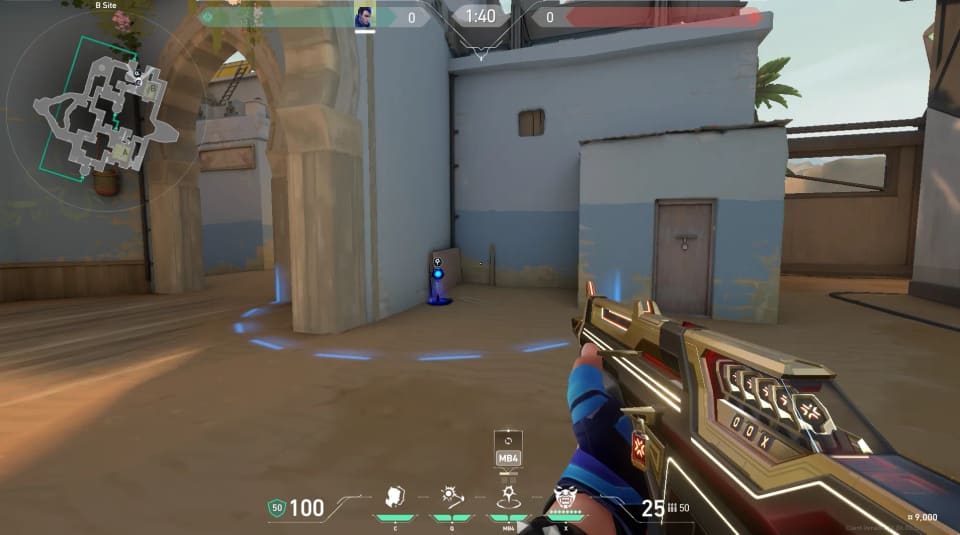
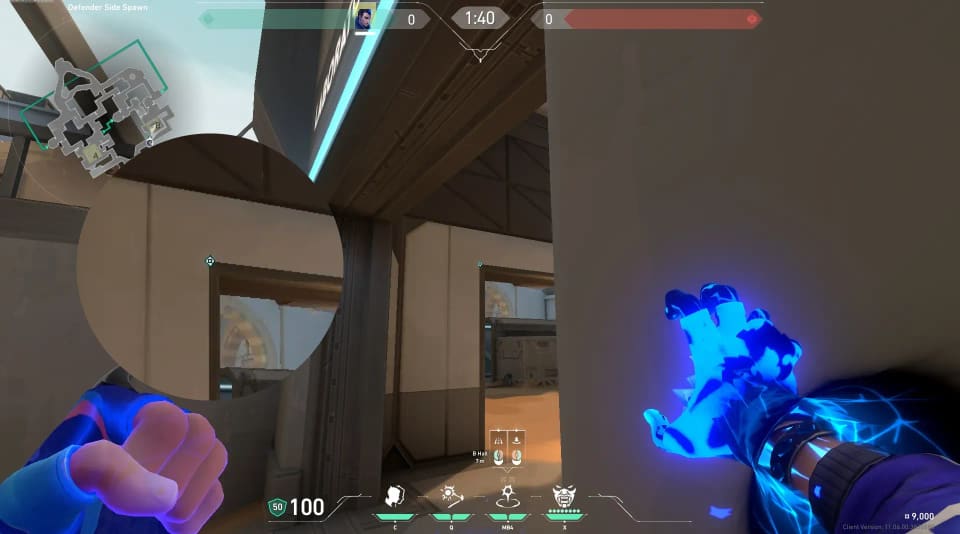
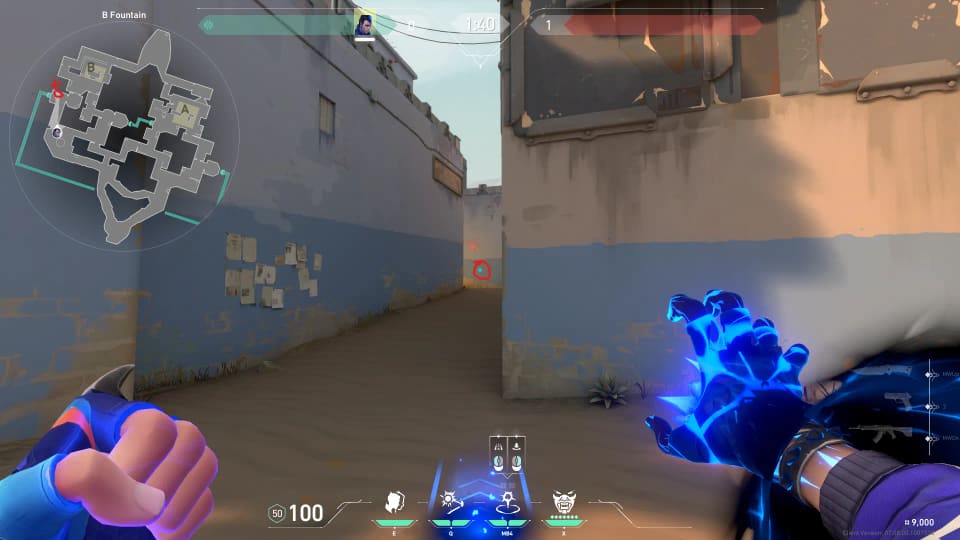
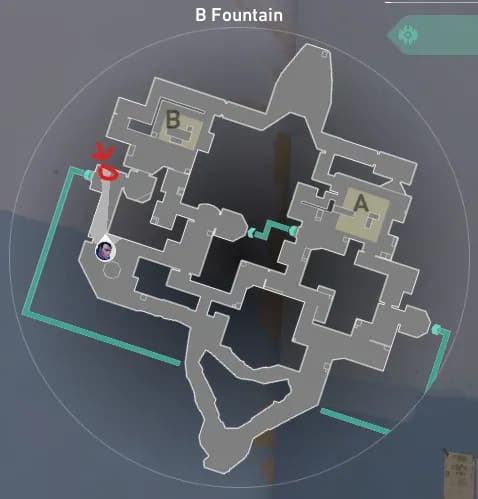
To B Exit
Gatecrash
source
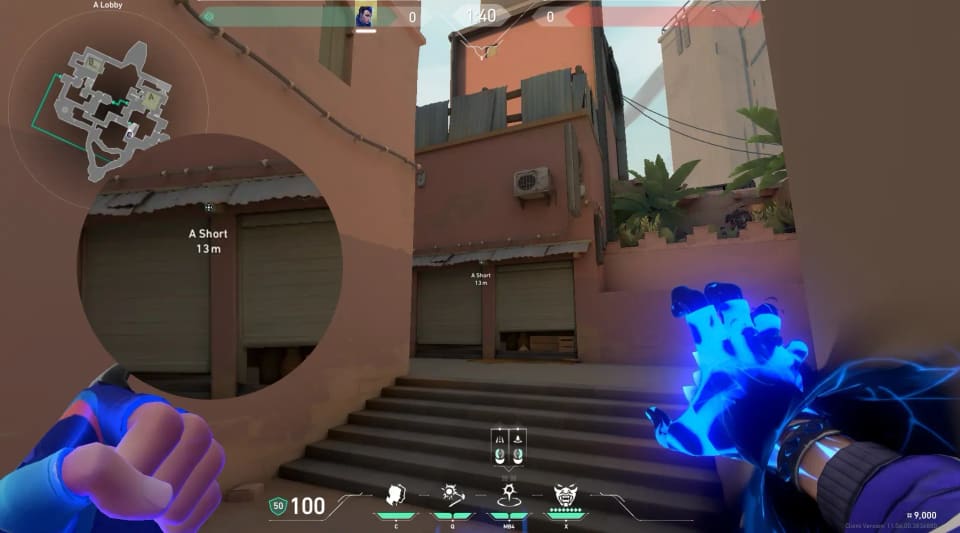
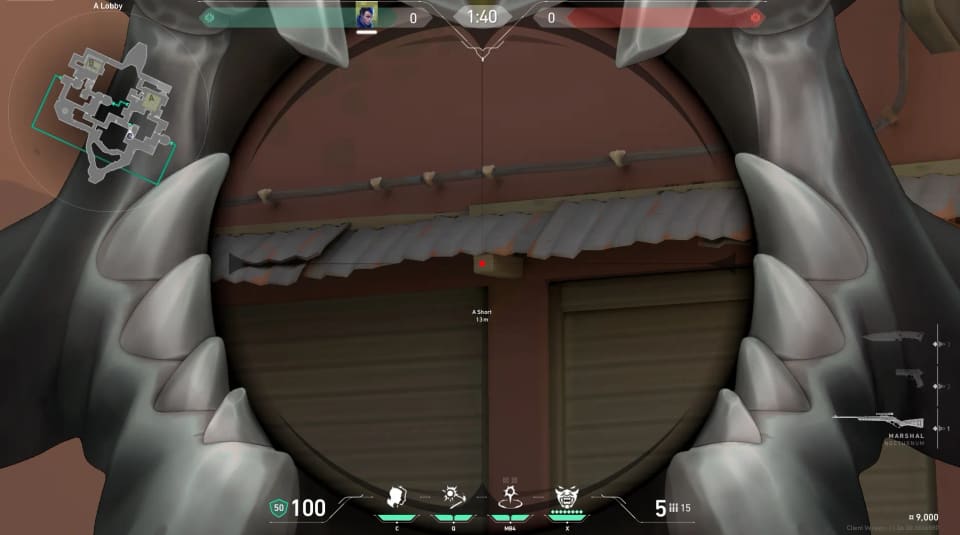
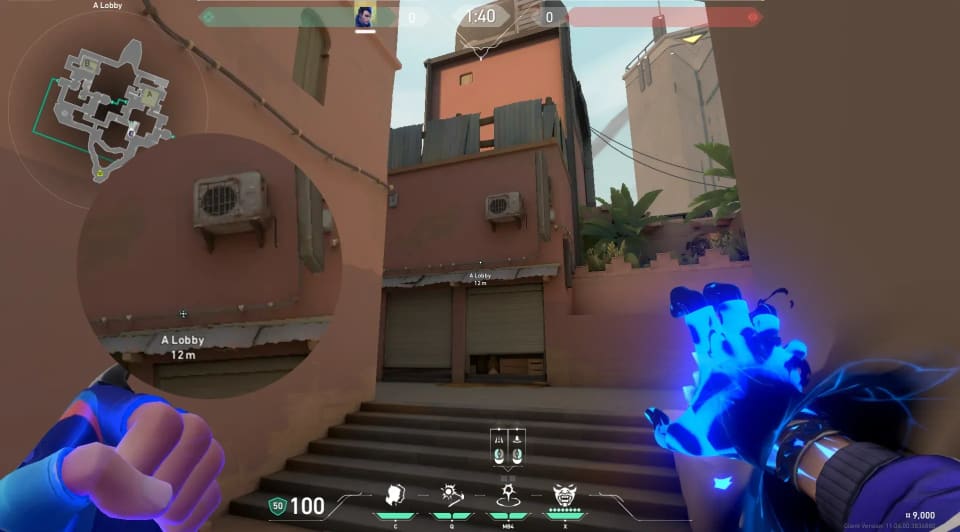
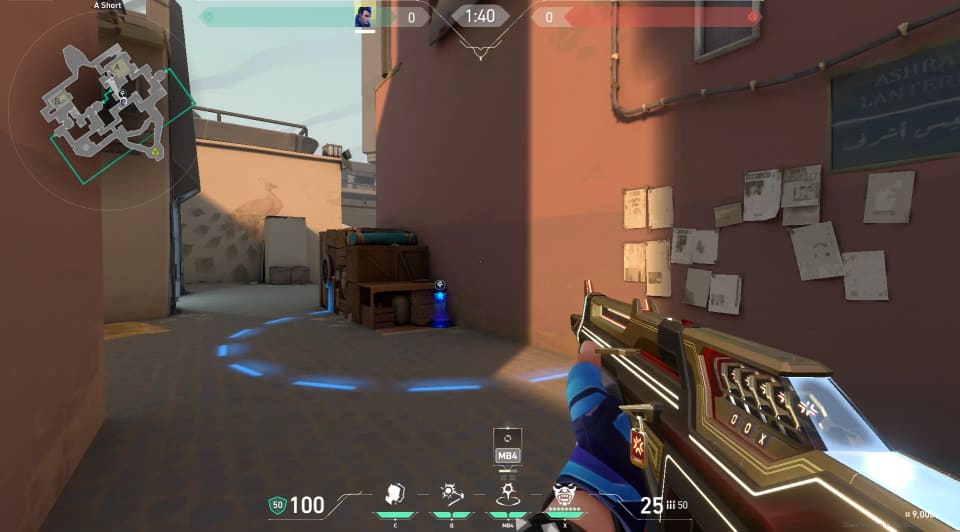
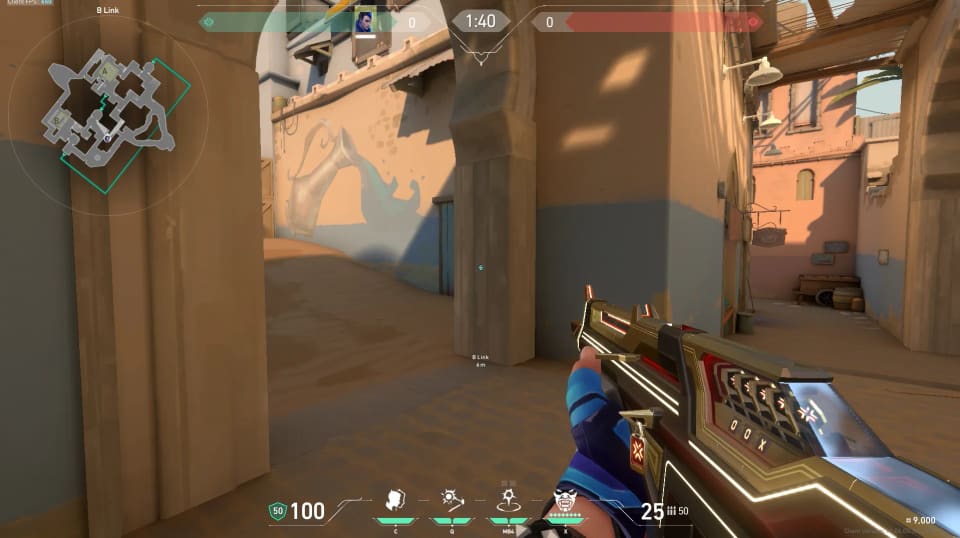
From A Short
3 destinations
3
#1
To A Gate
Gatecrash
source
#2
To A Lamps
Gatecrash + Blindside
source
#3
To B Link
Gatecrash
source
From A Showers
1 destination
2
#1
To Attackers
Gatecrash
source
#2
To Attackers
Gatecrash
source
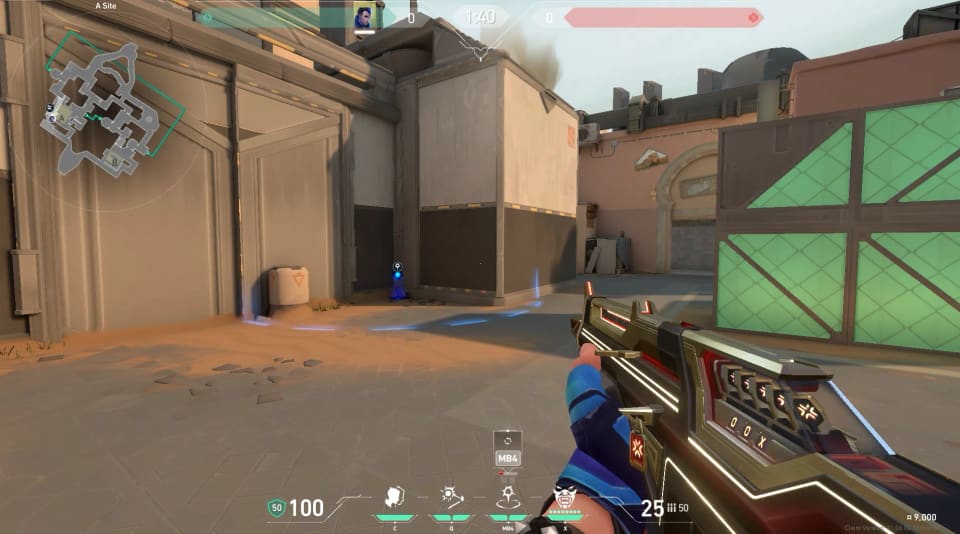
From A Site
2 destinations
2
#1
To A Lobby
Gatecrash
source
#2
To A Showers
Gatecrash
source
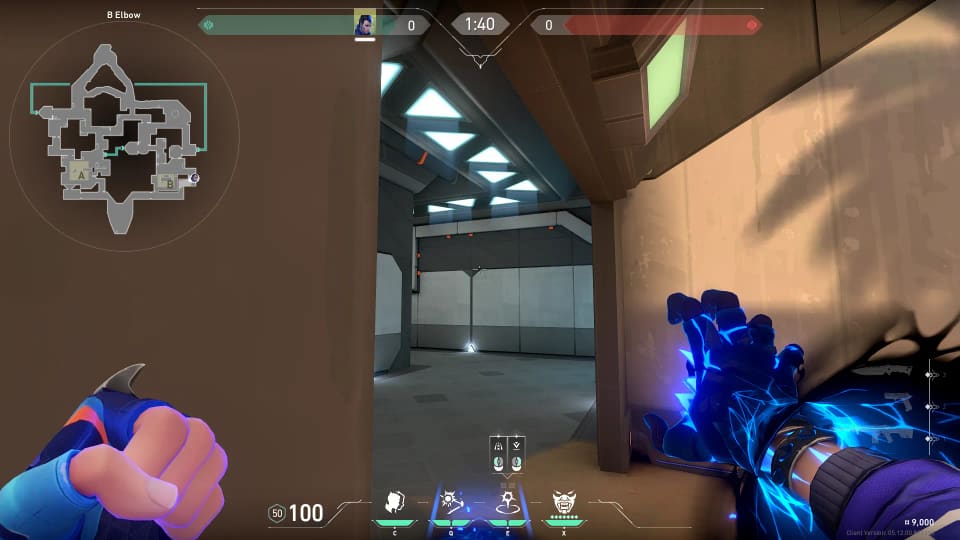
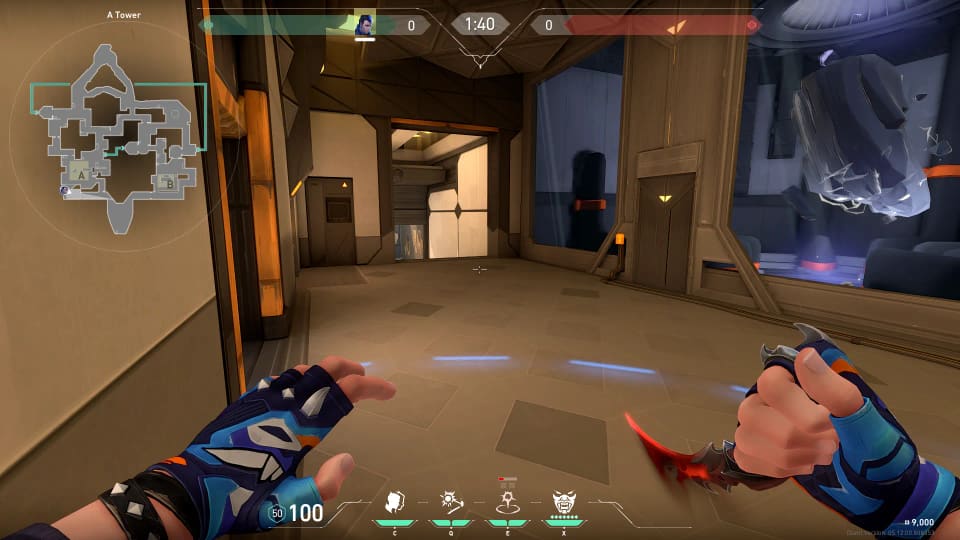
From A Tower
1 destination
1
#1
To B Elbow
Gatecrash
source
From A Vents
1 destination
1
#1
To A Lobby
Gatecrash
source